DIY Microwave Repair – What You Need to Know Before You Start
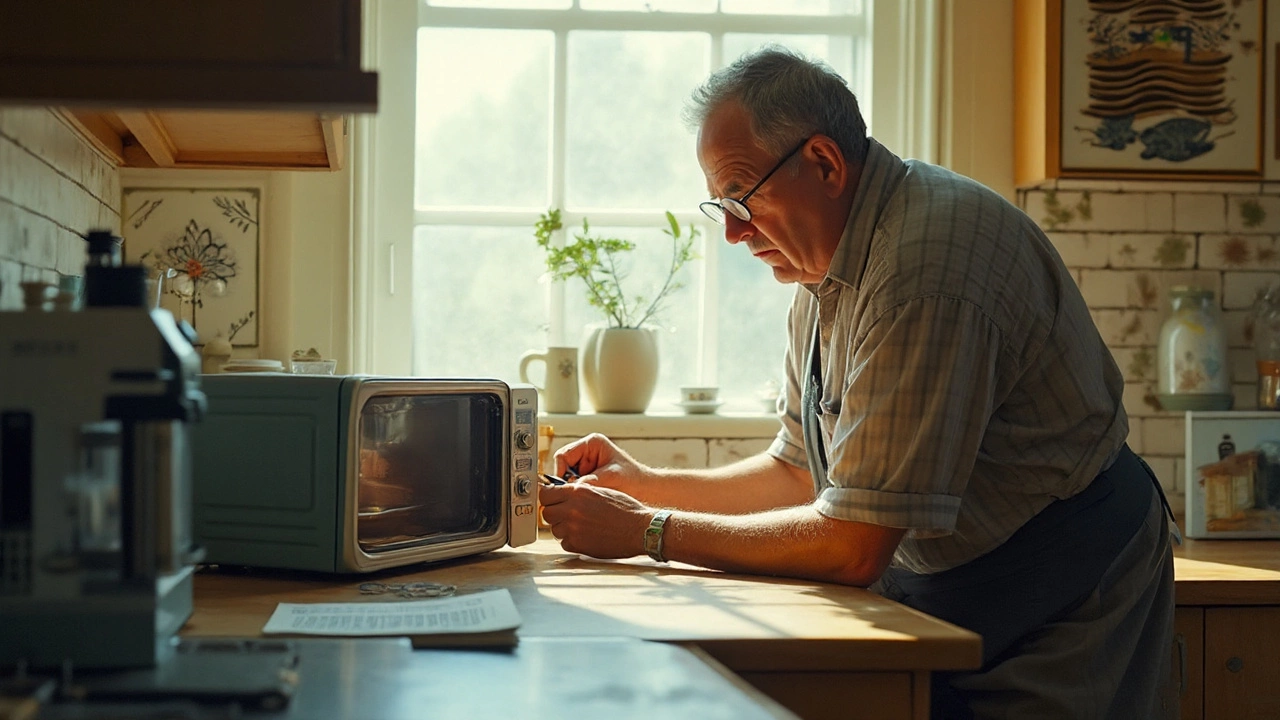
When tackling DIY microwave repair, the process of fixing a microwave at home using your own tools and knowledge. Also known as home microwave troubleshooting, it involves understanding the key parts, safety rules, and when to call a professional. DIY microwave repair can save time and money, but only if you respect the electricity and radiation risks involved.
One of the first related entities you’ll encounter is microwave safety, practices that prevent burns, electric shock, and exposure to microwaves during repairs. Safety influences every step of DIY microwave repair—you’ll need to unplug the unit, discharge the capacitor, and wear protective gloves. Another essential entity is the microwave magnetron, the high‑frequency component that generates the microwaves used for cooking. Knowing how the magnetron works helps you diagnose why your appliance isn’t heating.
Typical Faults and How to Diagnose Them
DIY microwave repair commonly includes troubleshooting a few recurring problems. First, if the microwave runs but doesn’t heat, the magnetron or its high‑voltage diode is often at fault. Second, a humming sound without heat usually points to a bad capacitor or transformer. Third, erratic displays are usually caused by a faulty control board or door switch. Each of these faults forms a semantic connection: microwave troubleshooting requires knowledge of microwave components, and identifying the component drives the repair method.
To start, always verify power by testing the outlet with a lamp. Next, remove the outer shell (after unplugging) and locate the capacitor; a shorted capacitor will look bulged or leak. Use a multimeter to check resistance—if it reads zero, replace it. Then, inspect the magnetron for visible burns or a broken filament. If the magnetron measures high resistance (over 10 kΩ) and the diode is good, the magnetron is the likely culprit.
When you replace parts, keep an eye on microwave repair cost, the price range for parts and tools needed for a typical DIY fix. A new magnetron can run $30‑$80, while a capacitor is usually under $15. Factor in the cost of a multimeter and safety gear if you don’t already own them—overall, most DIY fixes stay under $150, far cheaper than a service call that often exceeds $200.
Remember, DIY microwave repair encompasses safety, component knowledge, and cost awareness. If you ever feel unsure about handling high‑voltage parts, it’s wise to stop and call a certified technician. The following articles dive deeper into each fault, walk you through step‑by‑step fixes, and help you decide when professional help is the smarter choice. Below you’ll find a curated list of guides that break down everything from magnetron replacement to safe capacitor discharge, giving you the confidence to tackle your microwave without unnecessary risk.
Microwave Fuse Repair Cost: What to Expect & Save Money Tips
Find out how much it really costs to repair a microwave fuse, get practical advice, tips to avoid overpaying, and learn when DIY is worth it.