DIY Oven Swap: Your Quick Guide to Replacing a Kitchen Oven
When tackling a DIY oven swap, the process of removing an old oven and installing a new one by yourself. Also known as oven replacement, it lets you avoid costly service calls and get your kitchen back in action faster.
The first thing to know is what kind of oven you have. An oven, a built‑in appliance that bakes, broils, or roasts food comes in two main flavors: electric oven, uses heating elements powered by household electricity and gas oven, relies on a gas flame for heat. Knowing the type determines the wiring steps, the tools you’ll need, and the safety checks you must run. For example, an electric oven requires a dedicated 240‑volt circuit, while a gas oven needs a properly sealed gas line and a functional shut‑off valve.
Next up is the skill set. appliance repair, the practice of diagnosing, fixing, or swapping household appliances isn’t just about having a screwdriver. You’ll need a multimeter to verify voltage, a wrench set for gas connections, and a level to keep the unit straight. Safety is non‑negotiable: always turn off the breaker for electric models and close the gas valve before you start. A good rule of thumb is to label each wire before you disconnect it – that makes re‑wiring a breeze.
Key Steps for a Successful Swap
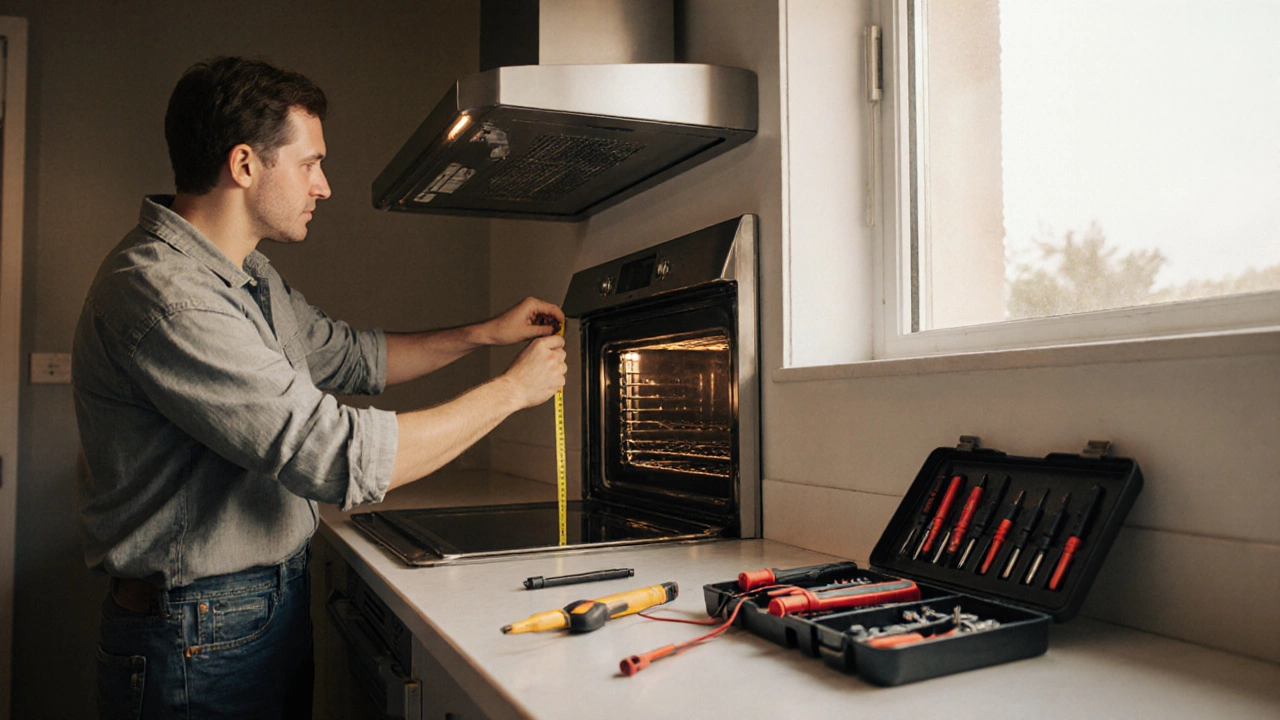
1. Assess the space: Measure the height, width, and depth of the existing cutout. Your new oven must fit within those dimensions, or you’ll need to adjust cabinetry – a task that can add time and cost.
2. Gather tools: You’ll typically need a screwdriver, adjustable wrench, multimeter, level, and possibly a pipe wrench for gas connections. Having everything on hand prevents interruptions.
3. Disconnect power or gas: For electric ovens, flip the dedicated breaker to OFF. For gas ovens, turn the shut‑off valve clockwise until it stops. Double‑check with a multimeter (electric) or a soap‑solution test (gas) that no flow remains.
4. Remove the old unit: Unscrew mounting brackets, slide the oven out carefully, and keep the floor protected with a drop cloth. Take photos of the wiring layout – they’ll guide you when you hook up the new oven.
5. Prepare the new oven: Remove any shipping brackets, attach the mounting brackets that came with the unit, and ensure the door aligns with the cabinet opening.
6. Reconnect wiring or gas: Follow the label diagram you created earlier. For electric models, match the color‑coded wires (typically black, red, and white) to the new terminal block. For gas models, connect the gas line using a new, approved fitting and test for leaks with a soapy water solution.
7. Test the oven: Restore power or open the gas valve, then set the oven to a low temperature. Use a multimeter to confirm correct voltage at the terminal block. For gas ovens, ensure the flame is steady and blue – that signals proper combustion.
8. Secure and level: Tighten all mounting screws, check that the oven sits level, and replace any trim pieces.
Each of those steps creates a clear semantic connection: DIY oven swap encompasses removal, preparation, and testing. It requires appliance repair skills and depends on whether the oven is electric or gas. Those relationships help you see the whole picture before you start.
Now that you understand the basics, you’ll spot the red flags that force you to call a professional: corroded wiring, missing gas line fittings, or a broken circuit breaker. Those situations are rare if you follow the checklist, but they’re worth mentioning so you can avoid surprises.
Below you’ll find a collection of articles that dive deeper into each part of the process. From troubleshooting heating element failures to guiding you on safe gas line work, the posts cover everything you need to finish a swap confidently and keep your kitchen humming.
Replacing an Electric Oven: How Hard Is It Really?
A practical guide that walks you through the steps, tools, safety checks, and costs of replacing an electric oven, helping you decide whether DIY or a professional is the right choice.