Oven Replacement Assessment Tool
Electric Oven Replacement Safety Assessment
This assessment tool helps you determine if you should attempt an electric oven replacement yourself or call a licensed electrician based on your specific situation.
Thinking about swapping out that old Electric oven is a kitchen appliance that uses electricity to generate heat for baking, roasting, and broiling for a newer model? You’re not alone. Homeowners in Perth and beyond often wonder if the job is a weekend‑project or a job best left to a licensed electrician. Below we break down every step, the tools you’ll need, safety checks, and when calling a professional actually saves you time and money.
What Determines the Difficulty?
The answer hinges on three factors: the existing wiring setup, the type of replacement oven, and your comfort with handling electricity. A simple plug‑in model that slides into a standard 240 V outlet is a low‑skill swap. A built‑in convection oven that hooks into a dedicated circuit, on the other hand, can feel like a mini‑renovation.
- Wiring type: Does the old unit use a hard‑wired connection or a detachable power cord?
- Space constraints: Is the oven fitted into a custom cabinet that will need modifications?
- Local regulations: Australian standards (AS/NZS 3000) require that any new connection be inspected and signed off by a qualified electrician.
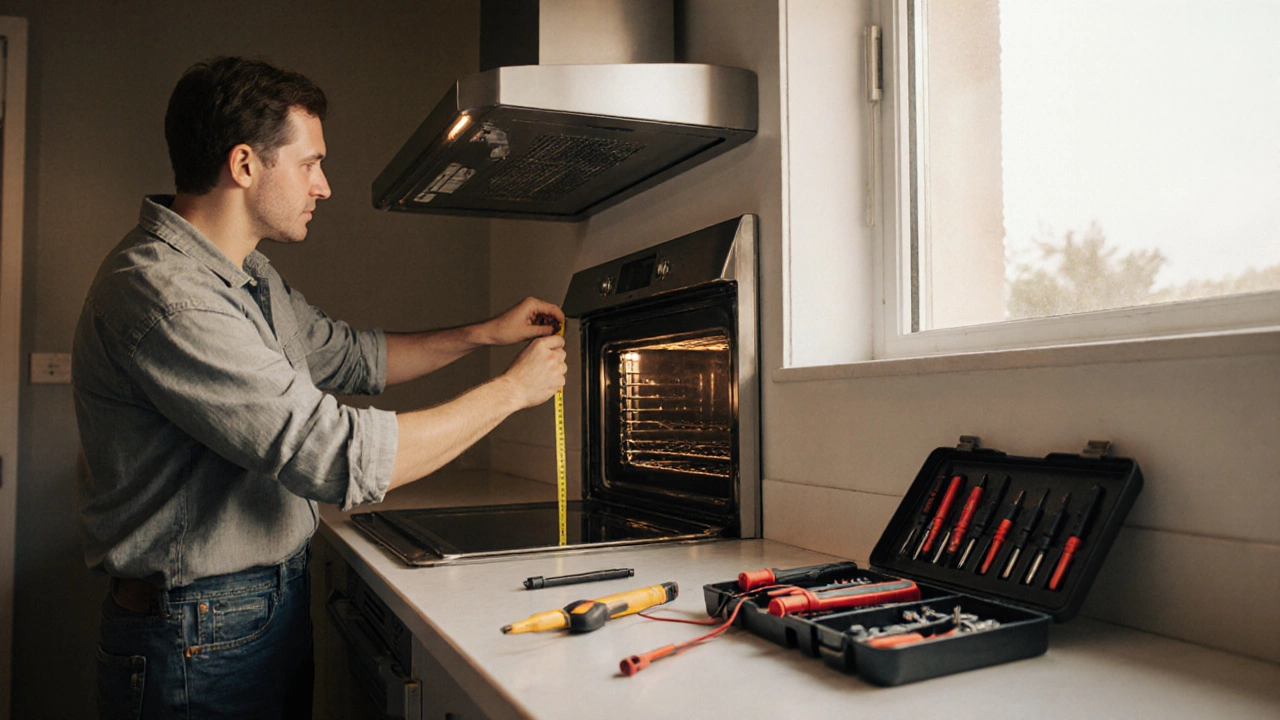
Essential Tools and Materials
Before you lift that heavy appliance off the floor, gather the following:
- Adjustable wrench and socket set - for loosening terminal bolts.
- Multimeter - to verify that the power is truly off.
- Electrical conduit and connectors - if you need to run new wiring.
- Level and measuring tape - to ensure the new oven sits flush.
- Safety gear (gloves, goggles) - always wear protection when working with electricity.
Having these items on hand prevents the classic "I’ll be right back for the screwdriver" interruptions that turn a quick swap into a full‑day chore.
Safety First: Power Down Properly
The most common mistake is assuming the oven’s switch does the job. Always shut off the dedicated Circuit breaker at the main board. Use a Multimeter to double‑check for voltage on the terminal block. If you see any reading, the circuit is still live - stop and call a licensed electrician.
Step‑by‑Step Replacement Guide
Follow these eight steps to replace most electric ovens. Adjust the sequence if you’re dealing with a built‑in unit that requires cabinet modifications.
- Measure the space. Verify width, height, and depth. Most manufacturers list a 2 cm clearance on each side for ventilation.
- Remove the old oven. Unscrew the brackets that anchor the appliance, then pull it gently toward you. You may need a helper - a 70 kg oven is not easy to maneuver alone.
- Disconnect the wiring. If the oven is hard‑wired, loosen the terminal screws and pull the wires free. For a power cord, simply unplug it.
- Inspect the conduit. Look for wear or damage. Replace any cracked Electrical conduit before installing the new oven.
- Prepare the new oven. Attach the supplied power cord if it’s a plug‑in model. For hard‑wired units, thread the existing wires through the back panel’s cable entry, keeping the length manageable.
- Mount the oven. Position the unit in the cavity, adjust with a level, then secure it with the brackets you removed earlier.
- Reconnect electricity. Attach the live (L), neutral (N), and earth (E) wires to the terminal block, tightening each screw evenly. Double‑check the wiring colour code: brown for live, blue for neutral, green/yellow for earth.
- Test the appliance. Turn the circuit breaker back on, set the oven to 180 °C, and verify that the heating elements glow. If anything smells burnt or the display doesn’t light up, shut off power immediately and investigate.
That’s it! For most homeowners the whole process takes 2-4 hours, assuming no surprises with wiring.

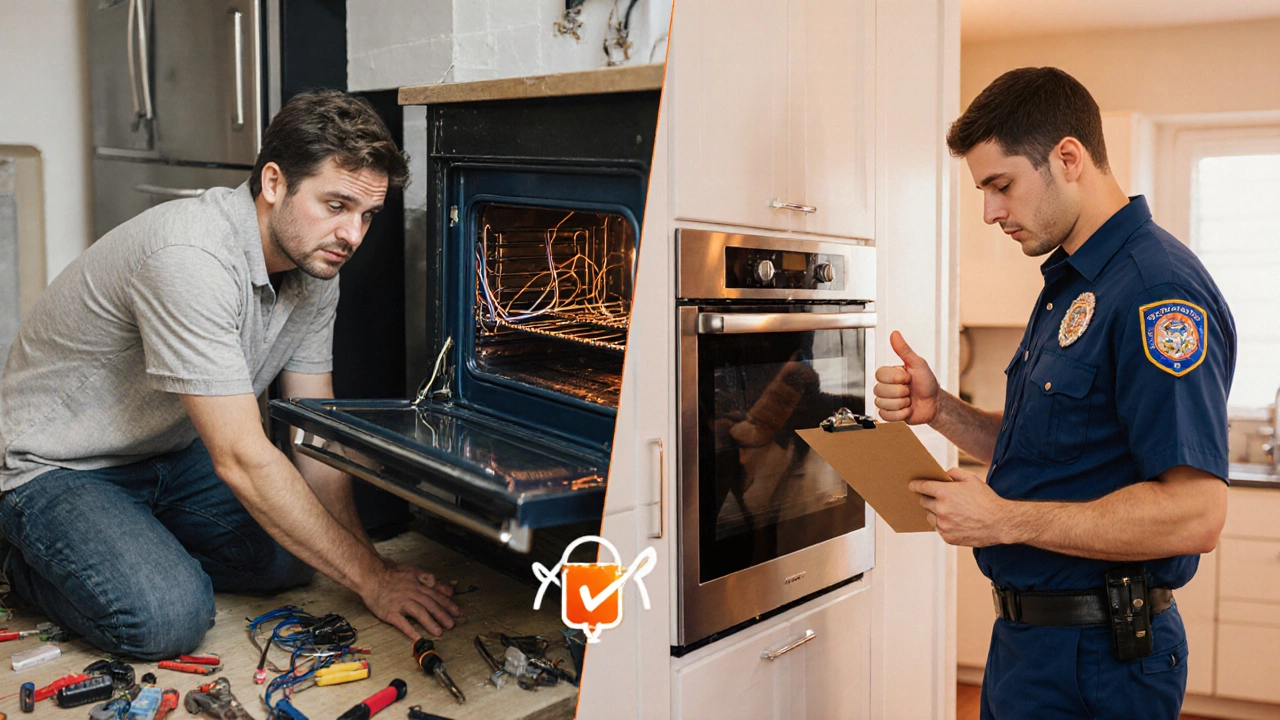
When to Call a Professional
If any of the following apply, skip the DIY route and hire a licensed electrician:
- You find outdated wiring (e.g., old rubber‑insulated cables) that doesn’t meet current Australian standards.
- The oven is part of a built‑in wall unit that requires cutting or reinforcing cabinetry.
- There is no dedicated 240 V circuit and you need to add one.
- You’re not comfortable using a multimeter or confirming a dead circuit.
Professional installation typically costs between $120 and $250 in Perth, plus any materials. While that adds to the upfront expense, it protects you from potential electrical faults, insurance claim issues, and costly re‑work.
DIY vs Professional Installation: Quick Comparison
| Factor | DIY | Professional |
|---|---|---|
| Initial cost | $0-$50 (tools) | $150-$250 |
| Time to complete | 2-4 hrs | 1-2 hrs |
| Safety risk | Medium (requires proper lock‑out) | Low (licensed) |
| Compliance guarantee | None unless you self‑certify | Meets AS/NZS 3000 |
| Warranty impact | May void if not authorised | Usually upheld |
Common Pitfalls and How to Avoid Them
Even seasoned DIYers stumble over a few recurring issues:
- Insufficient clearance. Overlooking the 2 cm ventilation gap leads to overheating warnings.
- Loose terminal connections. A vibrating oven can loosen screws over time - always torque them to the manufacturer’s spec (usually 5 Nm).
- Incorrect wire colour. Mixing up live and neutral can damage the oven’s control board.
- Ignoring the earth wire. Skipping the ground connection removes a critical safety path and may fail an electrical inspection.
Double‑check each step before moving on. A quick visual inspection after each major action saves hours of troubleshooting later.
After Installation: Maintenance Tips
Keeping your new oven humming along involves a few simple habits:
- Wipe spills immediately - baked-on food can cause hotspot failures.
- Inspect the power cord annually for cracks or fraying.
- Run a “self‑test” cycle (usually found in the user manual) every 6 months to verify heating element health.
- Schedule a professional electrical safety check every 3 years, especially if you live in a high‑humidity coastal area like Perth.
With these practices, your oven should serve you for the next decade without a hitch.
Bottom Line: Is It Hard?
The short answer: replace electric oven isn’t a mountain‑climbing expedition for most homeowners, but it’s not a simple plug‑swap either. If you have a basic understanding of electrical safety, the right tools, and a clear workspace, you can pull off the job in a single afternoon. When the wiring is complex or you feel uneasy, the cost of a professional electrician is a small price to pay for peace of mind and code compliance.
Frequently Asked Questions
Do I need a permit to replace an electric oven?
In Western Australia, a permit is only required if you’re adding a new circuit or altering the existing wiring. Replacing a like‑for‑like oven on an existing dedicated circuit usually doesn’t need a permit, but the work must still comply with AS/NZS 3000.
Can I use a standard 10 A plug for my new oven?
Most electric ovens require a 15 A or 20 A dedicated circuit because they draw up to 12 kW (≈50 A) at peak. Using a 10 A plug would overload the outlet and trip the breaker. Always match the oven’s rated current with the circuit’s ampacity.
What should I do if the oven won’t heat after installation?
First, verify the circuit is on and the breaker isn’t tripped. Then check the wiring connections for tightness and correct colour coding. If the problem persists, the heating element or control board may be faulty - contact the manufacturer’s support line or a qualified technician.
Is it worth upgrading to a convection oven?
Convection ovens circulate hot air, reducing cooking times by up to 30 % and delivering more even browning. If you bake frequently, the efficiency gains and better results often justify the higher upfront cost.
How often should I have my oven’s electrical connection inspected?
A full electrical safety inspection every three years is recommended for residential properties in Australia. If you notice flickering displays or intermittent heating, schedule an earlier check.