Microwave Repair Decision Tool
What is the main problem with your microwave?
Select the symptom that best describes the issue you're experiencing.
How old is your microwave?
The age of the appliance affects whether repair is cost-effective.
What is your technical skill level?
Be honest about your comfort with electronics and tools.
Your microwave stops heating food halfway through a meal. The turntable spins, the light is on, but your leftovers remain cold. You stare at the appliance and wonder: can I fix this myself, or do I need to call a technician? The short answer is that it depends entirely on what broke. Some issues are simple fixes you can handle with a screwdriver and ten minutes. Others involve lethal voltages that require professional expertise.
Repairing a microwave oven is a kitchen appliance that uses electromagnetic radiation to heat food by causing water molecules to vibrate. Unlike a toaster or a kettle, a microwave contains components that store dangerous electrical charges even when unplugged. This makes the question of whether they are easy to repair a bit more complex than most household gadgets. Before you buy a new unit or pay for a service call, let's look at what actually goes wrong and how hard it is to fix.
The Quick Fixes: When It’s Not Really Broken
Before you take any tools out, check the basics. Many "broken" microwaves are just dirty, clogged, or tripped by safety switches. These fixes cost nothing and take five minutes.
- Check the door latch: If the microwave won't start, inspect the door switches. Sometimes debris gets stuck in the hinge, preventing the safety interlock from engaging. Clean the hinges and ensure the door closes firmly.
- Clean the interior: Grease buildup can cause arcing (sparks). If you see sparks, stop using it immediately. Clean the inside with vinegar and water. Persistent arcing might mean a damaged waveguide cover, a small plastic shield inside the cavity that is cheap and easy to replace if you can access it.
- Reset the power: Unplug the microwave for two minutes. Plug it back in. This resets the control board logic and can clear minor glitches.
If these steps don't work, you have an internal component failure. Now we enter the territory where difficulty varies wildly.
The Dangerous Part: Why Microwares Are Tricky
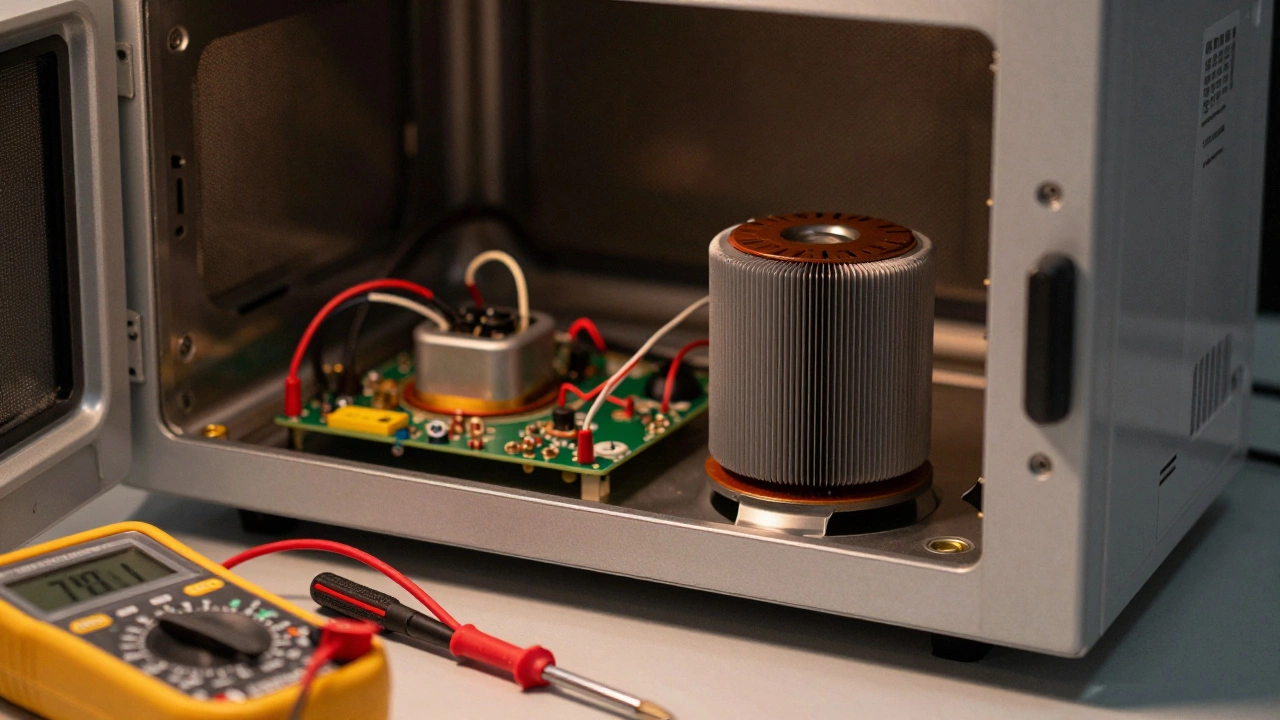
To understand why microwave repair isn't always a casual weekend project, you need to know how it works. A microwave generates heat using a magnetron is a vacuum tube that converts electrical current into microwaves. To power this magnetron, the microwave uses a high voltage transformer and a high voltage capacitor.
Here is the critical detail: the high voltage capacitor can store a charge of over 4,000 volts. That is enough to kill you instantly. Even after you unplug the microwave, this capacitor holds that charge. A professional technician will discharge it safely before touching anything. If you are a DIYer, you must learn how to discharge the capacitor correctly using a insulated screwdriver across the terminals. If you skip this step, you risk severe injury or death.
This inherent danger is why many experts say microwaves are not "easy" to repair. The skill level required isn't just about tightening screws; it's about respecting high-voltage electricity.
Common Failures and Their Difficulty Levels
Let's break down the specific parts that fail and rate their repair difficulty. This helps you decide if you should attempt the fix or call a pro.
| Component | Symptom | Difficulty | Cost Estimate |
|---|---|---|---|
| Door Switch | Microwave won't start; no light, no sound. | Easy | $10 - $20 |
| Turntable Motor | Plate doesn't spin; uneven heating. | Easy | $15 - $30 |
| Control Board | Buttons unresponsive; display erratic. | Medium | $40 - $80 |
| Magnetron | No heat; humming noise; sparks. | Hard | $60 - $100 |
| High Voltage Capacitor | No heat; loud hum; burnt smell. | Hard (Dangerous) | $20 - $40 |
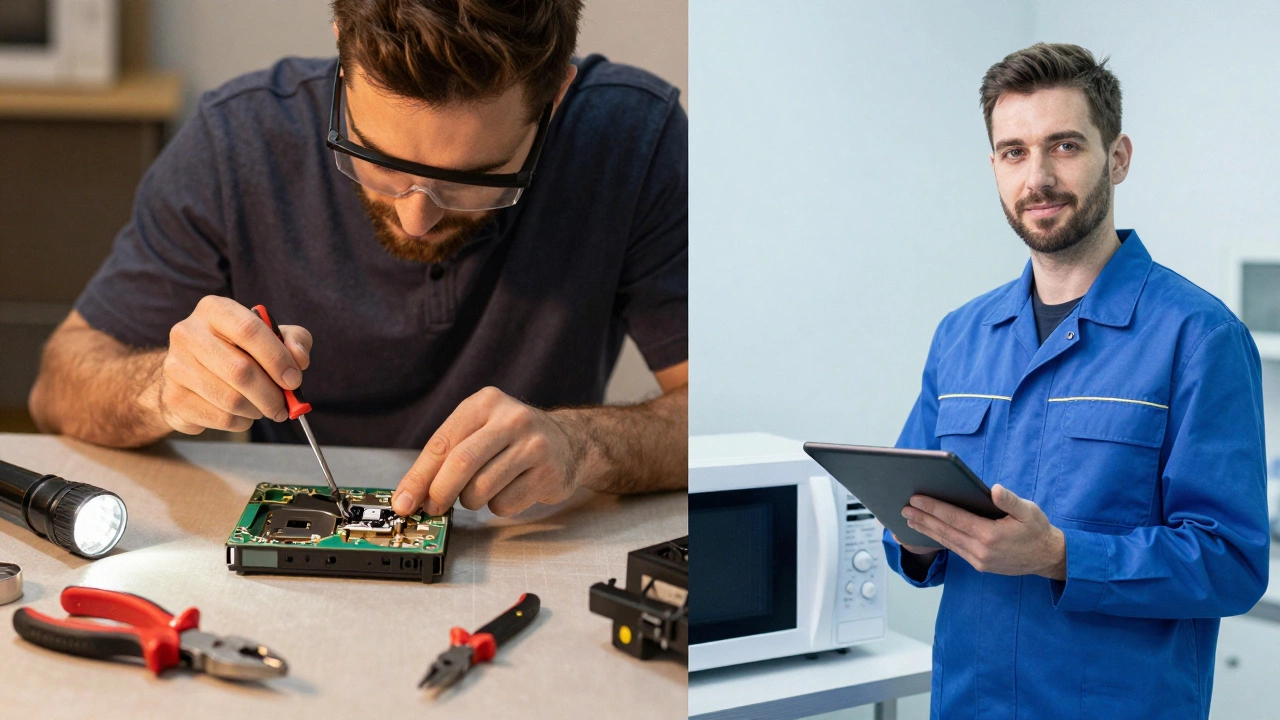
When DIY Makes Sense
You should attempt a repair yourself if the issue is mechanical or low-voltage. Replacing a door switch is straightforward. You remove the outer casing, locate the switch near the door hinge, unscrew the old one, and install the new one. Most models use standard screws, and diagrams are available online for almost every brand.
Replacing the turntable motor is also relatively simple. The motor sits under the glass plate. If the gear strip is broken, you can often buy a replacement kit for less than $20. This saves you from buying a whole new microwave for a $15 part.
However, you must be comfortable disassembling electronics. You need a multimeter to test continuity. If you don't own one, now is the time to get one. It costs about $20 and is essential for diagnosing electrical faults safely.
When to Call a Professional
If the problem involves the magnetron, the high-voltage transformer, or the capacitor, consider calling a professional. Here is why:
- Safety Risk: As mentioned, the high-voltage components are deadly. Discharging them requires knowledge and proper tools.
- Calibration: Magnetrons are sensitive. Improper installation can lead to leakage of microwave radiation. While modern microwaves have shielding, tampering with the cavity can compromise safety seals.
- Warranty: If your microwave is under warranty, opening the case usually voids it. Check your manual first.
A professional repair service typically charges between $100 and $200 for labor and parts. If your microwave is older than five years, this cost might exceed the value of the appliance. In that case, replacement is more economical.
DIY vs. Professional: A Decision Checklist
Use this checklist to make your final decision.
- Age of Appliance: Is it less than 5 years old? If yes, repair is likely worth it. If no, consider replacing.
- Cost of Part: Is the part under $50? If yes, DIY is feasible. If the part is expensive (like a control board), weigh it against the cost of a new unit.
- Technical Skill: Do you have a multimeter? Do you know how to read a schematic? If no, stick to mechanical fixes or call a pro.
- Safety Comfort: Are you comfortable working with high-voltage capacitors? If no, do not touch the internal electrical components.
Tools You Need for Basic Repairs
If you decide to proceed with a DIY repair, gather these tools first:
- Phillips and Flathead Screwdrivers: For removing the outer casing.
- Needle-Nose Pliers: For gripping small connectors and wires.
- Insulated Screwdriver: Specifically for discharging the capacitor. Ensure the handle is fully insulated up to the tip.
- Multimeter: To test fuses, switches, and diodes for continuity.
- Work Light: Microwaves are dark inside. A headlamp or bright flashlight helps.
Safety First: The Golden Rules
If you ignore everything else, remember these rules. They protect your life.
- Unplug the Microwave: Always disconnect power before opening the case.
- Discharge the Capacitor: Use an insulated screwdriver to bridge the terminals of the high-voltage capacitor. Hold it there for 10 seconds. Double-check with a multimeter to ensure zero voltage.
- Take Photos: Before disconnecting any wires, take photos with your phone. This helps you reassemble everything correctly.
- Don't Force Anything: If a part doesn't fit, stop. Forcing components can damage the chassis or create short circuits.
Is It Worth Repairing an Old Microwave?
Microwaves generally last 7 to 10 years. If yours is within this range, repairing it extends its life and saves money. However, technology has improved. Newer models offer better energy efficiency, sensor cooking, and quieter operation. If your microwave is 10+ years old, the cost of parts and labor might not justify the investment. Plus, older units may lack modern safety features.
Consider the environmental impact too. E-waste is a growing problem. Repairing extends the product lifecycle, reducing waste. But if the repair is unsafe or prohibitively expensive, recycling the old unit and buying a new, efficient one is the responsible choice.
Finding Replacement Parts
You can find parts for most major brands (Samsung, LG, Panasonic, GE) online. Websites like RepairClinic, AppliancePartsPros, and Sears PartsDirect carry OEM (Original Equipment Manufacturer) and aftermarket parts. Look for the model number, usually located on the inside of the door frame or on the back of the unit. Enter this number into the site's search bar to find exact matches.
Be cautious with cheap, unbranded parts. A faulty magnetron or capacitor can cause further damage or safety hazards. Stick to reputable suppliers.
Can I fix a microwave that sparks inside?
If your microwave sparks, stop using it immediately. Arcing can be caused by metal objects, grease buildup, or a damaged waveguide cover. Clean the interior thoroughly. If sparks persist, the waveguide cover (a mica sheet) is likely burnt and needs replacement. This is a relatively easy DIY fix. However, if the sparking comes from the magnetron area, call a professional as it indicates a serious internal fault.
How much does it cost to repair a microwave professionally?
Professional microwave repair typically costs between $100 and $200, including labor and parts. Diagnostic fees may apply, ranging from $50 to $100. If the repair cost exceeds 50% of the price of a new microwave, it is usually better to replace the unit.
Is it safe to open a microwave oven?
Opening a microwave is safe only if you follow strict safety protocols. The primary danger is the high-voltage capacitor, which can hold a lethal charge even when unplugged. You must discharge the capacitor properly before touching any internal components. If you are not experienced with high-voltage electronics, do not open the microwave.
Why does my microwave hum but not heat?
A humming microwave that doesn't heat usually indicates a failed magnetron, high-voltage diode, or capacitor. The transformer is running (causing the hum), but the power isn't converting to microwaves. This requires testing with a multimeter and potentially replacing one of these high-voltage components. Due to the danger involved, this is best left to professionals unless you are skilled.
Can I replace a microwave door switch myself?
Yes, replacing a door switch is one of the easiest microwave repairs. It involves removing the outer casing, locating the switch near the door hinge, and swapping it with a new one. Ensure the microwave is unplugged. Test the new switch with a multimeter before reassembly. This fix costs around $10-$20 and takes about 15-30 minutes.