Extractor Fan Maintenance Calculator
Your Setup & Habits
Personalized Schedule
Enter your details to get a customized maintenance plan tailored to your cooking habits.
You flip the switch, but the air feels heavy. The smell of last night’s curry lingers in the kitchen despite the fan running at full blast. Or maybe it’s just louder than it used to be, rattling like a loose washing machine. It’s easy to assume the motor is dying or that you need a costly extractor fan repair. But before you call a technician, ask yourself: when was the last time you actually cleaned it?
The short answer is yes, extractor fans absolutely need maintenance. In fact, neglecting them is one of the fastest ways to ruin a perfectly good appliance. Unlike your fridge or dishwasher, which sit quietly behind closed doors, an extractor fan works in a hostile environment. It pulls in steam, grease particles, dust, and cooking odors every single day. Without regular care, these contaminants build up on the blades and filters, reducing airflow by up to 50% within a year. This forces the motor to work harder, generating more heat and noise, eventually leading to premature failure.
Why Your Extractor Fan Is Working Harder Than You Think
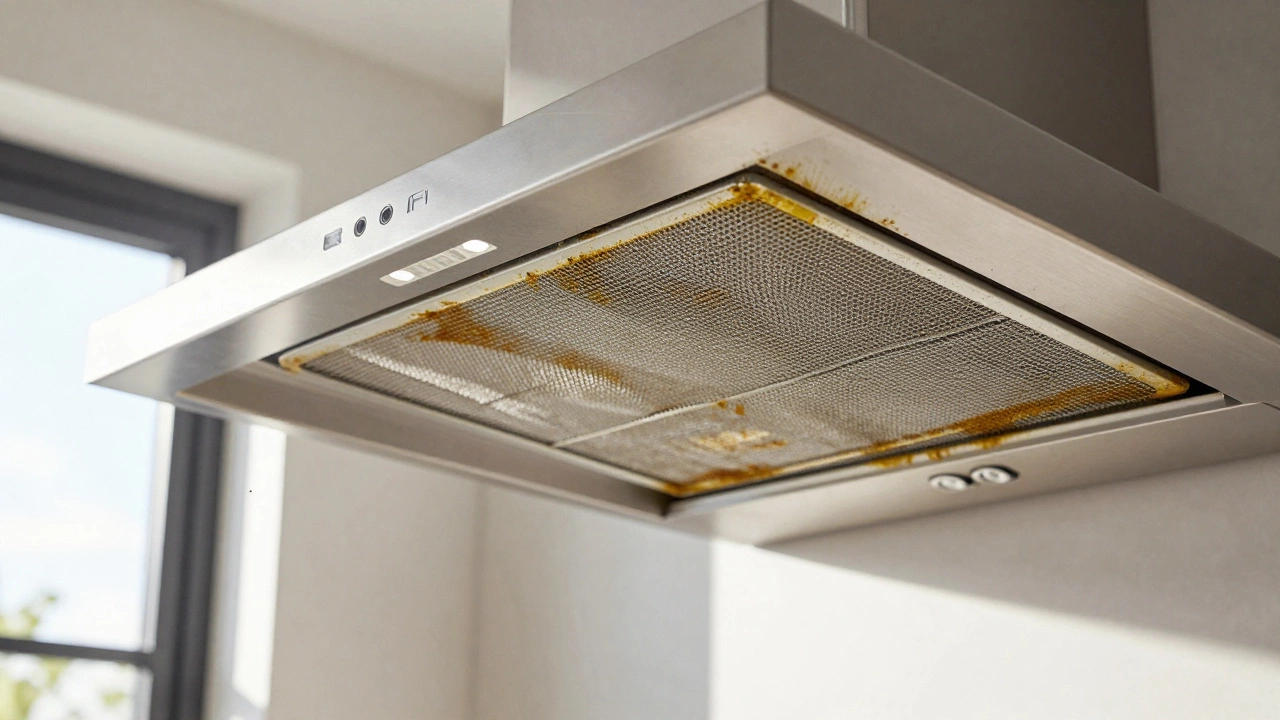
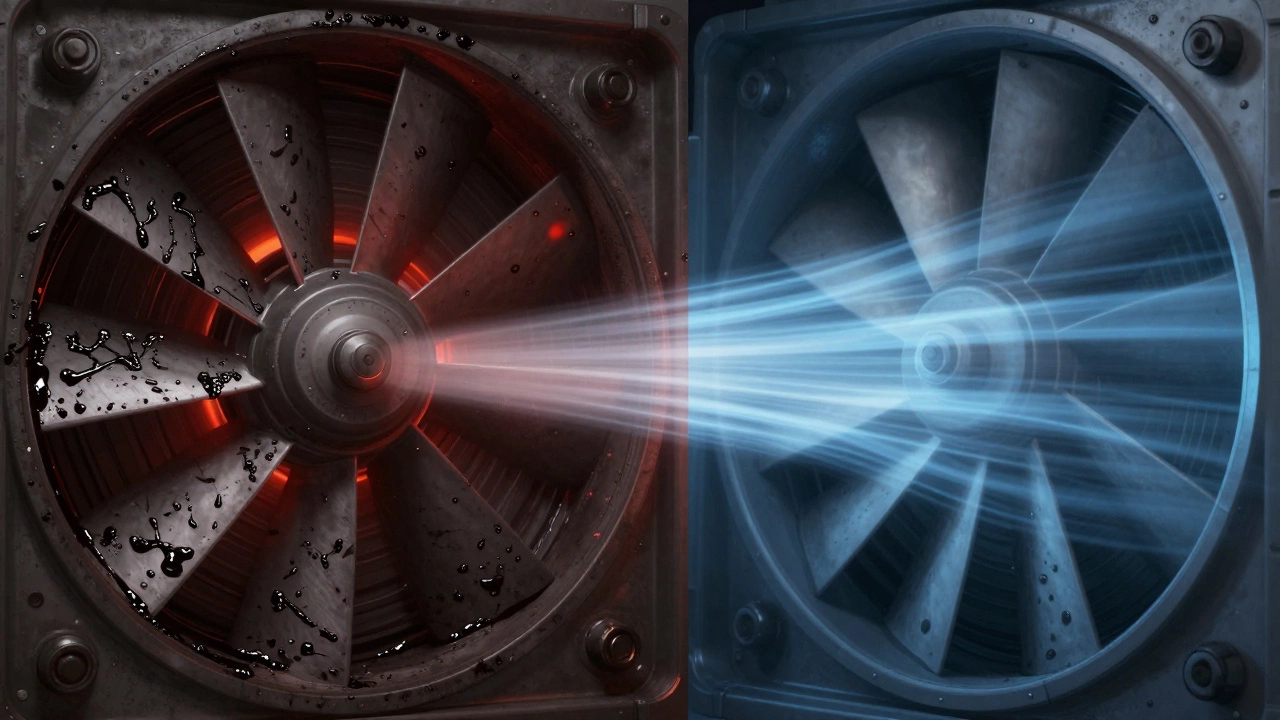
We often treat kitchen appliances as "set and forget" items. We install the hood, turn it on while cooking, and ignore it until it breaks. But an extractor fan is a mechanical system designed to move air through a restricted space. Its efficiency depends entirely on unobstructed airflow. When you fry chicken or sauté onions, tiny droplets of oil vaporize into the air. The fan catches some of this on its filters, but microscopic particles still slip through, coating the internal impeller (the spinning blade assembly) and the housing.
This layer of grease acts like a blanket. It adds weight to the rotating blades, causing imbalance. An unbalanced impeller vibrates against the casing, creating that annoying humming or rattling noise you hear. More critically, grease is flammable. While modern fans have safety features, a thick buildup of oily residue near the heating elements of certain models poses a genuine fire risk. Regular maintenance isn’t just about keeping things smelling fresh; it’s a critical safety measure for your home.
The Two Types of Filters and How They Differ
To maintain your fan correctly, you first need to know what kind of filtration system you have. Most residential range hoods use one of two types, or sometimes both in sequence. Understanding the difference changes how you approach cleaning.
| Filter Type | Primary Function | Maintenance Method | Replacement Frequency |
|---|---|---|---|
| Metal Mesh/Grease Filter | Captures large grease particles and oil vapors | Dishwasher safe or hand wash with degreaser | Never (unless damaged) |
| Carbon/Charcoal Filter | Absorbs odors and fine particulates in recirculating systems | Cannot be washed; must be replaced | Every 3-6 months depending on usage |
Metal mesh filters are the workhorses of most ducted systems. They trap the bulk of the grease before it enters the fan mechanism. Because they are made of aluminum or stainless steel, they are durable and reusable. However, they get clogged quickly if not cleaned regularly. Carbon filters, on the other hand, are used primarily in recirculating units where there is no external duct to vent air outside. These filters contain activated charcoal that absorbs smells. Once the charcoal pores are filled with odor molecules, the filter is dead. No amount of washing will restore its ability to neutralize smells.
Step-by-Step: How to Clean Your Extractor Fan Safely
Cleaning your extractor fan doesn’t require special tools, but it does require patience and the right chemicals. Here is a practical routine that takes about 20 minutes but can extend the life of your fan by years.
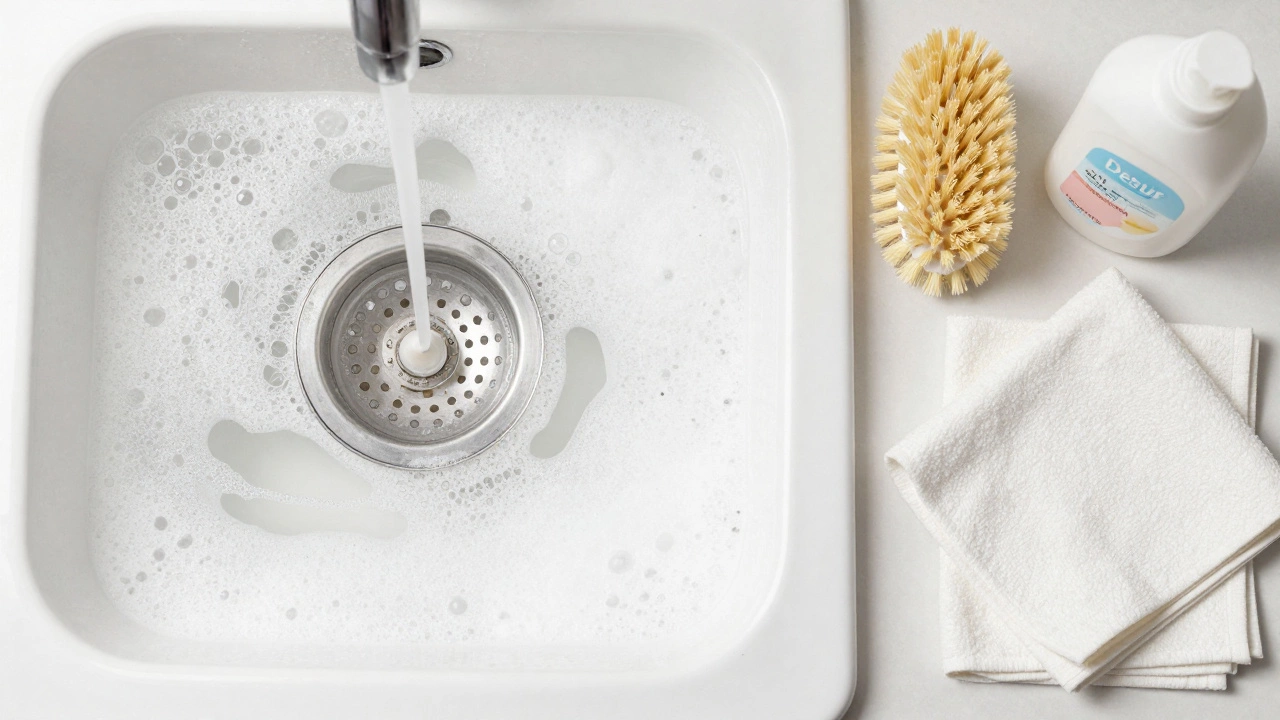
- Disconnect Power: Always switch off the fan at the wall socket or circuit breaker. Safety first-never clean an electrical appliance while it is live.
- Remove the Grease Filter: Most metal filters slide out or clip off easily. Check your manual if you’re unsure, but usually, a gentle pull releases them.
- Soak the Filter: Fill a sink or basin with hot water and a strong degreasing agent. Dish soap works for light grime, but for heavy buildup, a dedicated oven cleaner or a mixture of baking soda and vinegar is more effective. Let the filter soak for at least 30 minutes. If the grease is baked on, you may need to scrub gently with a soft brush afterward.
- Wipe the Hood Interior: While the filter soaks, wipe down the underside of the hood and the area around the fan intake. Use a damp cloth with degreaser. Pay attention to the light covers; grease buildup here dims the lights and creates a sticky mess.
- Clean the Ductwork (If Accessible): For ducted fans, check the visible section of the pipe. If you see grease dripping or thick sludge, consider hiring a professional deep clean. Clogged ducts are a common cause of poor performance that homeowners miss.
- Replace Carbon Filters: If you have a recirculating unit, pop out the carbon filters. If they look dark or smell stale, toss them and insert new ones. Do not try to wash these.
- Reassemble and Test: Once everything is dry, snap the filters back into place. Turn the power on and run the fan on high for a few minutes to ensure smooth operation.
Signs You’ve Missed a Maintenance Window
Your fan will tell you when it’s struggling. Ignoring these signs leads to expensive repairs. Watch out for these red flags:
- Reduced Suction: If steam hangs in the air longer than usual or cooking smells linger after you’ve turned the fan off for ten minutes, your filters or ducts are blocked.
- Unusual Noise: A healthy fan hums quietly. Rattling, grinding, or squealing indicates debris caught in the impeller or worn bearings due to lack of lubrication and excess strain.
- Grease Drips: Seeing black or brown liquid drip from the hood onto your stovetop means the grease filter is completely saturated and failing to catch particles.
- Flickering Lights: While often a bulb issue, excessive grease on the wiring harness or switch contacts can cause intermittent electrical faults.
When DIY Cleaning Isn’t Enough: Knowing When to Call a Pro
Regular maintenance keeps minor issues at bay, but it won’t fix mechanical failures. If you’ve cleaned the filters and wiped the interior, but the fan is still noisy or weak, the problem is likely internal. The motor bearings may be worn out, or the capacitor could be failing. These components require specialized tools and knowledge to replace safely.
In Perth, where summer heat can push indoor temperatures high, extractor fans run frequently to combat humidity and cooking heat. This constant use accelerates wear. If your fan is over five years old and showing signs of trouble, a professional inspection might save you from a sudden breakdown during peak season. Technicians can access the motor housing, clean the internal impeller blades with industrial solvents, and check electrical connections for safety hazards that aren’t visible from the outside.
Preventative Tips for Long-Term Performance
Maintenance shouldn’t feel like a chore. Small habits make a big difference. Keep the fan running for 10-15 minutes after you finish cooking. This clears out residual steam and grease particles before they settle on surfaces. Avoid using aerosol sprays directly under the hood, as they coat the filters in a sticky film that is hard to remove. And finally, mark your calendar. Set a reminder for every three months to check your filters. It takes less time than fixing a broken motor and keeps your kitchen air crisp and clean.
How often should I clean my extractor fan filters?
For heavy cooks who fry or grill frequently, clean metal grease filters every month. For average households, cleaning every 2-3 months is sufficient. Carbon filters in recirculating units should be replaced every 3-6 months, depending on how often you cook.
Can I put my extractor fan filter in the dishwasher?
Most metal mesh and baffle filters are dishwasher safe. Place them on the top rack to avoid damage from the heating element. However, always check your manufacturer’s manual first, as some coatings may degrade over time in high heat. Hand washing with warm soapy water is gentler and extends the filter's lifespan.
Why is my extractor fan making a loud noise even after cleaning?
If cleaning the filters doesn't stop the noise, the issue is likely internal. Common causes include worn motor bearings, a loose mounting bracket, or debris stuck inside the impeller blades. These problems usually require a professional technician to disassemble the unit and replace the faulty parts.
Do recirculating extractor fans need duct cleaning?
No, recirculating fans do not have external ducts because they filter air and push it back into the room. Instead, they rely heavily on carbon filters. Ensure you replace these filters regularly, as clogged carbon filters reduce airflow and cause the fan to work harder, leading to noise and overheating.