Extractor Fan Repair Time Estimator
Estimated Duration:
Complexity:
Note:
You’re standing in your bathroom, staring at the ceiling. The extractor fan is making that horrible grinding noise, or worse, it’s completely silent while steam clouds up the mirror. You’ve got a shower scheduled in two hours, or maybe you’re just sick of the mold creeping into the grout. The first question screaming in your head isn’t "how much will this cost?"-it's "how long is this going to take?"
The honest answer? It depends entirely on what’s broken and who is fixing it. A simple motor swap might take twenty minutes if you’re handy with a screwdriver. But if the wiring has corroded behind the drywall, you could be looking at half a day. Let’s break down the real timelines so you can plan your day, not just hope for the best.
The Short Answer: Typical Repair Durations
If you hire a professional, most standard repairs fall into three buckets. Knowing which bucket your problem falls into saves you from waiting around all day.
| Issue Type | DIY Time Estimate | Professional Time Estimate | Complexity Factor |
|---|---|---|---|
| Clogged Filter/Dust | 15-30 mins | N/A (Maintenance) | Low |
| Noisy Bearings/Fan Blade | 30-45 mins | 45-60 mins | Medium |
| Motor Failure | 45-90 mins | 60-90 mins | High |
| Wiring/Switch Fault | 1-2 hours | 1-2 hours | Variable |
| Duct Blockage/Collapse | 2-4 hours | 2-4 hours | Very High |
Notice the gap between DIY and professional times? That’s not because pros are slow. It’s because they diagnose thoroughly, test safety protocols, and often have to drive to the hardware store mid-job if a specific part is missing. If you attempt the repair yourself, factor in the time it takes to find the right replacement parts online or in-store.
Why Your Specific Fan Matters
Not all fans are created equal. The type of unit installed in your home dictates how fast you can get hands-on access.
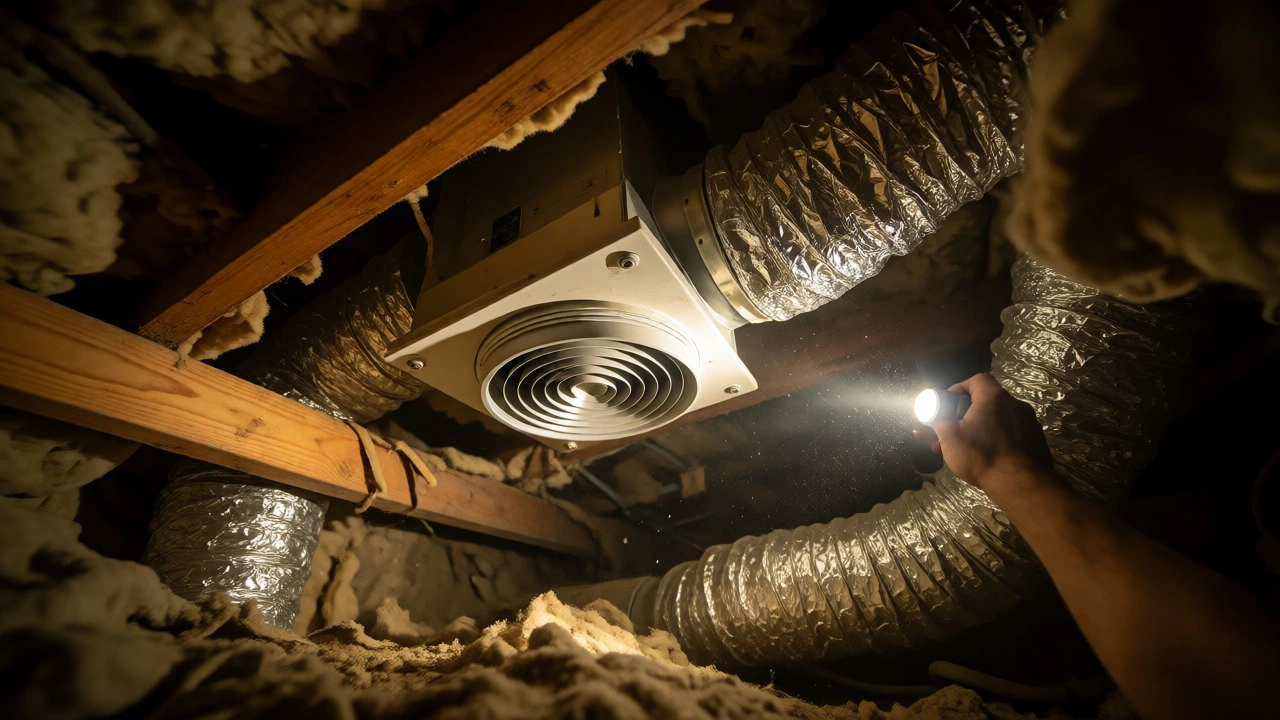
In-line fans are the quiet ones hidden in the roof space or wall cavity. They are fantastic for noise reduction but a nightmare for quick repairs. To reach the motor, you often need to climb into the roof void or cut an access panel in the ceiling. This adds significant labor time. If you live in a single-story home in Perth, accessing the roof is usually straightforward. But if you’re in a multi-unit apartment block, getting permission to enter the roof space or finding the correct access hatch can add thirty minutes before you even touch a tool.
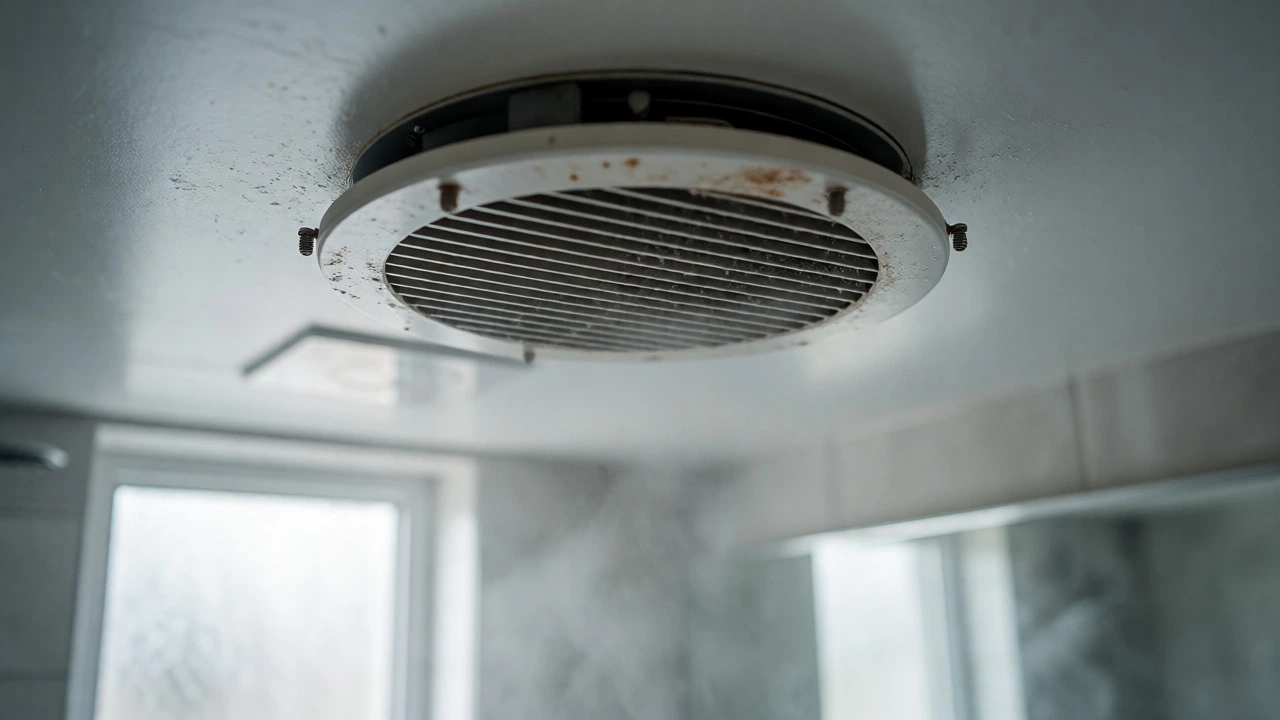
Ceiling-mounted fans are the most common in Australian bathrooms. These sit directly above the wet area. Access is easy-you remove the cover plate and you’re there. However, these units are prone to moisture damage. Corrosion on the mounting brackets or rusted screws can turn a ten-minute job into a forty-minute struggle with penetrating oil and pliers.
Wall-mounted fans vent directly through an external wall. These are generally the easiest to service because you don’t need to deal with ductwork inside the house. But check the external louvre. If birds have built a nest or leaves have packed the vent, clearing that blockage is part of the repair time.
DIY vs. Professional: Who Should Do It?
Can you do it yourself? Yes, if you’re comfortable working with electricity and ladders. But here’s the reality check: Australian electrical regulations require that any work involving fixed wiring must be performed by a licensed electrician. Replacing a plug? Fine. Rewiring the switch or replacing the junction box? Not fine for DIY.
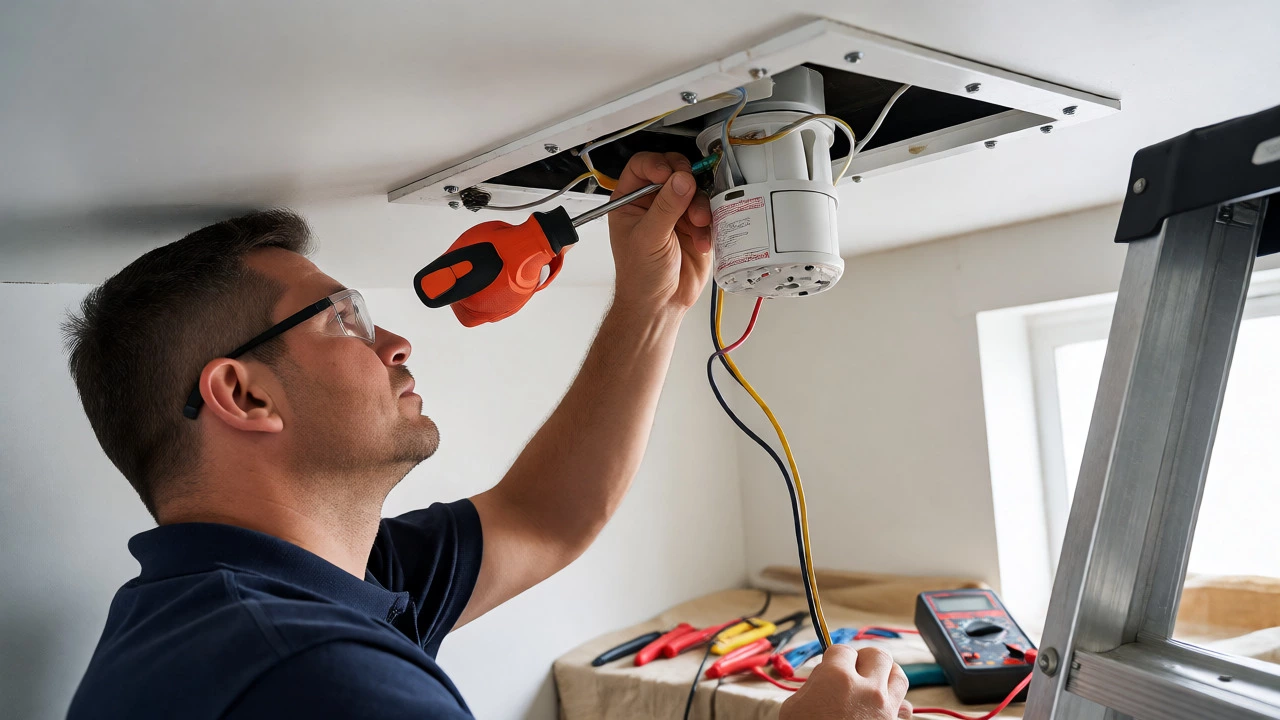
If you’re handy, swapping a fan blade or cleaning a filter is a weekend project. You’ll spend about 30 minutes total. But if the motor is dead, you’re dealing with live wires. One wrong connection and you trip the breaker-or worse. Professionals charge for their speed and their liability. They know exactly which screw holds the housing together without stripping it. They carry spare grommets and wire nuts. They finish the job in one visit.
Consider the risk. If you mess up the seal against the roof membrane during an inline fan repair, you might create a leak that costs thousands to fix later. Is saving $150 on labor worth risking water damage to your ceiling plasterboard?
The Hidden Time Wasters
Here’s where estimates go out the window. Several factors can double the repair time unexpectedly.
- Obsolete Parts: If your fan is more than 10 years old, the manufacturer might not make the specific motor anymore. Finding a compatible universal motor takes research time. A pro might have to order a part, meaning the job spans two visits: diagnosis on day one, installation on day three.
- Painted Over Covers: In older homes, painters often slap paint over the fan cover screws. Breaking the paint seal requires a utility knife and patience. Rushing this cracks the plastic cover, forcing a full replacement instead of a repair.
- Roof Space Hazards: For inline fans, the attic space might be cramped, hot, or filled with insulation that needs careful handling. Navigating a narrow roof void safely takes time. You can’t rush when you’re balancing on trusses.
- Ductwork Issues: Sometimes the fan works fine, but the flexible aluminum duct has collapsed or torn. Rerouting or replacing this duct requires cutting into ceilings or walls, turning a simple repair into minor construction work.
Step-by-Step: What Happens During a Professional Visit
When you book a technician, here is the typical workflow for a 1-hour job:
- Diagnosis (10-15 mins): The tech checks power supply, tests the switch, and listens to the fan. They confirm if it’s the motor, capacitor, or blockage.
- Safety Prep (5 mins): Turning off the circuit breaker and testing for live voltage. Never skip this.
- Disassembly (10-20 mins): Removing covers, disconnecting wires, and pulling the unit out. If screws are rusty, this drags on.
- Repair/Replacement (15-30 mins): Swapping the motor or cleaning the impeller. Wiring the new component securely.
- Testing & Cleanup (5-10 mins): Turning power back on, checking airflow, ensuring no rattles, and vacuuming dust from the floor.
If the tech arrives with the wrong part, add another hour for travel to the supplier and back. Always ask beforehand if they stock common motors for major brands like Broadway, Airplus, or Harvey Norman models.
When to Replace Instead of Repair
Sometimes, fixing takes longer than replacing. If your fan is ancient, noisy, and inefficient, spending two hours repairing a dying motor is a bad use of time. New fans are quieter and more energy-efficient. Installation of a new unit typically takes 1-2 hours for a pro. Compare that to 2-4 hours for a complex repair on an old unit. Often, the timeline favors replacement.
Check the age. If it’s over 10 years old, replace it. If it’s under 5 years old, repair it. The parts availability curve drops sharply after the decade mark.
FAQ: Common Questions About Repair Times
How long does it take to replace an extractor fan motor?
For a standard ceiling-mounted fan, replacing the motor usually takes a professional 45 to 60 minutes. If it is an inline fan located in the roof space, expect 1 to 1.5 hours due to difficult access and the need to secure the unit properly within the joists.
Why is my extractor fan taking so long to dry the bathroom?
If the fan runs but doesn't extract air effectively, the issue is likely a blocked duct or a seized bearing slowing the rotation. Clearing a blockage can take 1-2 hours if the duct is accessible. If the bearings are worn, the motor may need replacement, adding to the total repair time.
Can I fix a noisy extractor fan myself?
Yes, if the noise is due to dust buildup or loose blades. Cleaning the fan and tightening screws takes about 20-30 minutes. However, if the noise is a high-pitched whine or grinding sound, it indicates motor bearing failure. While DIY replacement is possible, it requires electrical safety knowledge and proper tools, potentially taking 1-2 hours for a novice.
Does the type of extractor fan affect repair time?
Absolutely. Ceiling-mounted fans are the fastest to repair (under 1 hour) because they are easily accessible. Inline fans take longer (1-2 hours) because technicians must navigate roof spaces. Wall-mounted fans vary depending on whether the external vent is obstructed; clearing a blocked external vent can add significant time.
What if the repair takes longer than estimated?
Delays usually happen due to unexpected corrosion, missing parts, or complex wiring issues. If a technician encounters severe rust on mounting points, they may need extra time to drill out screws. Always allow a buffer of 30-60 minutes beyond the quoted time for older homes.
Next Steps: Preparing for Your Repair
To keep the repair as fast as possible, do this before the technician arrives:
- Clear the area: Move toiletries and towels away from the sink and counter. Give them elbow room.
- Know your model: Look for a sticker on the side of the fan housing. Note the brand and model number. Send it to the tech beforehand so they bring the right parts.
- Check the switch: Ensure the wall switch actually turns on and off. Sometimes the fan is fine, but the switch is faulty. Diagnosing this quickly saves time.
- Access the roof: If you have an inline fan, ensure the hatch to the roof space is unlocked and clear of debris.
Time is money, but in this case, it’s also comfort. A functioning extractor fan prevents mold, protects your paint, and keeps your bathroom fresh. Don’t let a small repair drag on for weeks. Identify the issue, decide if you’re confident enough to handle the wiring, and set realistic expectations for the job ahead.