Oven Heating Element Diagnostic Tool
Enter your oven's symptoms below to get a likely diagnosis and recommended action.
You put your roast chicken in the electric oven and set it to 200°C. An hour later, the bird is still raw, and the interior feels lukewarm at best. It’s a frustrating scenario that happens to thousands of homeowners every year. Before you panic or call a technician who charges a hefty call-out fee, there’s a good chance the culprit is a simple part: the heating elementa coil made of high-resistance metal (usually nichrome) that converts electrical energy into heat. Knowing how to identify a blown element can save you time, money, and unnecessary stress.
The Visual Clues You Can’t Miss
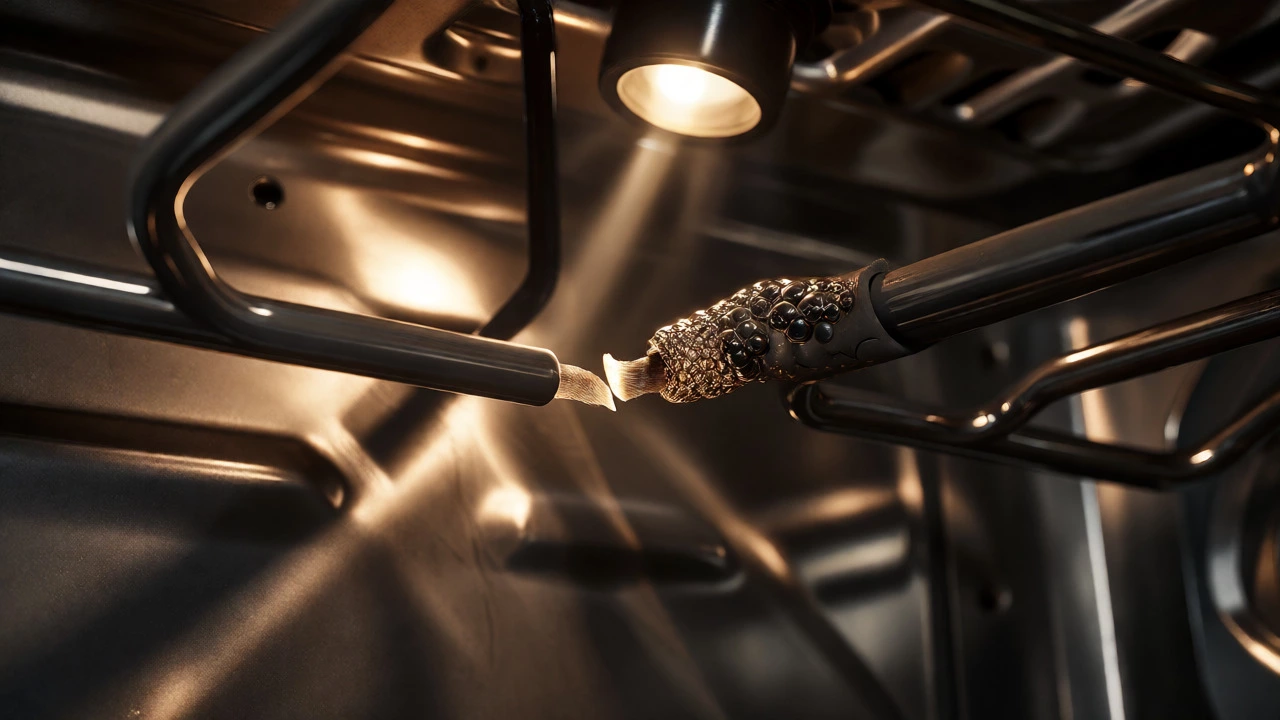
The easiest way to spot trouble is often just looking at the element itself. Most modern ovens have visible elements on the roof (grill) or the floor (bake). If you pull out the racks and shine a flashlight inside, look for physical damage. A healthy element looks like a smooth, uniform gray or black coil. A blown one tells a different story. You might see a gap where the coil has snapped, much like a burnt-out lightbulb filament. Sometimes, the damage isn't a full break but a blistered or bubbled section where the insulation has melted. This indicates an internal short circuit. Even if the coil looks intact from a distance, check the ends where it connects to the oven wall. Burnt marks, discoloration, or loose wires here are red flags that electricity isn't flowing correctly through the component.
Testing with a Multimeter: The Definitive Check
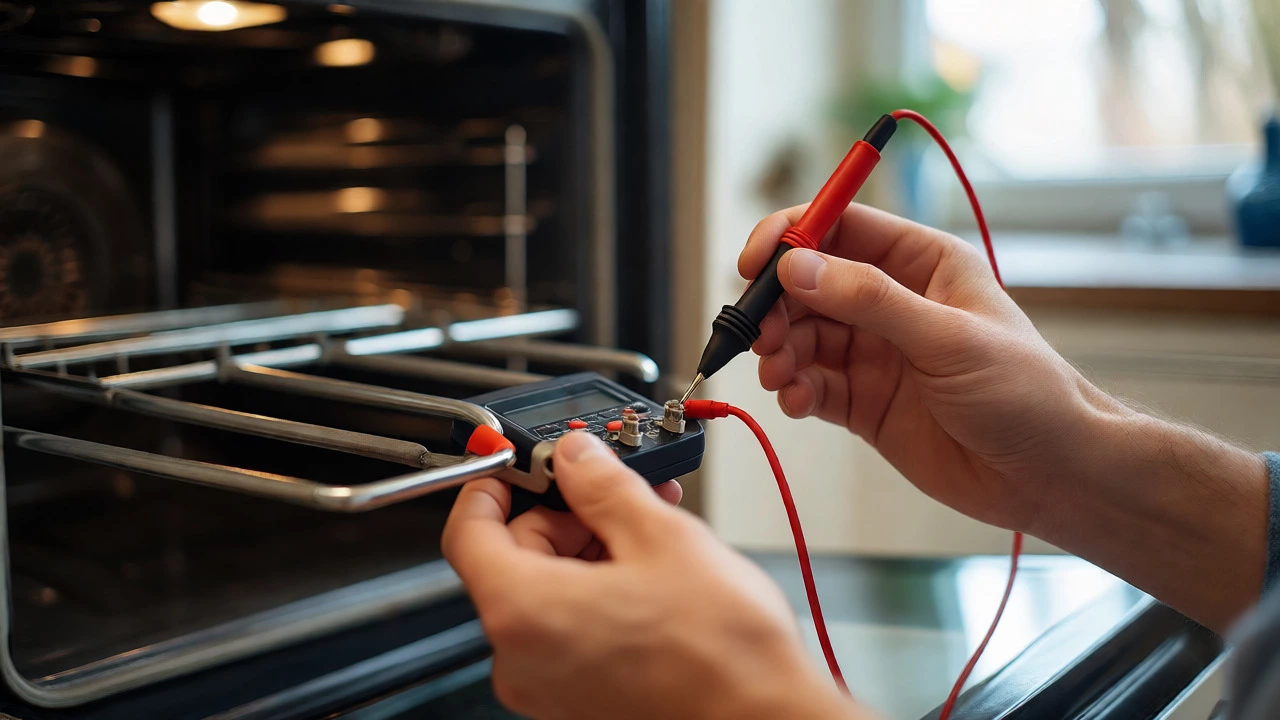
Visual inspection is great, but sometimes a broken element looks perfectly fine to the naked eye. That’s when you need a multimeteran electronic measuring instrument that combines several measurement functions in one unit, typically including voltage, current, and resistance. This tool gives you a concrete answer rather than a guess. Safety first: always unplug the oven or flip the breaker before touching any components. Electricity doesn't play nice with curiosity.
To test the element, you’re checking its continuity. Think of continuity as checking if a bridge is complete so cars (electrons) can cross. If the bridge is out, no traffic flows. Here is how you do it:
- Locate the terminals where the element wires connect to the oven. You may need to remove a back panel depending on your model.
- Set your multimeter to the Ohms (Ω) setting. This measures resistance.
- Touch one probe to each terminal of the element.
- Read the display.
If the multimeter shows a low number, typically between 10 and 50 ohms depending on the element's wattage, the circuit is complete, and the element is likely fine. If it displays "OL" (Open Loop), infinity, or simply nothing changes, the circuit is broken. That means the element is blown. There is no path for the current, so it cannot generate heat.
Distinguishing Between Element Failure and Thermostat Issues
Not every heating problem is the element’s fault. The thermostata temperature control device that opens or closes an electrical contact to maintain a set temperature is another common suspect. How do you tell them apart? Watch the behavior. If the oven heats up initially but then shuts off completely and never turns back on, even when cold, the thermostat might be stuck open. Conversely, if the element glows brightly but the oven doesn't get hot enough, the element might be partially failing, or the insulation around it is compromised.
Another clue lies in which function fails. Many ovens have separate elements for baking (bottom) and grilling (top). If your grill works but the bake mode stays cold, the issue is isolated to the bottom element or its specific wiring. If both modes fail simultaneously, you might be looking at a faulty selector switchthe knob or button used to choose between different oven functions or a main power supply issue, rather than two elements blowing at the exact same time.
Symptoms Table: What Your Oven Is Telling You
It helps to match your specific symptoms to potential causes. Use this quick reference guide to narrow down the diagnosis.
| Symptom | Likely Culprit | Action Required |
|---|---|---|
| Oven does not heat at all; fan runs. | Blown Bake Element | Replace bake element. |
| Grill works, but baking fails. | Blown Bake Element | Inspect and replace lower element. |
| Baking works, but grilling fails. | Blown Grill Element | Inspect and replace upper element. |
| Oven overheats excessively. | Faulty Thermostat | Test or replace thermostat. |
| Element glows unevenly or dimly. | Partial Element Failure | Replace element immediately. |
| No lights, no fan, no heat. | Main Power/Fuse | Check household fuse or oven fuse. |
Replacing the Element: Is It DIY Friendly?
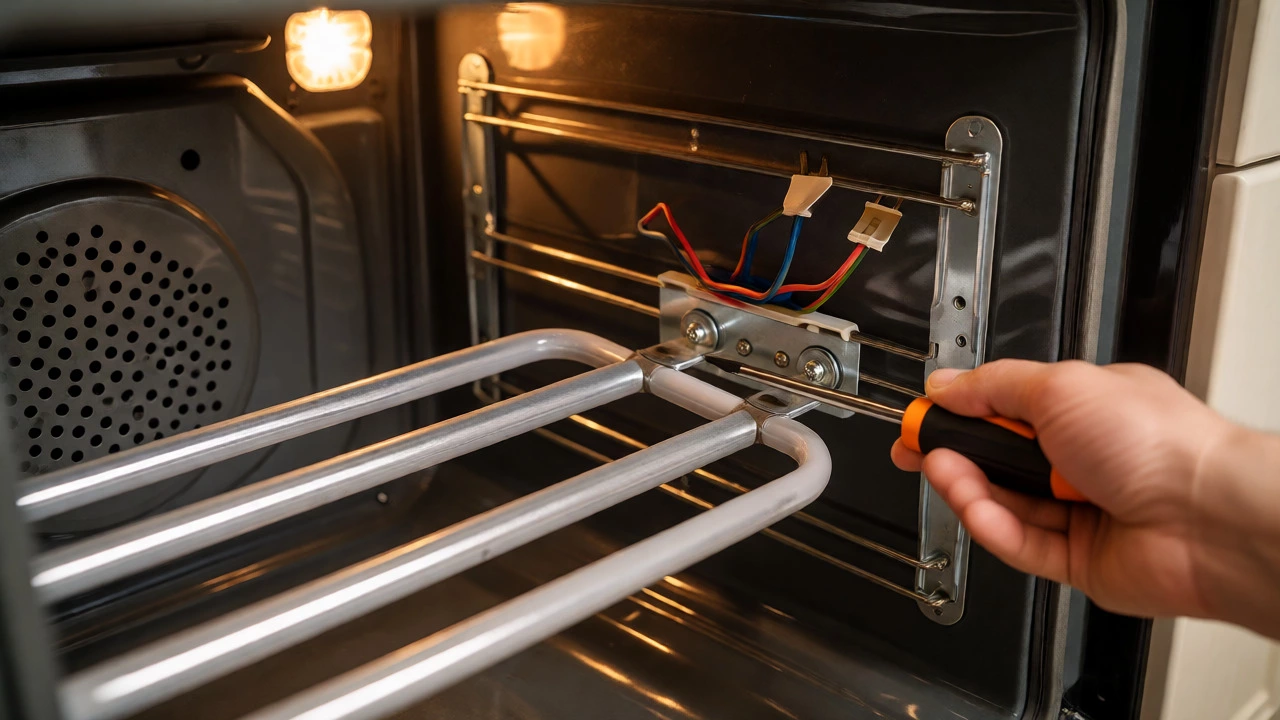
Once you’ve confirmed the element is dead, the next question is whether to fix it yourself. For most standard freestanding ranges and built-in ovens, replacing an element is one of the simplest repairs you can tackle. You generally don’t need specialized tools beyond a screwdriver and perhaps a nut driver. The process usually involves removing the screws holding the element brackets to the rear wall of the oven cavity, pulling the element forward, disconnecting the wire spades, and reversing the steps with the new part.
However, caution is key. Ensure you buy the exact replacement part using your oven’s model number. Elements vary by wattage, shape, and mounting style. A mismatch can lead to poor heating performance or safety hazards. If your oven is under warranty, check the terms first. Some manufacturers void warranties if non-approved parts are installed or if unauthorized repairs are attempted.
When to Call a Professional
While swapping an element is straightforward, certain situations demand expert help. If your multimeter tests show the element is fine, yet the oven still won’t heat, the problem could lie deeper in the control board or the relay system. These components require advanced diagnostic skills and often cost more to repair than the labor involved. Similarly, if you smell burning plastic or see smoke coming from behind the panels, stop immediately. This could indicate a wiring harness melting due to a short elsewhere in the system. Don’t risk an electrical fire by guessing. A certified appliance technician can trace the fault quickly and safely.
Can I drive my car while my oven element is blown?
Yes, you can continue using other functions if they work independently. For example, if only the bake element is blown, you can still use the grill or convection fan features. However, avoid using the affected mode until repaired to prevent further strain on the selector switch or control board.
How long does an oven heating element last?
With regular use, a heating element typically lasts between 5 to 10 years. Factors like frequent self-cleaning cycles, which expose the element to extreme temperatures repeatedly, can shorten this lifespan significantly. Heavy commercial use will reduce it further.
Why did my new oven element blow after a few months?
This often points to an underlying issue rather than a defective part. Common causes include a faulty thermostat causing the element to run too hot, poor ventilation around the oven allowing heat buildup, or using the wrong wattage replacement part. Always verify compatibility and ensure airflow vents aren't blocked.
Is it safe to touch a heating element right after cooking?
No. Elements reach temperatures exceeding 400°F (200°C) and retain heat for a long time. Always wait at least 30 minutes after turning off the oven before attempting inspection or cleaning to avoid severe burns.
Do all ovens have replaceable elements?
Most residential electric ovens have replaceable elements. However, some integrated or high-end European models may have elements sealed within glass panels or complex assemblies that require professional disassembly. Check your user manual for serviceability details.