
So, your extractor fan just decided it’s time for a break and you’re left wondering what went wrong. Believe it or not, this is a pretty common dilemma in households. Fans can stop humming along for a bunch of reasons, some of which are surprisingly easy to fix. First up, let’s think about the power supply. Have you checked if it’s getting the juice it needs? Sometimes, it could just be a tripped circuit breaker or a blown fuse that’s playing hard to get.
Another sneaky culprit could be the ductwork. If your vents are clogged with dust or even lint, your fan is not going to be a happy camper. It’s like trying to breathe through a straw—nobody wants that. A thorough clean might just do the trick to get things spinning smoothly again.
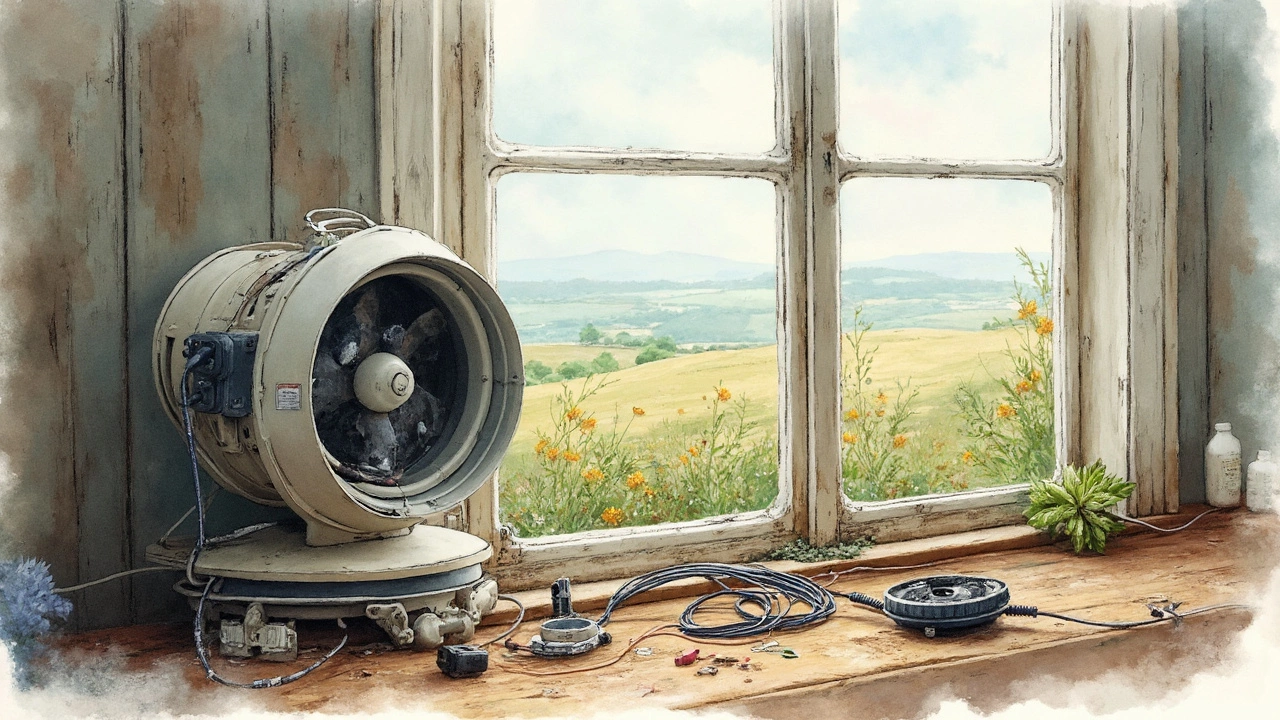
But wait, there’s more! Every extractor fan comes with moving parts and motors that, over time, decide they’ve had enough. These components can wear out, get stuck, or just plain fail. A little detective work to identify unusual noises or vibrations might point you towards the guilty gear.
Before you give up and dial a repair guy, there are a few simple things you can try yourself. Cleanup, tightening a loose screw, or replacing a small part might be all it takes. Not only will you get your fan back in action, but you’ll also learn something new along the way.
- Common Causes of Extractor Fan Failure
- Power Supply Troubles
- Blocked Ductwork and Ventilation
- Motor and Mechanical Issues
- DIY Fixes and Maintenance Tips
Common Causes of Extractor Fan Failure
If your extractor fan has stopped working, it’s like having a silent protest in your kitchen or bathroom. These fans may seem simple, but they rely on several components all working in harmony. So, what usually goes wrong?
One of the prevalent issues is power supply troubles. It's worth checking if there’s an issue with the circuit breaker or if a fuse has blown. Sometimes, a loose connection or a faulty switch could be the sneaky cause that’s keeping your fan off duty.
Then there's the problem with blocked ductwork. Fans need to push air out effectively, so if vents are clogged up with dust, grease, or the occasional spider web, they can’t do their job. This blockage can strain your fan’s motor and reduce its lifespan significantly.
And let’s not forget about wear and tear on mechanical parts. The fan’s motor can get tired and overheat, especially if it's constantly fighting against gunked-up blades or an obstructed vent. A malfunctioning motor might vibrate loudly, or worse, stop spinning altogether.
Lastly, humidity can also play a part. Believe it or not, excessive moisture can lead to rusting of metal components or mildew build-up in the vent pathways. This isn’t just a health hazard; it also restricts airflow.
By understanding these typical issues, you can tackle them head-on. Regular checks and maintenance can often nip these problems in the bud, saving you the stress of a fan that’s gone rogue.
Power Supply Troubles
Electricity is like the unsung hero behind your extractor fan, so when things go awry here, your fan can throw a tantrum. Sometimes, the issue isn't as complicated as you might think—it could simply be a tripped breaker or a faulty fuse. That's the kind of problem you can fix without breaking a sweat.
First off, head to your circuit breaker panel. Check if any of the switches are flipped to 'off' or somewhere in between. If that's the case, flick it back to 'on'. Simple, right? If only all fixes in life were this easy!
Next, test the socket outlet itself. You can use a multimeter to see if there's power reaching the fan. No fancy tools? No problem—just plug in a lamp or another small device. If it doesn’t light up, then your socket might be the one acting up. In that case, consider calling an electrician, unless you're a whiz with circuits.
Occasionally, the wiring may become loose or damaged. If you're comfortable with a screwdriver, gently unscrew the fan’s housing and check the connections. Make sure everything's tight and nothing's frayed. Be cautious while doing this, though—and double-check that you've turned power off before diving in!
- Check the circuit breaker and reset if needed.
- Test the wall socket for power using a multimeter or a simple lamp.
- Inspect the wiring inside the fan housing.
- Ensure everything is tightly connected and not damaged.
Remember, working around electricity is no joke, so if you’re unsure about anything, it’s better to call in a professional. It's all about getting your extractor fan back up safely. Nobody needs extra drama, right?

Blocked Ductwork and Ventilation
Ever tried to breathe with a stuffed-up nose? Well, that’s exactly what your extractor fan feels when its ductwork is clogged. It’s no surprise that blocked vents can cause your fan to stop doing its job. Luckily, with a bit of elbow grease, it's a straightforward issue to address.
First, let’s talk about what blocks these ducts in the first place. It’s usually a mix of dust, grease, and sometimes even critters who thought your ventilation looked cozy. Over time, these can build up and create a nasty blockage. Regular cleaning can help ensure that airflow remains clear and your fan stays functional.
If you’re ready to tackle it yourself, here’s how you can check and clean your ducts:
- Turn off the power to your extractor fan to avoid any accidents. Safety first!
- Remove the cover or grate from your fan. You might need a screwdriver for this, depending on the model.
- With a flashlight, take a peek inside the ductwork. Look for any visible blockages or build-up.
- If you see any obstructions, gently remove them using a cloth or a vacuum cleaner with a hose attachment.
- For stubborn grime, a mix of warm water and detergent can work wonders. Just be gentle to avoid damaging any parts.
- Once you’ve cleared the blockages, replace the cover, make sure it’s secure, and turn the power back on.
This small maintenance task can have a big impact on your fan’s performance. Regularly checking your system can save you from bigger headaches down the line. Remember, a clean vent is a happy vent!
| Common Duct Blockers | Impact |
|---|---|
| Dust | Reduces airflow |
| Grease | Causes fan to overheat |
| Critters | Complete blockages |
By keeping tabs on your ductwork and ensuring that everything stays clear, you'll help your fan keep the air moving like it should. It's a simple step that can save you time, money, and a lot of hassle!
Motor and Mechanical Issues
Alright, time to tackle some of the guts of your extractor fan. When your fan stops spinning or makes those annoying noises, there's a good chance the motor or some mechanical part is causing the fuss. If the motor's not getting the power it needs, maybe it's just worn out from keeping your rooms fresh.
First off, motors can overheat. Imagine running a marathon in a snowsuit. Not fun, right? If there's a blockage somewhere or the fan's been running non-stop, it can get too hot. A simple way to cool things down is by letting it rest then giving it a quick test run to see if it springs back to life.
Now, let's talk about those pesky bearings and belts. If they’re worn out, they’ll drag everything down. You might notice some grinding or rattling—definite indicators you’ve got some mechanical drama. Pop the fan cover and give it a look. Worn belts need replacing, and sometimes just lubing up the bearings can work wonders.
If your fan has blades that aren’t playing nice, bent or broken blades could upend the whole show. This can throw off balance, causing extra noise or making the motor struggle. Carefully straighten bent blades or replace the busted ones.
While most of these fixes are DIY-friendly, if you're not comfortable, feel free to call in the pros. Better safe than sorry!
- Check motor for signs of overheating; allow proper cooling.
- Inspect and replace worn belts.
- Lubricate bearings to ensure smoother operation.
- Examine fan blades for damage—adjust or replace as needed.
Keep in mind, regular maintenance goes a long way in keeping your friend spinning. Cleaning the motor housing and checking components during routine cleanups can save you lots of hassle later on.
DIY Fixes and Maintenance Tips
When your extractor fan decides to take a nap, don’t stress too much. There are plenty of simple fixes you can try before thinking about replacements or calling in a pro. Let’s break it down step by step, and who knows, you might just discover your hidden handyman skills!
First things first, let’s make sure it’s all plugged in right. Check the power supply. If everything’s in place, yet the fan’s silent, look at the circuit breaker or fuse box. Sometimes a flip of a switch might be all it takes to give your fan a new lease on life.
Now, if the power situation is sorted and it’s still not working, it might be time for some cleaning. Dust and debris are not your fan's friends. Here’s how you can clean it up:
- Turn off the power: Safety first. Double-check it’s off.
- Take off the cover: Most covers pop off easily; some need unscrewing.
- Give it a wipe: Use a damp cloth to clean the cover and fan blades. A vacuum with a brush attachment can help tackle stubborn dust.
- Reattach and test: Once everything’s squeaky clean, put it back together and power up.
If cleaning doesn’t do the trick, let’s turn our attention to the ventilation system. Sometimes, it’s not the fan itself but a pesky blockage that’s causing the hiccup. Here’s a quick tip: step outside and check the exterior vent. Leaves, lint, and assorted outdoor debris love to cozy up there, blocking airflow.
Another place to look is the fan’s motor. If your fan buzzes but doesn’t turn, reaching out to the motor might help. Give it a nudge with a stick or screwdriver (just to test), but be careful not to damage it. If nothing moves, the motor might be jammed or, worse, burned out.
It might shock you how sometimes just tightening a loose screw or fastening wires with electrical tape can work wonders. A bit of elbow grease and simple tools could save you a call to the repair guy and quite a few bucks.
Finally, regular upkeep can help prevent future standoffs with your fan. Consider establishing a cleaning routine every few months to keep dust from settling in. Keeping an eye on it from time to time ensures it stays in tip-top shape.
Who knew being a DIY enthusiast could be this rewarding? A little effort goes a long way to keep your ventilation running smoothly, and it’s satisfying to know you did it yourself.