Pressure Cooker Repair vs. Replace Calculator
Use this tool to determine if you should fix your pressure cooker or buy a new one. Enter the details below.
You’re halfway through cooking a stew when your pressure cooker starts hissing like a steam train or refuses to build up any pressure at all. Your first instinct might be to toss it in the bin and buy a new one. After all, these appliances aren’t exactly cheap, and safety is a legitimate concern when dealing with high heat and trapped steam. But here’s the thing: most pressure cooker failures are minor, fixable issues that don’t require replacing the entire unit.
The short answer is yes, you can often repair a pressure cooker yourself, especially if it’s an electric model like an Instant Pot or a standard stovetop version. The long answer depends on what’s actually broken. Some parts wear out naturally and cost less than $20 to replace. Others involve critical safety components where DIY repairs get risky. This guide walks you through exactly what breaks, what you can fix, and when you should call a pro-or just admit defeat and upgrade.
Why Pressure Cookers Fail (And What That Means for You)
Pressure cookers work by trapping steam, which raises the internal temperature and cooks food faster. To do this safely, they rely on several mechanical and electronic components working in harmony. When one fails, the whole system stops working correctly. Understanding the root cause helps you decide if a repair is worth your time.
Most breakdowns fall into three categories:
- Sealing Issues: The lid won’t seal properly, letting steam escape before pressure builds. This is usually due to a worn-out gasket or a misaligned lid.
- Sensor or Electronics Failure: Common in electric models. If the display doesn’t light up, or the unit cycles on and off randomly, you’re likely looking at a faulty control board, heating element, or sensor.
- Mechanical Blockages: Food particles clog the steam release valve or float valve, preventing proper pressure regulation.
Stovetop models tend to have fewer electronic points of failure but more wear on rubber seals and valves. Electric models, while convenient, add complexity with circuit boards and digital interfaces. Knowing which type you own changes the repair strategy significantly.
The Most Common Fixes You Can Do Yourself
Before you spend money on professional help, check these common culprits. In my experience helping neighbors in Perth troubleshoot their kitchen gear, about 60% of "broken" pressure cookers just need cleaning or a simple part swap.
Replacing the Silicone Gasket (Sealing Ring)
The silicone gasket, also called a sealing ring, sits between the lid and the pot body. Over time, heat and food acids degrade the silicone, causing it to harden, crack, or lose its elasticity. If you hear steam escaping from the sides of the lid during operation, this is almost certainly the problem.
Gaskets are inexpensive-usually between $5 and $15-and easy to find online using your model number. To replace one, simply pop the old ring out of the groove in the lid and press the new one in. Make sure it’s seated evenly all the way around. No tools required. If the old gasket smells strongly of curry or garlic, consider replacing it even if it looks fine; porous silicone holds onto odors and flavors permanently.
Cleaning the Steam Release Valve and Float Valve
Electric pressure cookers have two key valves: the steam release valve (the knob you turn) and the float valve (a small pin that pops up when pressure builds). Food debris, starch, or mineral buildup can jam these mechanisms.
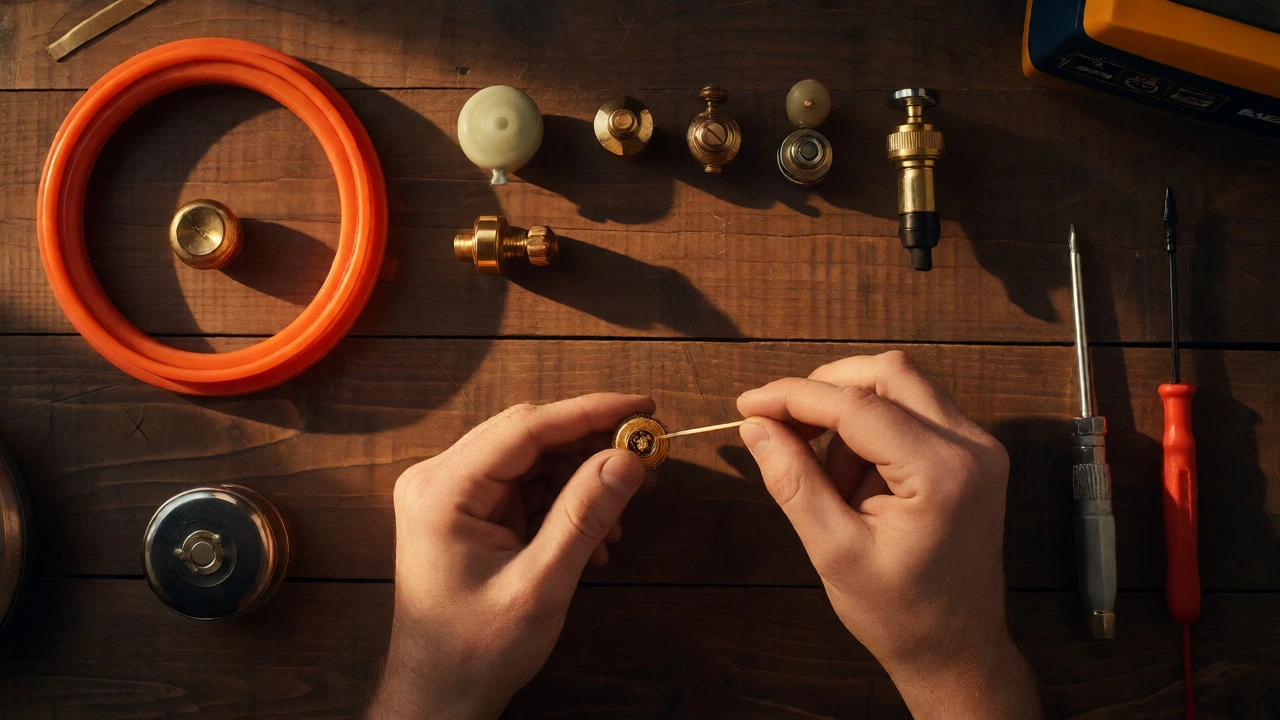
If your cooker isn’t building pressure, check the float valve. It should move freely up and down. If it’s stuck, remove it (most models allow this without tools) and wash it with warm soapy water. Use a toothpick to clear any dried-on food from the hole it sits in. For the steam release valve, ensure it’s not blocked. A clogged valve can cause the cooker to vent continuously or fail to reach pressure, triggering error codes like "No Pressure" or "E4."
Checking the Lid Alignment
This sounds trivial, but it’s surprisingly common. If the lid isn’t locked perfectly, the safety interlock prevents the cooker from starting, or steam leaks out. Inspect the locking mechanism for cracks or warping. Ensure the handles align straight. If the plastic handle feels loose or wobbly, the internal latch may be broken, requiring a full lid replacement.
When Electronics Are the Problem
If your electric pressure cooker shows no signs of life-no lights, no sound-the issue might be electrical. Start with the simplest checks:
- Power Supply: Test the outlet with another device. Check the power cord for fraying or damage near the plug or where it enters the base.
- Fuse: Many models have an internal thermal fuse. If the unit overheated, this fuse blows to prevent fire. Replacing it requires opening the base casing, which usually involves removing four screws. If you’re comfortable with basic screwdrivers, this is a manageable job. Thermal fuses cost under $10.
- Heating Element: If the unit powers on but never heats up, the heating element might be dead. Multimeter testing can confirm continuity. Replacement elements cost $20-$40, but labor-intensive access makes this borderline DIY territory unless you enjoy tinkering.
Error codes like "E1" (sensor open) or "E2" (sensor shorted) point to faulty temperature sensors. These are small thermistors attached to the inner pot or heating plate. They’re cheap ($5-$10) but tricky to replace because they’re often glued or tightly fitted. If you’re not confident soldering wires, skip this one.
What You Should Never Fix Yourself
Safety trumps savings. Certain components are non-negotiable when it comes to professional assessment or replacement.
| Component | DIY Feasibility | Risk Level | Estimated Cost (Parts) |
|---|---|---|---|
| Silicone Gasket | High | Low | $5-$15 |
| Steam/Float Valve | High | Low | $5-$20 |
| Inner Pot (Non-stick) | High | Low | $20-$40 |
| Lid Handle/Latch | Medium | Medium | $15-$30 |
| Thermal Fuse | Medium | Medium | $5-$10 |
| Main Control Board | Low | High | $30-$80 |
| Pressure Regulator (Stovetop) | Low | High | $15-$25 |
Never attempt to repair the main pressure regulator on a stovetop model if it’s damaged. This component controls the maximum pressure inside the pot. If it fails closed, pressure could exceed safe limits, leading to potential explosion. Manufacturers recommend replacing these regularly rather than repairing them. Similarly, if the stainless steel body itself is dented deeply or warped, discard the unit. Deformation compromises structural integrity under pressure.
Repair vs. Replace: Doing the Math
So, when does fixing make sense? Here’s a rule of thumb I use when advising friends:
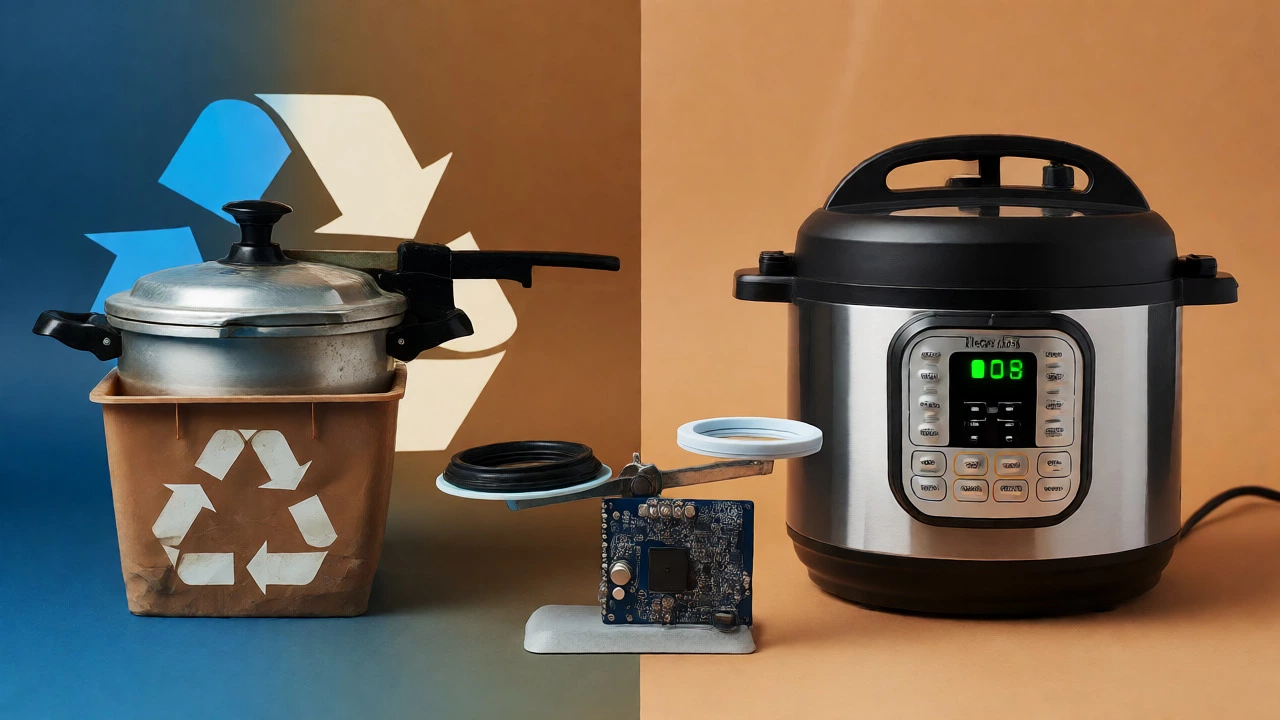
- Repair if: The part costs less than 25% of the price of a new cooker, AND the cooker is less than 5 years old. Example: A $15 gasket for a $100 Instant Pot? Absolutely fix it.
- Replace if: The main control board or heating element fails on a budget model (<$80), OR the cooker is over 7 years old. Technology improves fast; newer models are quieter, safer, and more energy-efficient.
- Consider Professional Service if: The unit is expensive (premium brands like Breville or Fissler), still under warranty, or you’re uncomfortable opening the casing. Local appliance repair shops in Perth often charge $80-$120 per hour, so weigh that against the cost of a new unit.
Also, check the manufacturer’s stance. Some brands, like Instant Brands, sell spare parts directly and encourage DIY maintenance. Others, particularly European stovetop brands, design units as sealed systems, making disassembly difficult and voiding warranties.
Tips to Extend Your Pressure Cooker’s Life
Prevention beats cure every time. Follow these habits to avoid future repairs:
- Don’t submerge the base: Electric models have electronics in the bottom housing. Wipe spills immediately and never dunk the base in water.
- Inspect the gasket monthly: Look for cracks or stretching. Rotate it occasionally to ensure even wear.
- Clear the vents after every use: Starches and foamy foods can clog valves. Rinse the float valve and wipe the steam release port.
- Avoid abrasive cleaners: Scratching the non-stick inner pot reduces its lifespan and can lead to uneven heating.
- Store with the lid upside down: This allows air circulation, preventing mold and odor buildup in the gasket.
If you live in an area with hard water, like many parts of Western Australia, descale the inner pot and heating plate periodically with vinegar solution. Mineral buildup insulates the heating element, causing inefficiency and eventual burnout.
How long do pressure cooker gaskets last?
Typically, silicone gaskets last 12 to 24 months with regular use. However, frequent exposure to high heat, acidic foods, or dishwasher cleaning can degrade them faster. Replace them immediately if you notice steam leaking from the lid seam or if the material feels brittle or stretched.
Is it safe to use a pressure cooker with a cracked lid?
No. Even a small crack in the plastic lid or handle can compromise the structural integrity needed to contain high pressure. Cracks can expand rapidly under heat, leading to sudden failure. Always replace a cracked lid; do not attempt to glue it.
Can I wash the silicone ring in the dishwasher?
Most manufacturers say yes, but top-rack only. High heat and harsh detergents in the lower rack can accelerate degradation. Hand washing with mild soap is gentler and extends the life of the seal. If you do use the dishwasher, inspect the ring frequently for signs of hardening.
My electric pressure cooker displays an error code. Can I fix it?
Often, yes. Error codes usually indicate specific issues like sensor faults (E1/E2), overheating (E3), or lid detection problems. Consult your user manual for the code meaning. Simple fixes include resetting the unit, checking for food blockage in the sensor area, or ensuring the lid is fully locked. If the code persists after cleaning and resetting, the sensor or control board may need replacement.
Are stovetop pressure cookers easier to repair than electric ones?
Generally, yes. Stovetop models have fewer electronic components. Their main wear items are gaskets, valves, and handles, which are mechanically simple to replace. Electric models involve complex circuitry, making diagnostics harder and repairs potentially more expensive unless you’re handy with electronics.