DIY Dryer Repair Decision Tool
Answer the questions below to determine if your dryer issue is a safe DIY project or requires a certified technician.
Select options and click Analyze to see recommendations.
You’re standing in the laundry room, staring at a tumble dryer that’s cold to the touch or refusing to spin. The first instinct is panic, followed by the dread of calling a technician and watching your bank account shrink. But here’s the truth: most common dryer failures are surprisingly simple to diagnose and often easy to fix with basic tools you already own.
Before you grab your screwdriver, let’s get one thing straight. You can absolutely fix many issues yourself, but safety is non-negotiable. Dryers combine high voltage electricity with intense heat and moving parts. If you respect those boundaries, you’ll save hundreds of dollars and learn a valuable skill. If you ignore them, you risk damaging the machine further-or worse, hurting yourself. This guide breaks down exactly what you can handle, what requires a pro, and how to tackle the most frequent problems without breaking a sweat.
The Golden Rule: Safety First, Always
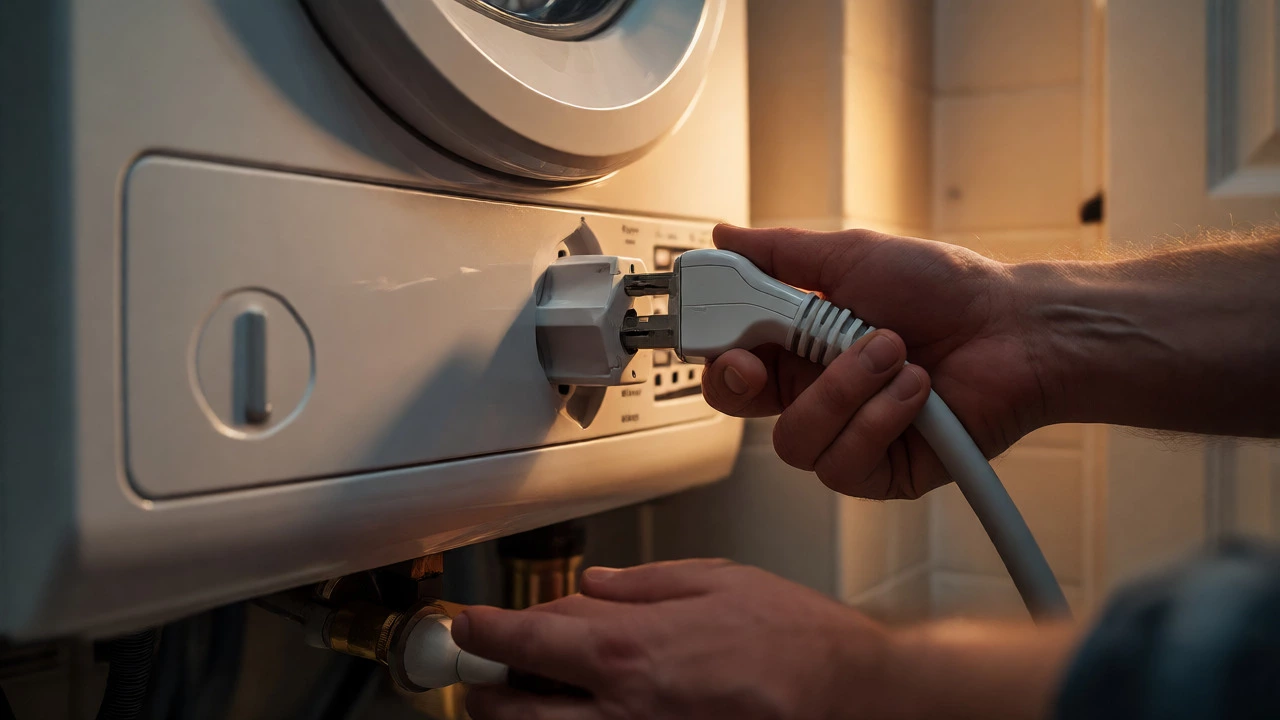
There is no such thing as "careful enough" when dealing with mains power. Before you even think about opening the panel, unplug the dryer from the wall outlet. For electric dryers, this means pulling the plug. For gas models, you also need to shut off the gas supply valve behind the unit. Never assume the machine is off just because it isn’t running; capacitors can hold a charge, and internal circuits remain live if plugged in.
Another critical safety check involves the exhaust system. Lint buildup isn’t just an efficiency killer; it’s a fire hazard. According to the U.S. Consumer Product Safety Commission, failure to clean lint traps contributes significantly to residential fires. While you have the back panel open for repairs, take ten minutes to vacuum out the vent hose and ensure the exterior flap opens freely. It’s a free fix that prevents future headaches.
Diagnosing the Problem: What’s Actually Wrong?
Most people say their dryer is "broken," but that’s too vague. To fix it, you need to know *how* it’s broken. Here are the three most common scenarios homeowners face, along with the likely culprits.
- Dryer runs but doesn’t heat: This is the classic complaint. The drum spins, the timer ticks, but clothes come out damp. In electric dryers, this usually points to a blown thermal fuse or a faulty heating element. In gas dryers, it’s often the igniter or the flame sensor.
- Dryer won’t start at all: No lights, no sound, no spin. Check the door switch first. If the machine thinks the door is open, it won’t engage the motor. Next, look at the main control board or the start switch. Sometimes, it’s simply a tripped circuit breaker in your home’s electrical panel.
- Dryer makes loud noises: Squealing, thumping, or grinding sounds indicate mechanical wear. Thumping usually means worn drum glides or rollers. Grinding often suggests a failing idler pulley or bearing. These are mechanical fixes that require disassembly but rarely involve complex electronics.
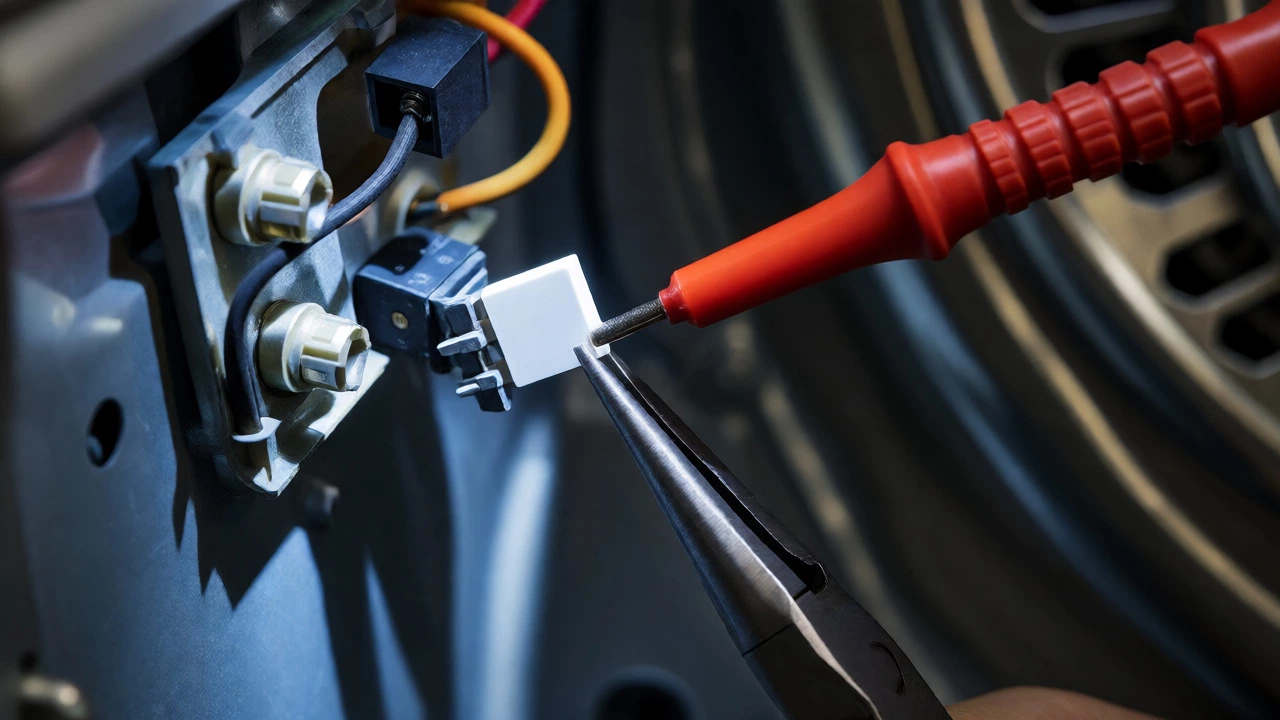
Don’t guess. Use a multimeter to test components. It costs less than $30 and tells you definitively whether a part is dead or alive. Guessing leads to buying unnecessary parts, which wastes money and time.
Common Fixes You Can Do Yourself
Once you’ve identified the symptom, here’s how to address the top three DIY-friendly repairs. Note that specific steps vary by brand (Samsung, LG, Whirlpool, etc.), so always consult your user manual or a model-specific video tutorial before starting.
Replacing the Thermal Fuse
The thermal fuse is a small, inexpensive safety device that cuts power to the heater if the dryer overheats. When it blows, the dryer stops heating entirely. It’s a one-time-use component, meaning once it fails, it must be replaced.
- Unplug the dryer and pull it away from the wall.
- Remove the rear access panel using a screwdriver.
- Locate the thermal fuse on the blower housing or near the heating element. It looks like a small white rectangle with two wires attached.
- Disconnect the wires (take a photo first so you remember where they go).
- Unscrew the old fuse and install the new one.
- Reassemble and test.
This repair takes about 15 minutes and costs around $10-$15 for the part. If the fuse keeps blowing after replacement, you have an airflow blockage causing overheating. Clean your vents thoroughly.
Fixing a Broken Door Switch
If your dryer starts only when you jiggle the door, the door switch is failing. This switch completes the circuit when the door closes. Over time, the plastic tab wears down or the internal contacts corrode.
To replace it, you’ll typically need to remove the front panel. Unplug the wire harness connected to the switch, snap out the old switch, and clip in the new one. Ensure the door latch aligns correctly with the new switch. Test it by closing the door firmly-you should hear a distinct click. If the dryer starts immediately, you’ve nailed it.
Clearing a Clogged Vent System
While not a "part replacement," clearing the vent is the most impactful maintenance task you can do. A clogged vent forces the dryer to work harder, shortening its lifespan and increasing energy bills. In Perth’s humid climate, moisture retention is a bigger issue, making proper ventilation crucial.
Detach the flexible duct from the back of the dryer. Use a brush kit or a leaf blower to push debris out through the exterior vent hood. Check the interior drum seal for gaps where hot air escapes. If the seal is torn, replace it. A good seal ensures hot air stays inside the drum, drying clothes faster.
When to Call a Professional
DIY has limits. Recognizing when to stop saves you from frustration and potential damage. Here are the clear indicators that you need a certified technician.
| Issue | DIY Difficulty | Risk Level | Recommendation |
|---|---|---|---|
| Blown Thermal Fuse | Easy | Low | Do it yourself |
| Worn Drum Rollers | Moderate | Medium | DIY if handy |
| Faulty Heating Element | Moderate | Medium | DIY possible |
| Main Control Board Failure | Hard | High | Call a Pro |
| Gas Valve Issues | Hard | High | Call a Pro |
| Motor Replacement | Hard | High | Call a Pro |
Control boards are expensive and tricky to troubleshoot. Misdiagnosing a board issue can lead to replacing the wrong part multiple times. Similarly, gas appliances involve combustion risks. If you smell gas or suspect a leak, leave the house and call a professional immediately. Don’t attempt gas line repairs unless you’re licensed.
Tools and Parts You’ll Need
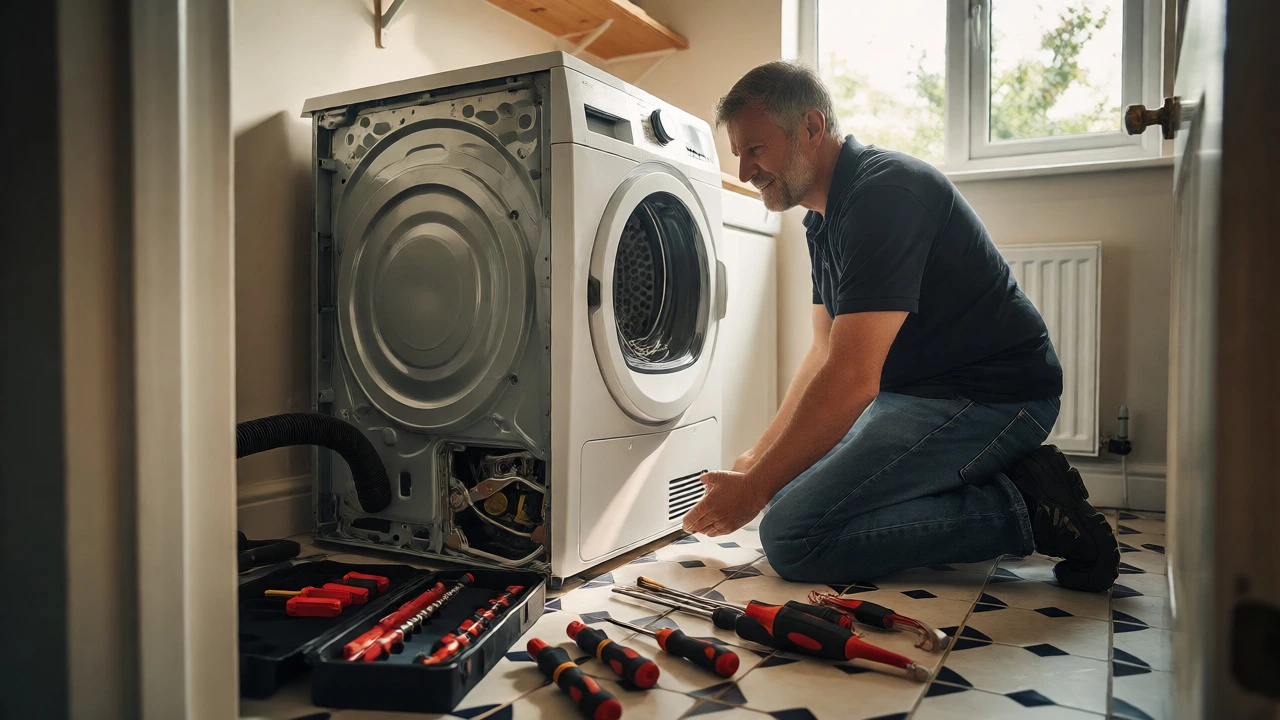
You don’t need a workshop full of gear. Most dryer repairs require a basic toolkit. Having these ready speeds up the process and prevents mid-repair trips to the hardware store.
- Screwdrivers: Both Phillips head and flathead. Many dryers use Torx screws, so consider adding a T15 or T20 driver.
- Nut Driver Set: Often needed for removing panels or securing motors.
- Multimeter: Essential for testing continuity in fuses, switches, and heaters.
- Pliers: Needle-nose pliers help disconnect stubborn wire connectors.
- Vacuum Cleaner: With a crevice tool for cleaning lint from tight spaces.
- Flashlight: Laundry rooms are often dimly lit behind the machine.
Order parts online using your exact model number. Model numbers are usually located inside the door frame or on the back panel. Using the correct part ensures compatibility and avoids return hassles.
Cost-Benefit Analysis: Is It Worth It?
Let’s talk money. A service call in Australia typically ranges from $150 to $250, plus parts. A DIY repair might cost $20 to $80 for parts, depending on the issue. However, age matters. If your dryer is over 10 years old and needs a major repair like a motor or transmission, consider replacement instead. Modern dryers are more energy-efficient, potentially saving you money on utility bills over time.
For newer machines (under 7 years), repairing is almost always cheaper than buying new. Plus, you keep a working appliance out of landfill. Just weigh the repair cost against the value of the machine. If the repair exceeds 50% of the cost of a new comparable model, think twice.
How long do tumble dryers usually last?
On average, a well-maintained tumble dryer lasts between 10 and 13 years. Regular cleaning of the lint filter and vent system can extend this lifespan. Neglecting maintenance often leads to premature failure due to overheating or motor strain.
Why is my dryer taking forever to dry clothes?
Slow drying is almost always caused by restricted airflow. Check the lint screen after every load. Inspect the vent hose for kinks or blockages. Also, ensure you aren't overloading the drum, which prevents proper tumbling and air circulation.
Can I replace the belt on my dryer myself?
Yes, replacing a dryer belt is a common DIY task. It requires disassembling the front or rear panel to access the drum and motor. You will need to route the new belt around the drum and motor pulley carefully. Follow a model-specific video guide, as routing paths vary by manufacturer.
What does it mean if my dryer smells like burning?
A burning smell usually indicates trapped lint hitting the heating element or a slipping belt. Stop the cycle immediately. Clean the lint trap and inspect the vent. If the smell persists after cleaning, the belt may be worn and rubbing against the drum, requiring replacement.
Is it safe to run a dryer with a broken door switch?
It is unsafe. The door switch is a safety feature designed to stop the drum when opened. Bypassing it or running with a faulty switch risks injury from moving parts and can cause the dryer to continue heating unnecessarily, leading to overheating.