Water Heater Flush Planner & Checklist
Pre-Flight Safety Check
Verify these conditions before starting. If any are false, consider calling a pro.
Tools & Materials
Tick off items as you gather them.
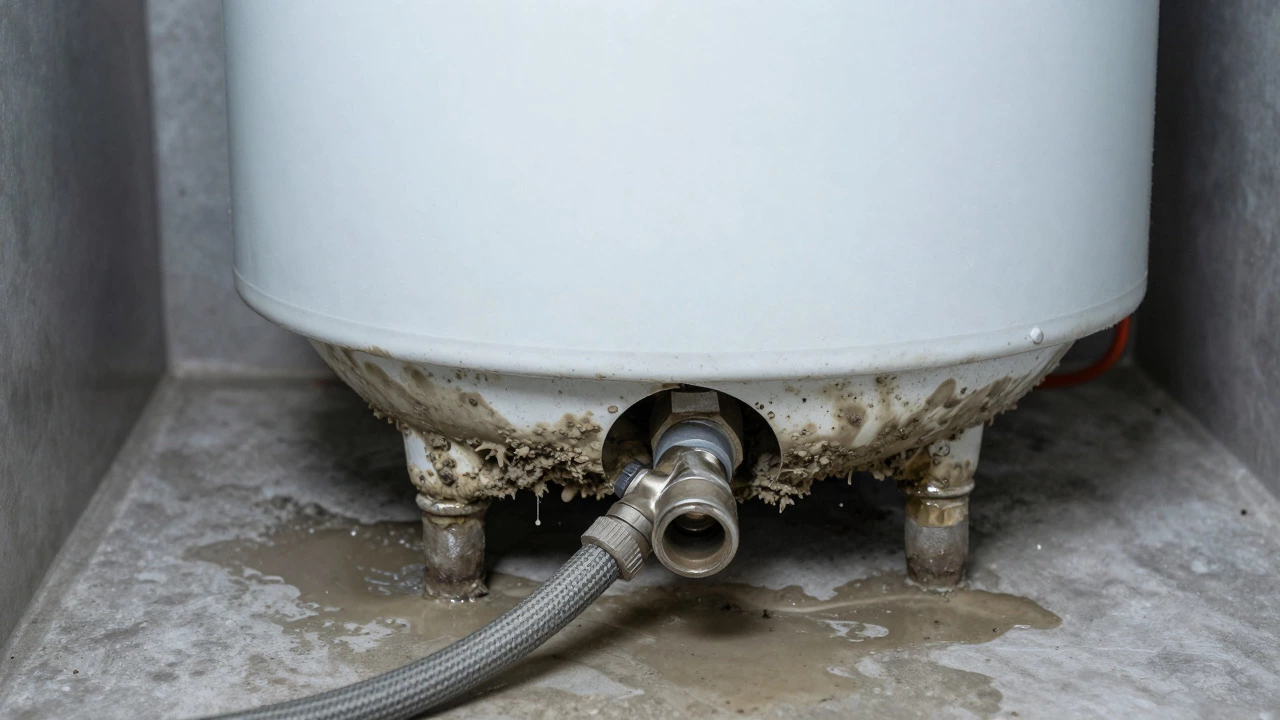
Imagine turning on the tap for a hot shower only to hear a loud rumbling sound coming from the closet. That noise is usually sediment-minerals and debris-that has settled at the bottom of your water heater is a device that heats and stores water for domestic use, typically consisting of a storage tank, heating elements or burner, and safety valves. Over time, this buildup reduces efficiency, increases energy bills, and can eventually cause leaks. Many homeowners wonder if they can handle this cleanup themselves without calling a plumber. The short answer is yes, but it requires the right tools, a bit of patience, and strict attention to safety.
Flushing a water heater is one of the most effective ways to extend its lifespan. By removing the accumulated sludge, you restore heat transfer efficiency and prevent corrosion. However, not all tanks are created equal. Gas models have different access points than electric units, and older systems might be more fragile. Before you grab a wrench, you need to understand what you’re dealing with and whether your specific setup allows for a safe DIY approach.
Why Sediment Buildup Is a Problem
Sediment isn't just dirt; it’s a mix of calcium, magnesium, and other minerals present in hard water. When water sits in the tank, these particles settle at the bottom. In gas heaters, this layer insulates the burner from the water, forcing the flame to work harder and burn hotter. This leads to premature failure of the burner assembly is the component in gas water heaters that ignites fuel to heat the water, consisting of a manifold, orifices, and ignition system.. In electric heaters, sediment coats the lower heating element, causing it to overheat and fail prematurely. Both scenarios result in higher energy consumption and noisy operation.
Beyond efficiency, sediment causes corrosion. As the tank ages, the sacrificial anode rod protects the steel tank from rust. Once the anode is consumed, the tank itself begins to corrode. Sediment accelerates this process by trapping moisture against the metal. Regular flushing keeps the tank interior cleaner and slows down this degradation. Most manufacturers recommend annual flushing, especially in areas with hard water.
Assessing Your Situation: Can You Do It?
Before starting, check your water heater’s age and condition. If your unit is over 10 years old and has never been flushed, be extra cautious. Old tanks may have weak welds or corroded fittings that could crack under pressure changes. If you see visible rust on the exterior or active leaks, skip the DIY flush and call a professional. A cracked tank cannot be repaired; it must be replaced.
You also need to consider your home’s layout. Flushing involves draining several gallons of water. Where will this water go? If your water heater is in a basement, you’ll likely need a wet/dry vacuum or a hose leading to a floor drain. If it’s in a utility room, ensure the floor can handle standing water. Accessibility is key too. You need enough space to move around the tank and connect hoses to the drain valve at the bottom.
Tools and Materials You Need
You don’t need expensive equipment for this job. Here is the essential checklist:
- Garden Hose: At least 25 feet long, capable of handling hot water temperatures (check the rating).
- Wet/Dry Vacuum: Optional but highly recommended for capturing the last few gallons of dirty water.
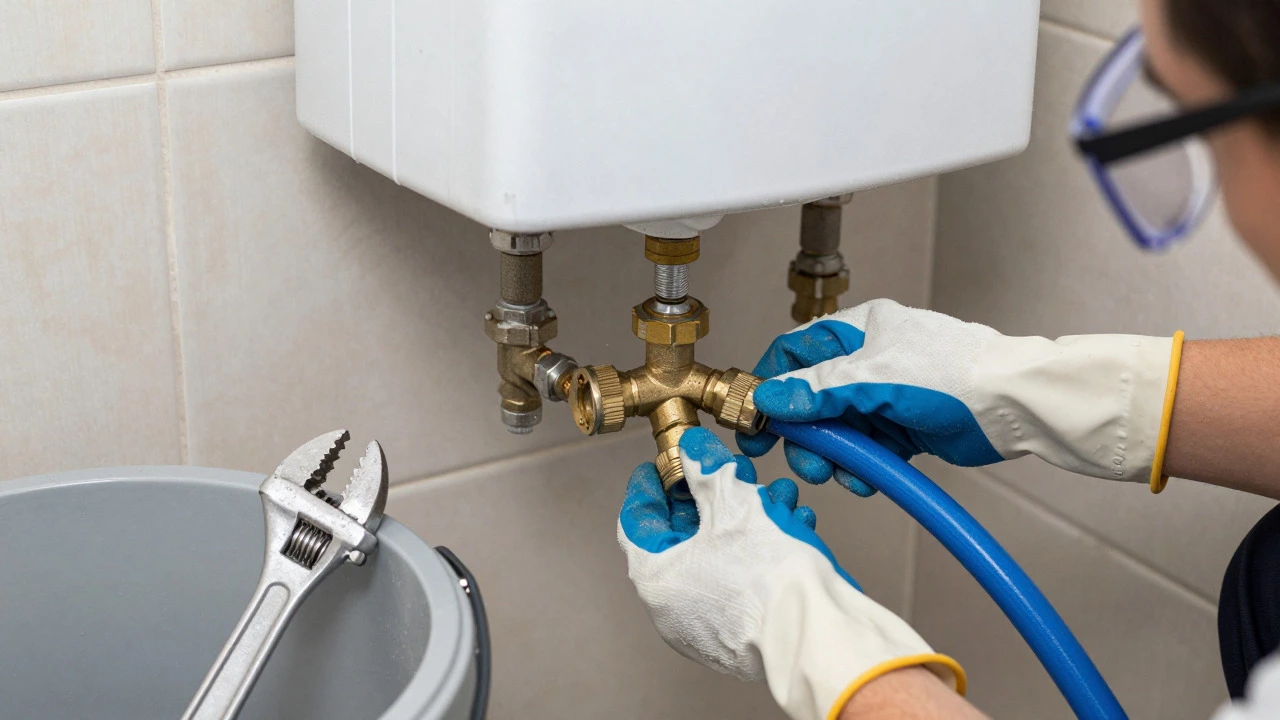
- Adjustable Wrench: For loosening the drain valve if needed.
- Bucket: For small drips or testing connections.
- Rubber Gloves: Hot water burns are painful; protect your hands.
- Goggles: Debris can splash when opening the valve.
Note that you do not need special chemicals. Plain water is sufficient for flushing. Avoid using vinegar or acid cleaners unless specifically advised by a technician, as they can damage the anode rod or tank lining.
Step-by-Step Flushing Process
Follow these steps carefully. Rushing can lead to scalding or water damage.
- Turn Off the Power Source: For electric heaters, switch off the breaker at the main panel. For gas heaters, turn the control knob to "Pilot" or "Off."
- Cut the Cold Water Supply: Locate the shut-off valve on the cold water inlet pipe at the top of the tank. Turn it clockwise until tight. Open a hot water faucet somewhere in the house to relieve pressure in the tank.
- Connect the Garden Hose: Attach one end to the drain valve at the bottom of the tank. Secure it with a hose clamp if possible. Run the other end to a floor drain, outdoors, or into a bucket.
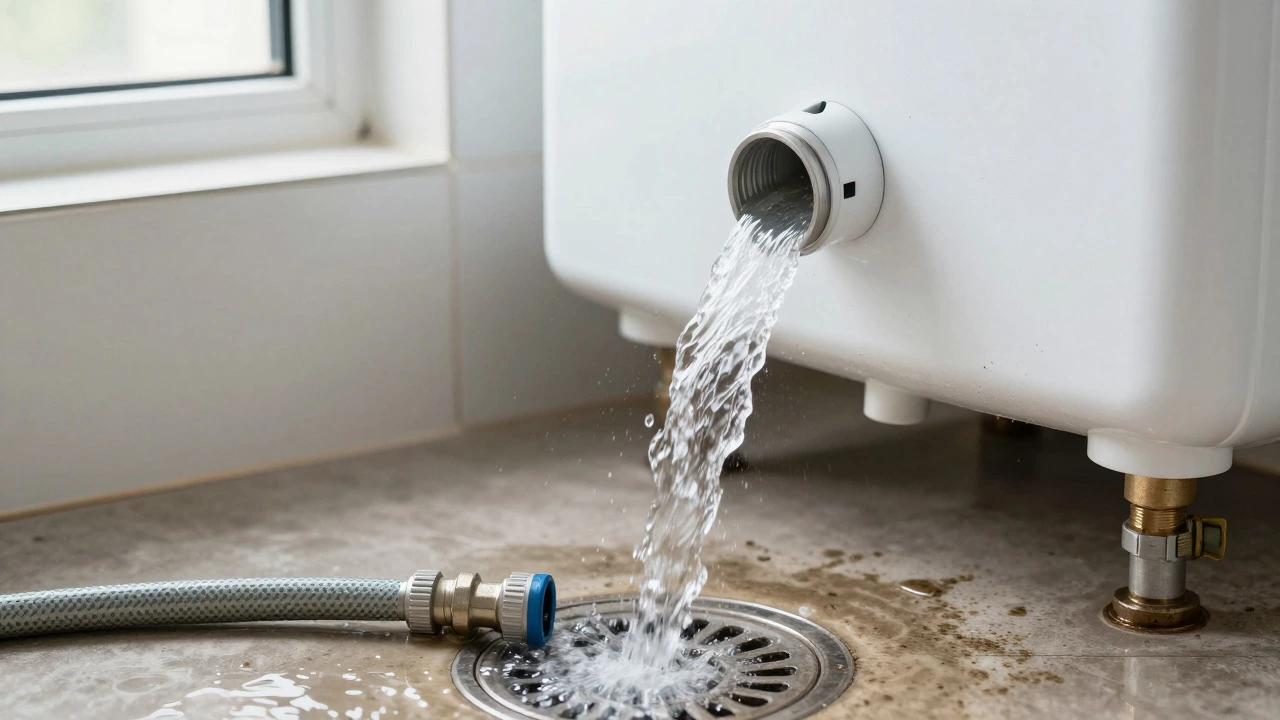
- Open the Drain Valve: Slowly open the valve. The first water out will be very hot and full of sediment. Let it run for a few minutes to clear the initial sludge.
- Flush with Fresh Water: While the drain valve is open, turn the cold water supply back on briefly. This forces fresh water through the tank, agitating the remaining sediment. Watch the hose output. When the water runs clear, turn the supply off again.
- Repeat as Needed: Depending on how much sediment is present, you may need to repeat the fill-and-drain cycle two or three times. Keep going until the water coming out of the hose is completely clear.
- Close the Drain Valve: Tighten the drain valve securely. Disconnect the garden hose.
- Refill the Tank: Turn the cold water supply back on fully. Keep the hot water faucet open until water flows steadily from the spout, indicating the tank is full and air is purged.
- Restore Power: Turn the breaker back on for electric units or relight the pilot for gas units. Check for leaks around the drain valve and supply connections.
Common Mistakes to Avoid
Many DIYers make simple errors that complicate the process. One common mistake is forgetting to open a hot water faucet before draining. Without this, pressure builds up in the tank, making it difficult to open the drain valve and potentially spraying hot water everywhere. Another error is using a standard garden hose rated for cold water only. These hoses can soften or burst when exposed to 140°F+ water. Always use a hose rated for high temperatures.
Also, don’t forget the anode rod. While flushing, take a look at the anode rod if accessible. If it’s heavily corroded or missing, consider replacing it during the same session. A new anode rod costs little but can add years to your tank’s life. Finally, be patient with the refilling process. If you close the hot water faucet too early, air pockets remain in the tank, causing gurgling noises and inefficient heating later.
When to Call a Professional
DIY flushing works well for most standard residential tanks. However, some situations warrant professional help. If your water heater is a high-efficiency condensing model, the internal components are more delicate. Incorrect flushing can damage the heat exchanger. Similarly, if your tank is installed in a tight space where you can’t easily access the drain valve, a plumber with specialized tools can save you frustration. If you notice significant rust in the drained water, it might indicate tank corrosion. In such cases, flushing won’t fix the problem, and replacement should be considered soon.
| Factor | DIY Flushing | Professional Service |
|---|---|---|
| Cost | $0-$20 (tools/materials) | $75-$150 |
| Time Required | 1-3 hours | 1-2 hours |
| Risk Level | Moderate (scalding, leaks) | Low |
| Best For | Standard tanks, accessible locations | High-efficiency models, tight spaces, suspected corrosion |
Frequently Asked Questions
How often should I flush my water heater?
In areas with hard water, annual flushing is recommended. In soft water areas, every two to three years may suffice. Monitor for noise or reduced hot water capacity as indicators that a flush is needed sooner.
Do I need to replace the anode rod when flushing?
Not necessarily, but it’s a good opportunity to inspect it. If the rod is less than half its original diameter or heavily coated in rust, replace it. A new magnesium or aluminum anode rod helps protect the tank from corrosion.
What if the water doesn’t run clear after several cycles?
If sediment persists after three or four fill-and-drain cycles, there may be a large chunk of sludge stuck at the bottom. Try agitating the tank gently by running the cold water supply while keeping the drain valve partially open. If it still doesn’t clear, a professional may need to remove the anode rod to access the sediment directly.
Is it safe to flush a gas water heater while the pilot is lit?
No. Always turn the gas control valve to "Pilot" or "Off" before draining. Running the burner while the tank is empty or partially filled can cause overheating and damage the heat exchanger or burner assembly.
Can I flush a tankless water heater the same way?
No. Tankless units do not have a storage tank to drain. They require a descaling process using a pump and vinegar solution to clean the internal heat exchanger. This is a more complex procedure often best left to professionals.