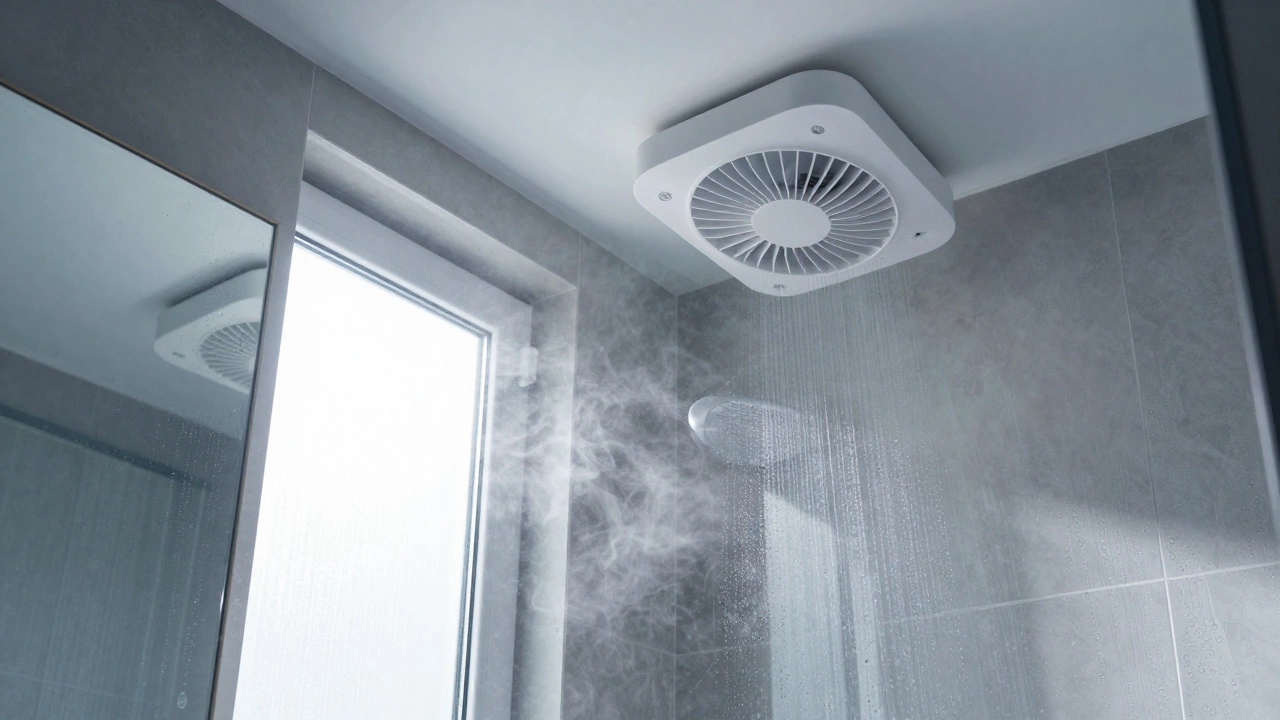
Extractor Fan Power Calculator
Determine if your current or planned fan is powerful enough to prevent mold and odors by calculating the necessary Air Changes Per Hour (ACH).
Loading...
Staring at that grimy window or the persistent smell of last night’s curry lingering in your bathroom? You’re probably wondering if you can just grab a drill and fix it yourself. The short answer is yes, but with a massive asterisk attached to it. Installing an extractor fan is a mechanical device designed to remove moist air, odors, and pollutants from indoor spaces isn't rocket science, but it does involve electricity and building regulations. If you get it wrong, you aren’t just risking a bad smell; you’re risking mold growth and potential fire hazards.
I’ve seen plenty of homeowners tackle this job successfully. I’ve also seen plenty who ended up calling a professional because they realized halfway through that drilling into a load-bearing wall or chasing wires behind plasterboard was more than they bargained for. This guide will help you decide where you stand on the skill spectrum and walk you through exactly what needs to happen if you decide to go the DIY route.
The Quick Reality Check: Can You Actually Do It?
Before you buy the fan, look at your current setup. Are you replacing an existing unit in the same spot? That’s a straightforward swap. Are you installing a new fan in a solid brick wall with no previous ducting? That’s a construction project. Here is the breakdown of difficulty levels based on common scenarios.
- Easy (Beginner): Swapping an old axial fan for a new one in the same location. The wiring is already there, the hole is cut, and the ducting exists. You mainly need screwdrivers and basic electrical tape.
- Medium (Intermediate): Installing a new fan in a wooden frame window or a pre-cut opening in a non-load-bearing partition wall. You’ll need to run a low-voltage cable or connect to a switched light circuit and cut the ducting path.
- Hard (Expert/Pro): Cutting a new hole through solid masonry (brick/block) for external venting. This requires angle grinders, diamond-tipped drill bits, heavy-duty dust extraction, and often structural assessment. Plus, the electrical work might require pulling new cables from the consumer unit.
If you fall into the "Hard" category, my honest advice is to hire a pro. The cost of renting the right tools and the risk of damaging your home structure usually outweighs the savings on labor. But for the Easy and Medium jobs, let’s dig into how to do it right.
Tools and Materials You’ll Need
You don’t need a full workshop, but you do need the right gear. Trying to install an extractor fan with just a multi-tool and hope is a recipe for frustration. Here is your shopping list.
| Tool/Material | Why You Need It | Specific Recommendation |
|---|---|---|
| Power Drill & Bits | Mounting brackets and drilling pilot holes. | Cordless impact driver for speed; masonry bits for brick walls. |
| Screwdrivers | Connecting terminals and securing screws. | Phillips head #2 and flathead set. |
| Wire Strippers | Preparing electrical cables safely. | Adjustable automatic strippers for clean cuts. |
| Sealant Tape / Mastic | Preventing air leaks and drafts. | Aluminum foil tape (not duct tape) for duct joints. |
| Flexible Ducting | Connecting the fan to the external vent. | Rigid aluminum ducting is better for airflow than plastic flex. |
| External Vent Grille | Weatherproofing the outside exit point. | One-way flap valve to prevent birds/rain entry. |
Don’t forget safety gear. Goggles are non-negotiable when drilling into walls. Dust masks are essential if you’re cutting into plasterboard or older insulation. And always wear insulated gloves when handling any electrical components, even after switching off the power.
Step-by-Step Installation Guide
Assuming you’ve chosen a manageable location, here is how you execute the install. We’ll focus on a standard wall-mounted axial fan, which is the most common type for kitchens and bathrooms.
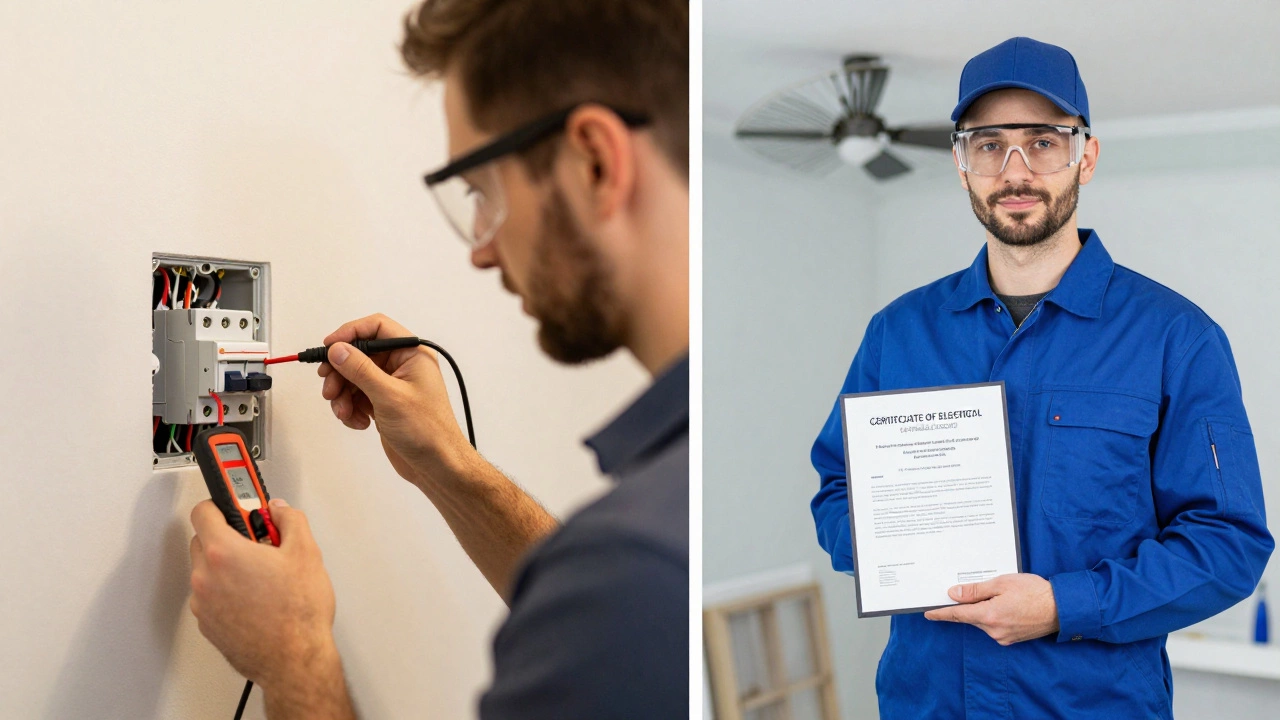
- Turn Off the Power: Go to your consumer unit (fuse box) and switch off the circuit breaker for the room where you’re working. Use a voltage tester on the existing wires to confirm they are dead. Never skip this step. Electricity doesn’t care how careful you think you are.
- Remove the Old Unit: If replacing, unscrew the faceplate and gently pull the fan out. Take a photo of the wiring connections before disconnecting anything. This helps you remember which wire goes where. Disconnect the live (brown), neutral (blue), and earth (green/yellow) wires.
- Prepare the Opening: Clean the area around the hole. If installing new, ensure the hole matches the fan’s dimensions exactly. For solid walls, you might need to core drill a 100mm or 125mm hole depending on your fan size. Ensure the hole slopes slightly outward to prevent rainwater from dripping back inside.
- Install the External Grille: Fit the outer vent grille first. Seal it with silicone caulk to make it weatherproof. Connect the flexible ducting to the grille and run it toward the interior opening. Secure it with clamps.
- Connect the Wiring: This is the critical part. In Australia, we follow strict color codes. Brown is Live, Blue is Neutral, Green/Yellow is Earth. Strip about 10mm of insulation off each wire. Connect them using terminal blocks or Wago connectors. Ensure no copper is exposed outside the connector. If your fan has a timer switch built-in, you may need to connect it to a permanent live source rather than a switched light circuit.
- Mount the Fan: Push the ducting into the fan’s outlet. Slide the fan body into the wall opening. Secure it with the provided screws or mounting brackets. Ensure it sits flush against the wall.
- Attach the Faceplate: Screw the decorative cover onto the fan. Double-check that all screws are tight but not over-tightened, which could crack the plastic housing.
- Test the System: Turn the power back on. Switch the fan on. Listen for unusual noises-grinding or rattling means something is obstructed. Feel for airflow at the external vent. Check for air leaks around the edges with your hand.

Electrical Safety and Regulations in Perth
Living in Western Australia means we deal with specific climate challenges and strict electrical standards. The Electrical Safety Act is legislation governing safe electrical installations in WA is clear: while you can perform minor repairs, new fixed wiring installations generally require a licensed electrician. However, plugging in a corded fan or swapping a hardwired unit where the wiring remains untouched by you is often considered a maintenance task.
If you are running new cables from the switchboard or modifying the circuit, you must hire a licensed electrician. They will issue a Certificate of Electrical Safety (CES). Skipping this can void your home insurance and put you at legal risk if an incident occurs. When in doubt, call a sparky. It’s cheaper than a house fire.
Also, consider the humidity. Perth summers are dry, but our winters can be damp and cold. Condensation builds up quickly in bathrooms. Your fan needs to be rated for wet areas if it’s near a shower. Look for IP44 rating or higher. This ensures the motor and electronics are protected against water splashes.
Choosing the Right Fan Size and Power
A common mistake is buying a fan that’s too weak for the room. An underpowered fan will run constantly, use more energy, and still fail to remove moisture effectively. You need to calculate the air changes per hour (ACH).
For bathrooms, aim for 8-10 air changes per hour. For kitchens, 6-8 is usually sufficient. Here’s a simple formula:
Room Volume (m³) × Desired Air Changes = Required Flow Rate (L/s)
Divide the result by 3600 to convert cubic meters per hour to liters per second. Most modern fans display their flow rate in L/s on the box. For example, a 10m² bathroom with 2.4m ceilings has a volume of 24m³. Multiply by 10 ACH = 240m³/hour. Divide by 3600 = 66.6 L/s. So, you need a fan with at least 70 L/s capacity.
Noise level matters too. Fans are rated in decibels (dB). Anything above 35 dB will be noticeable during quiet conversations. For bedrooms or open-plan living areas, choose a fan under 30 dB. These are often slightly more expensive but worth the peace and quiet.
Common Pitfalls to Avoid
Even experienced DIYers slip up. Here are the traps to watch out for.
- Ignoring Backdrafts: If your fan pushes air out but your house is pressurized (e.g., by a strong HVAC system), air can leak back in. Ensure you have adequate intake vents elsewhere in the room to balance pressure.
- Using Plastic Ducting in Hot Areas: Near ovens or stoves, heat can soften plastic ducting, causing it to sag and restrict airflow. Use rigid metal ducting in kitchen installations.
- Skipping the One-Way Valve: Without a back-draft shutter on the external vent, birds, insects, and rain can enter your home. It’s a small component that saves huge headaches later.
- Over-Tightening Screws: Plastic housings crack easily. Hand-tighten screws until snug, then give them a tiny quarter-turn. No more.
- Wrong Wire Gauge: Using thin extension cords for permanent installations is dangerous. Always use proper twin-and-earth cable rated for the circuit’s amperage.
When to Call a Professional
There’s no shame in knowing your limits. Call a licensed electrician or handyman if:
- You need to cut through load-bearing walls or structural beams.
- The existing wiring is old, damaged, or uses outdated materials like cloth-insulated wires.
- You’re unsure about the circuit load or need to add a new circuit from the switchboard.
- The fan requires complex controls like humidity sensors linked to smart home systems.
- You live in a heritage-listed property where exterior modifications are restricted.
In Perth, many electricians offer free quotes for small jobs. Get two or three opinions. Compare not just price, but their willingness to explain the process. A good pro will educate you, not just bill you.
Do I need a permit to install an extractor fan in Perth?
For internal replacements or minor installations in residential homes, you typically do not need a building permit. However, if you are altering external walls, especially in heritage zones or strata-titled apartments, you may need approval from your local council or body corporate. Always check with the City of Perth or your local municipality before starting major structural work.
How much does it cost to install an extractor fan professionally?
In Western Australia, expect to pay between $300 and $800 for a professional installation. This varies based on complexity. A simple swap might be on the lower end, while cutting new holes in brickwork and running new electrical circuits will push the cost higher. Labor rates in Perth average $80-$120 per hour for licensed tradespeople.
Can I install an extractor fan without ducting?
You can install recirculating fans that filter air internally, but they are less effective at removing moisture and odors compared to ducted models. Ducted fans expel stale air outside, which is crucial for preventing mold. Recirculating units only clean the air, they don’t remove humidity. For bathrooms and kitchens, ducted is always the superior choice.
What is the best time of year to install an extractor fan in Perth?
Spring (September-November) is ideal. The weather is mild, making outdoor work comfortable, and you’ll be ready for the humid winter months. Avoid peak summer heat for external drilling, as temperatures can exceed 40°C, making physical labor hazardous. Winter is fine for internal swaps but challenging for external sealing due to rain.
How often should I clean my extractor fan?
Clean the grease filters in kitchen fans every month. The fan blades and housing should be cleaned every 6-12 months depending on usage. Bathroom fans accumulate dust and hair less frequently but should be checked annually. Neglecting cleaning reduces airflow efficiency by up to 30% and increases noise levels significantly.