Quick Takeaways for DIYers
- Plug-and-Play: If your oven has a standard heavy-duty plug and a matching outlet, the job is mostly physical labor.
- Hardwired Units: If the wires go straight into the wall, you need a licensed electrician or a very deep understanding of electrical codes.
- Measuring: A 30-inch oven doesn't always fit a 30-inch gap due to trim and clearances.
- Safety: Turning off the breaker is not optional; it is the only way to avoid a lethal shock.
Understanding the Electric Oven Setup
Before you touch a screwdriver, you need to know what you're dealing with. An Electric Oven is a kitchen appliance that uses electrical heating elements to cook food through convection or conduction. Unlike a gas oven, which requires a gas line and a pilot light or igniter, an electric model relies entirely on a high-voltage circuit. Most standard ovens in the US and UK use a dedicated circuit because they pull a significant amount of current-often between 30 and 50 amps.
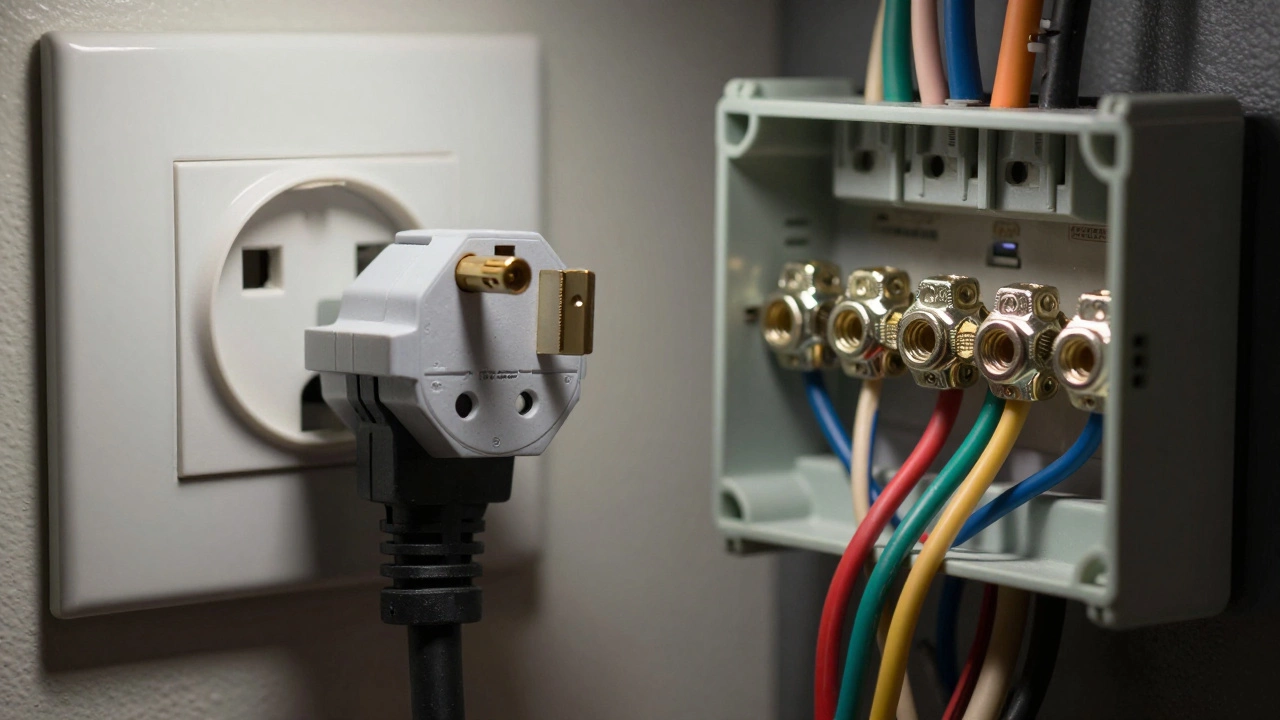
You'll likely encounter one of two setups. The first is a corded connection, where a thick, heavy-duty cable ends in a large pronged plug. The second is a hardwired connection, where the oven's wiring is spliced directly into the home's electrical system via a junction box. If you see a plug, you're in the clear for a DIY swap. If you see a wall plate with wires disappearing into the drywall, stop right there.
The Physical Labor: Removing the Old Unit
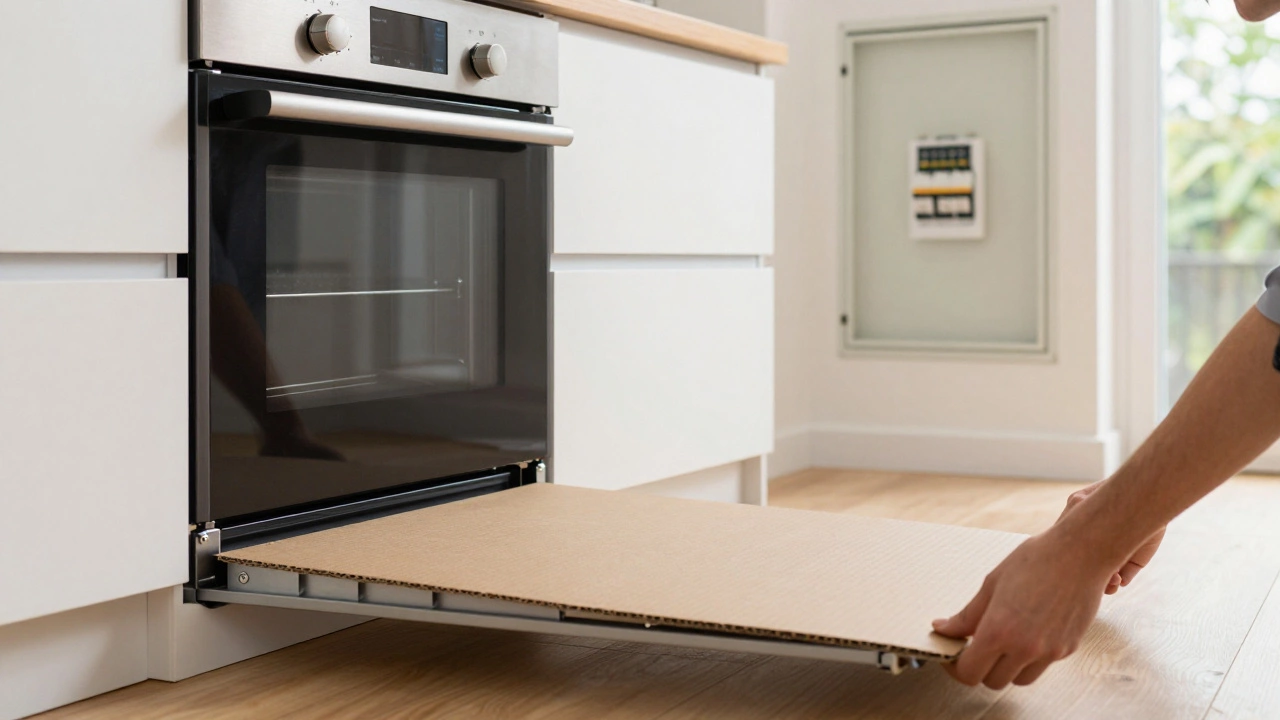
Getting the old oven out is often the hardest part, not because of the complexity, but because of the weight. A standard Range (which combines the oven and stovetop) can weigh anywhere from 200 to 300 pounds. If you try to drag it across a hardwood or laminate floor, you'll leave permanent gouges in your flooring.
To do this right, use appliance sliders or a piece of thick cardboard to glide the unit out. First, shut off the power at the Circuit Breaker-that's the main electrical panel in your garage or basement. Don't just trust the oven's power button. Once the power is dead, unplug the unit. If it's hardwired, you'll need to unscrew the junction box and carefully label the wires before disconnecting them.
Check for any debris or old food buildup behind the oven. This is the perfect time to vacuum that "forgotten zone" where dust bunnies and dropped fries collect. If you find melted insulation or charred wires in the wall box, your problem isn't just a dead oven; it's a wiring failure that requires a pro.
Choosing and Measuring Your New Oven
One of the biggest mistakes DIYers make is assuming that a "30-inch oven" is a universal size. In reality, there are slight variations in depth and width. You need to measure the width, height, and depth of your opening, and then compare those to the exact specifications of the new model. Remember to account for the handle and the door swing.
If you're upgrading to a Convection Oven, which uses a fan to circulate hot air, be aware that these often require slightly more ventilation. If the unit is pushed too tight against the walls without enough airflow, the oven may overheat and shut down, or worse, damage your cabinetry.
| Feature | Plug-and-Play (Corded) | Hardwired Connection |
|---|---|---|
| DIY Difficulty | Easy to Moderate | Advanced/Professional |
| Risk Level | Low (if breaker is off) | High (Electric Shock/Fire) |
| Tools Needed | Measuring tape, sliders | Voltage tester, wire nuts, strippers |
| Time Required | 1-2 Hours | 3-5 Hours (including testing) |
The Installation Process: Step-by-Step
Once the new oven arrives, don't just shove it into the slot. Follow these steps to ensure you don't have to pull it back out five minutes later.
- Verify the Plug: Check if the new oven's plug matches your outlet. Some older homes have 3-prong outlets, while newer, more powerful ovens require a 4-prong configuration (adding a dedicated ground wire). If they don't match, you cannot simply "cut the plug"-you must update the outlet and wiring.
- Inspect the Heating Elements: Before plugging it in, peek at the bottom and top elements. Shipping can sometimes shake these loose.
- Position the Unit: Carefully slide the oven into place. Use a level to make sure it's straight. If the oven is tilted, your cakes will lean, and the door might not seal properly.
- Connect the Power: Plug the unit into the outlet firmly. If it's hardwired, use a Voltage Tester to ensure the power is definitely off before twisting wires together with appropriate wire nuts.
- The Initial Test: Turn on the oven to 350°F. Listen for any strange buzzing or smells. A slight "burnt' smell is normal for the first 20 minutes as the factory coatings cure, but smoke or sparks are a sign to shut it down immediately.

When to Call a Professional
There is a fine line between a rewarding DIY project and a dangerous mistake. You should stop and call a licensed electrician if you encounter any of the following:
- Different Voltage Requirements: If your old oven was 220V and the new one requires a different amp load, your current Circuit Breaker might trip constantly or overheat.
- Frayed Wiring: If the wires coming out of your wall are brittle, charred, or have exposed copper, do not attempt to connect them.
- No Plug: If you have never worked with a junction box and aren't comfortable identifying "hot," "neutral," and "ground" wires, the risk of a house fire is too high.
- Gas-to-Electric Conversion: If you are replacing a gas oven with an electric one, you'll need to cap the gas line professionally and install a brand new high-voltage electrical circuit. This is never a DIY job.
Common Pitfalls and Pro Tips
One common mistake is ignoring the "anti-tip' bracket. Most modern ovens come with a bracket that screws into the floor or wall to prevent the oven from tipping forward if a child opens the door and climbs on it. Many people toss this in the trash, but it's a critical safety feature. Install it before you push the oven all the way back.
Another tip involves the break-in period. Most manufacturers recommend running the oven at a high temperature for about 30 minutes before using it for food. This burns off the protective oils used during manufacturing. Open your kitchen windows and turn on the extractor fan; the smell can be quite strong.
Do I need a permit to replace an electric oven?
If you are simply swapping a plug-in unit for another plug-in unit, you generally do not need a permit. However, if you are installing new wiring, changing the circuit breaker, or converting from gas to electric, your local building codes likely require an electrical permit and a professional inspection to ensure the home is safe.
Why does my new oven have a different plug than my old one?
This usually happens because of updated electrical safety codes. Older homes often used 3-prong outlets where the neutral wire also acted as the ground. Modern codes require a 4-prong setup with a dedicated grounding wire to prevent the oven chassis from becoming electrified during a fault. You will need an electrician to update your outlet to match the new plug.
Can I use an extension cord for my electric oven?
Absolutely not. Electric ovens draw an enormous amount of power. A standard extension cord cannot handle the current and will likely melt or start a fire within minutes. The oven must be plugged directly into a dedicated, heavy-duty wall outlet.
How do I know if the power is actually off?
Do not rely on the oven display turning off. Use a non-contact voltage tester. Touch it to the wires or the plug prongs; if it beeps or lights up, the circuit is still live. Always test the breaker, then test the wires again before touching them.
What should I do if the new oven is slightly too large for the gap?
Do not try to force it in. Forcing an oven into a space that is too small can damage the side cabinets or compress the electrical wiring behind the unit. If it doesn't slide in easily, you may need to trim the surrounding cabinetry or exchange the unit for a smaller model.
Final Steps and Troubleshooting
Once the oven is installed and tested, double-check the leveling feet. Most ovens have adjustable legs at the bottom. If your oven is slightly slanted, twist these feet to level it out. This ensures that liquids in baking pans stay flat and the door seals properly, which prevents heat loss and saves energy.
If you find that the oven isn't heating but the lights are on, you might have a tripped breaker. Check your electrical panel. If the breaker trips immediately after you turn on the oven, you likely have a short circuit or the new oven is pulling more power than your old wiring can handle. In this case, stop immediately and call a pro to avoid damaging your home's electrical system.