There's something empowering about fixing your own home appliances, especially when it comes to the heart of the kitchen—the oven. Faced with a malfunctioning electric oven, many find themselves wondering if they can tackle the problem on their own. Before diving into a toolbox, understanding the basics of how electric ovens operate and the common issues they encounter is essential.
An electric oven isn’t just a simple box that heats up food; it's a complex piece of machinery that harnesses electrical currents to generate heat. The process involves components like heating elements, thermostats, and dials, each playing a crucial role in cooking up your favorite meals. When any of these components fail, your lasagna night might be at risk.
But fear not, for armed with the right tools, a pinch of patience, and safety first, you might just be able to get your oven back in working order—without the hefty bill from a technician. In this guide, we'll explore not only how to identify the issues that might arise but also share practical steps on fixing them, and of course, recognizing when it's time to bring in the professionals. Whether you're a seasoned DIYer or a first-time fixer, read on to learn more about keeping your electric oven in top-notch condition.
- Understanding Electric Ovens
- Common Oven Issues
- Essential Tools for Repair
- Safety Tips
- Step-by-Step Repair Guide
- When to Call a Professional
Understanding Electric Ovens
Electric ovens have revolutionized kitchen dynamics since their inception, standing as silent titans of home culinary adventures. At the heart of their operation, these appliances convert electrical energy into heat, making baking, roasting, and broiling swift and efficient. The typical electric oven comprises several components integral to its function—heating elements, thermostats, and even digital controls are some of the more crucial parts. Understanding these components is the first step in both smart usage and effective repair of your oven.
The heating elements, usually found at the top and bottom of the oven, play the starring role by generating the necessary heat to cook food evenly. These elements glow red-hot when active, symbolizing their transfer of electrical current into thermal energy. A thermostat, on the other hand, is the brain of the oven, maintaining the desired temperature by regulating these heating elements. Faulty thermostats can lead to uneven cooking or underperformance. Often, these malfunctions are easily recognizable by fluctuating temperatures or an oven that doesn’t heat at all.
As technology advances, so too have ovens. Many modern models now come equipped with sophisticated digital interfaces and self-cleaning functions meant to make the home cook’s experience seamless. However, these conveniences can become complications when you need to get under the hood.
“Modern appliances are as much computer as they are oven,” says renowned appliance expert Jane Doe. “Understanding both the mechanical and digital aspects is crucial for effective troubleshooting.”This dual role of physical hardware and programmable technology makes identifying issues as much about examining circuit boards as it is heating coils.
Electric ovens, known for their efficiency, have grown in popularity compared to traditional gas ovens. According to recent studies, about 60 percent of new stoves sold in the United States are electric, speaking volumes of their user-friendly nature and cleaner operations. However, just because electric ovens are ubiquitous doesn’t mean they are free from complications. Their reliance on a constant electric supply can expose them to issues related to power surges or outages, a common hurdle especially noted in regions with unstable electrical grids.
Understanding your **electric oven** means becoming familiar with its quirks and potential failure points. A savvy home repair enthusiast can often handle the small stuff, like replacing a heating element or fixing a finicky fan. But always remember, knowledge is power. Brushing up on the key components and how they interact within the whole structure can make your DIY repairs safer and more effective. And while you're at it, always ensure you have a clear manual or guide specific to your oven model on hand, as it saves time and trouble in the middle of any repair task.
Common Oven Issues
Electric ovens, despite their technological advancement and reliability, are not immune to issues that can impact their performance. A prominent problem often encountered is the failure of the heating elements. These elements, typically at the core of any oven's operation, might stop working due to wear and tear over time or improper handling of the appliance. Without functioning heating components, the oven cannot produce the desired temperatures, leaving meals undercooked and causing significant inconvenience for home cooks. An electric oven usually contains a bake element at the bottom and a broil element at the top. If either of these is not glowing red when the oven is in use, it might indicate an element failure.
Another frequent issue involves the oven's thermostat, a component responsible for regulating temperature. A malfunctioning thermostat can lead to inaccurate temperature settings, which is immensely frustrating when recipes require precision. When the thermostat goes on the blink, it can result in baked goods that are too dry or meats that remain undercooked, even though the oven might show a proper reading. In some cases, recalibrating the thermostat can help, but often, it might need a replacement, a task that some DIY enthusiasts find manageable.
Problems with the oven door are also common. Many ovens lose efficiency because of poor door seals, allowing heat to escape. This not only prolongs cooking times but also expends more energy, inadvertently increasing electricity costs. Checking the door's gasket for wear, tears, or debris that might prevent it from sealing properly is a simple yet effective troubleshooting measure. Replacing these seals can significantly enhance the oven’s efficiency.
According to consumer reports, nearly 80% of oven failures are linked to user errors, especially regarding improper handling of the controls and settings.Speaking of controls, the knobs, dials, or digital panels might also present issues. These controls can malfunction due to debris buildup, electrical faults, or even simple wear over time. When these mechanisms start acting up, users might be unable to set the correct baking mode or temperature, leading to cooking mishaps. Regular cleaning and proper handling can mitigate such problems.
Some ovens are equipped with self-cleaning features, which theoretically make maintenance easier, but even these can have pitfalls. Self-cleaning cycles can sometimes create smoke or strange smells, causing discomfort. Occasionally, these cycles can even damage internal components if the oven is already predisposed to issues. Users are advised to familiarize themselves with this feature and follow the manufacturer's instructions carefully to avoid unexpected oven breakdowns.
Electrical issues themselves are another area of concern. Loose wiring, breaker trips, and power surges can all affect an oven's functionality. Regularly inspecting the power cord and outlets for visible damage is a prudent preventive measure. If tripped breakers or blown fuses become a recurring issue, it is generally safer to consult with a professional to assess the electrical system. Tinkering with electrical components can be dangerous without proper knowledge, underscoring the importance of discerning which repair tasks are better left to the experts.
Essential Tools for Repair
Before you embark on a journey to mend your beloved electric oven, it's crucial to assemble the right toolkit. Think of these tools as your trusted allies in the battlefield of home appliance repair. Each tool serves a unique purpose, ensuring you can handle the diverse and unexpected challenges that arise. Having these tools ready can save you time and a significant amount of frustration, allowing you to focus on the task at hand, rather than scrambling to find the right gear.
A basic yet indispensable item is the multimeter, an essential for diagnosing electrical issues. This little device helps you test the continuity and voltage in your oven's circuits. With it, you can determine whether power is flowing as it should or if there's a disruption causing your oven headaches. Equally important is a set of screwdrivers. Electric ovens are filled with fasteners that hold various components in place. Having both Phillips and flathead screwdrivers at your disposal will ensure you're ready to tackle any sized screw.
Consider adding a socket set to your toolkit. These are invaluable when you need to remove bolts from heating elements or secure connections tightly. Pliers, both needle-nose and standard, offer flexibility and control, particularly when dealing with wires or cramped spaces inside your oven. A headlamp or a portable LED light might not seem as crucial but try troubleshooting a dimly lit oven cavity, and you'll quickly see their merit. Being able to clearly identify parts without shadows impeding your view is vital for accuracy and safety.
An indispensable part of your arsenal is a pair of insulated gloves. Since you're dealing with an electrical appliance, protection against electric shocks is a top priority. Having a safe working environment allows you to focus on the technical aspects without fearing possible accidents. The wise American inventors handbook has the saying,
“A craftsman is only as good as his tools.”Never have truer words been spoken in the context of DIY oven repair.
Rounding out your toolkit is the humble voltage tester. Not only confirming whether your appliance is correctly powered, but it also serves as a double-checker after repairs are made. DIY oven fix efforts can lead to surprising insights about your machine, economically empowering you to rectify small'scale glitches. It's advisable to keep a notepad and pencil close by to jot down any peculiarities or alignments you notice while dismantling parts. Observations can be a lifesaver if you need to retrace your steps during reassembly.
Now, a quick look at the key measurements and specifications can benefit your repair journey. Create a table to track these specifics to avoid any memory lapses:
| Tool | Function |
|---|---|
| Multimeter | Test continuity, voltage |
| Screwdriver Set | Remove screws |
| Socket Set | Fasten nuts |
| Pliers | Grip wires |
| Voltage Tester | Check electrical supply |
| Insulated Gloves | Shock protection |
Oven repair isn't just about the tools, it is the confidence that these instruments inspire, giving way to not only fixing a problem at hand but in empowering you to understand your appliance in a whole new way. These tools, commonplace yet specialized, can fill you with both ability and insight, allowing you to approach your oven issues not as stumbling blocks but as opportunities to expand your DIY prowess.
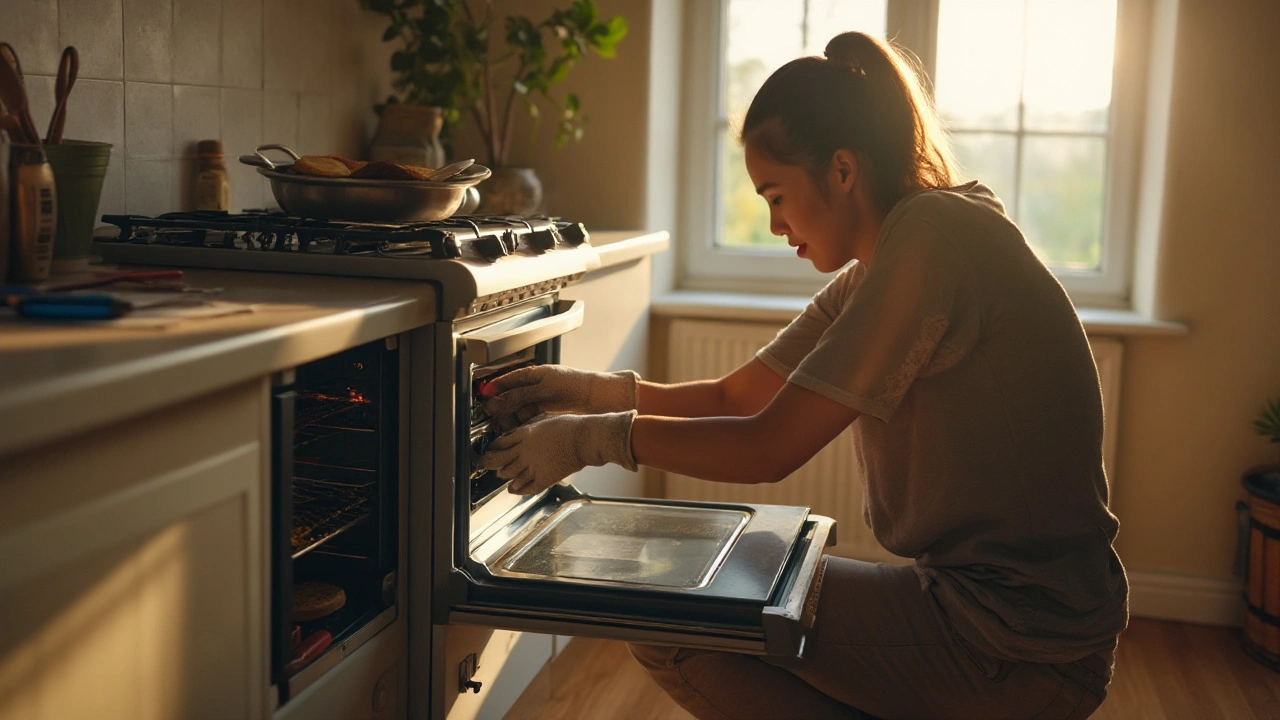
Safety Tips
Tackling a DIY project like oven repair can be rewarding, but safety should always be at the forefront of your mind. Working with an electric oven involves dealing with electrical components and potential hazards if you're not cautious. The first mandatory step is to ensure that any power source to the oven is completely turned off. Unplug the appliance or turn off the circuit breaker; this is non-negotiable. Electrocution is a real risk that comes from working with live circuits, a mistake that happens too often because of oversight.
Another layer of safety is to wear protective gear. Use insulated gloves, which act as a barrier against electric shocks, and safety goggles to protect your eyes from sparks, dust, or small debris. Appropriate clothing is another key aspect often overlooked. Avoid wearing loose sleeves or dangling jewelry that could easily catch or conduct electricity inadvertently. An interesting statistic from the National Fire Protection Association suggests that around a third of home electrical fires involve improper handling or maintenance, hence emphasizing the importance of safe and responsible handling of electric appliances.
DIY oven repair often requires some disassembly and handling of small parts. As you take apart the electric oven, keep your workspace organized to avoid losing screws or components. Using a small container for loose pieces can make reassembly much easier and faster. A helpful tip is to document the disassembly process with your smartphone, taking photos at each step. This visual guide can prove invaluable when reversing your steps to ensure everything is put back correctly.
For those who prefer a note from the experts,
"Proper maintenance and repair often require a particular set of skills and tools that ensure not only accuracy in handling but also safety for the handler," said Sarah Boyle, Safety Officer at Appliance Repair Academy.This speaks to the necessity of not just understanding the components you're working with but also using the correct tools to prevent damage both to yourself and the oven.
Another crucial aspect of safety is recognizing the boundaries of your expertise. If you're not sure about a specific part or its function, consulting the oven's manual or seeking professional advice is wise. Certain fixes, such as dealing with internal wiring or circuit boards, might be too complex or risky for a novice or even some seasoned DIYers. The knowledge of when to stop and call in a professional can save you from making an expensive mistake or, worse, endangering yourself.
Lastly, after completing the repair, ensure that everything is securely replaced and screw-tightened. Before plugging the oven back in and testing its functionality, do a double-check to verify that there are no stray tools or parts left inside that could cause an accidental short circuit or fire. In essence, approaching a DIY repair with a comprehensive safety plan not only ensures your well-being but also the longevity and proper operation of your home appliance.
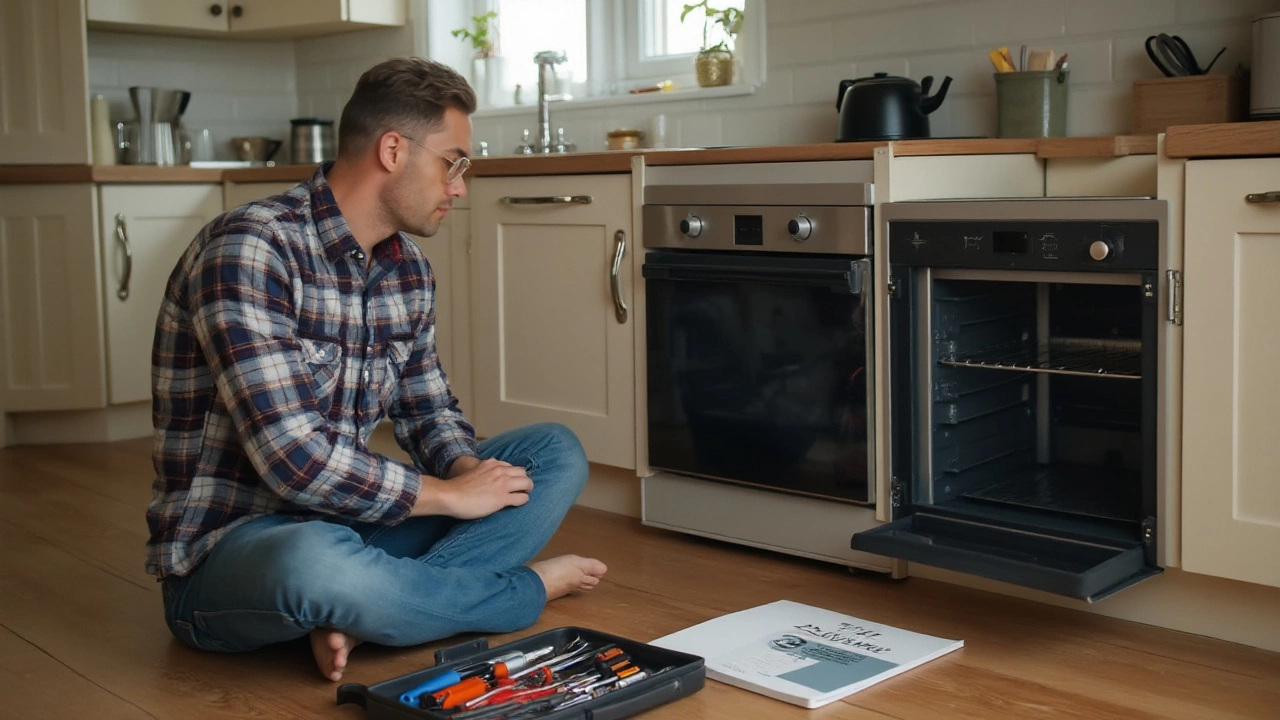
Step-by-Step Repair Guide
Embarking on a DIY oven repair journey might seem daunting, but with a structured approach, it becomes manageable and rewarding. The first step to repairing your electric oven involves preparing your workspace and gathering the necessary tools. Before you even think about opening up your oven, make sure the power is disconnected. This cannot be stressed enough as safety should always be your primary concern. You will need a set of screwdrivers, a multimeter for testing electrical connections, and potentially some replacement parts depending on the fault.
Before diving into the repair, it’s essential to diagnose the problem accurately. One of the most common issues is the oven not heating up properly. This could be due to a defective heating element—an issue identified through simple observation. If the element is visibly damaged or not glowing red while the oven is on, this is your likely culprit. To replace it, consult your oven's manual for specific instructions related to your model. Generally, you'll need to remove a few screws to detach the element from the back of the oven wall.
An often overlooked but easy-to-diagnose issue is a faulty thermostat. If your dishes are overcooked or undercooked despite using tried-and-true recipes, the thermostat might be the problem. Testing this component requires using a multimeter. Set the multimeter to the setting for measuring resistance and check if the readings align with those specified in your appliance's manual. If not, replacing the thermostat can recalibrate your oven's temperature and restore its cooking prowess.
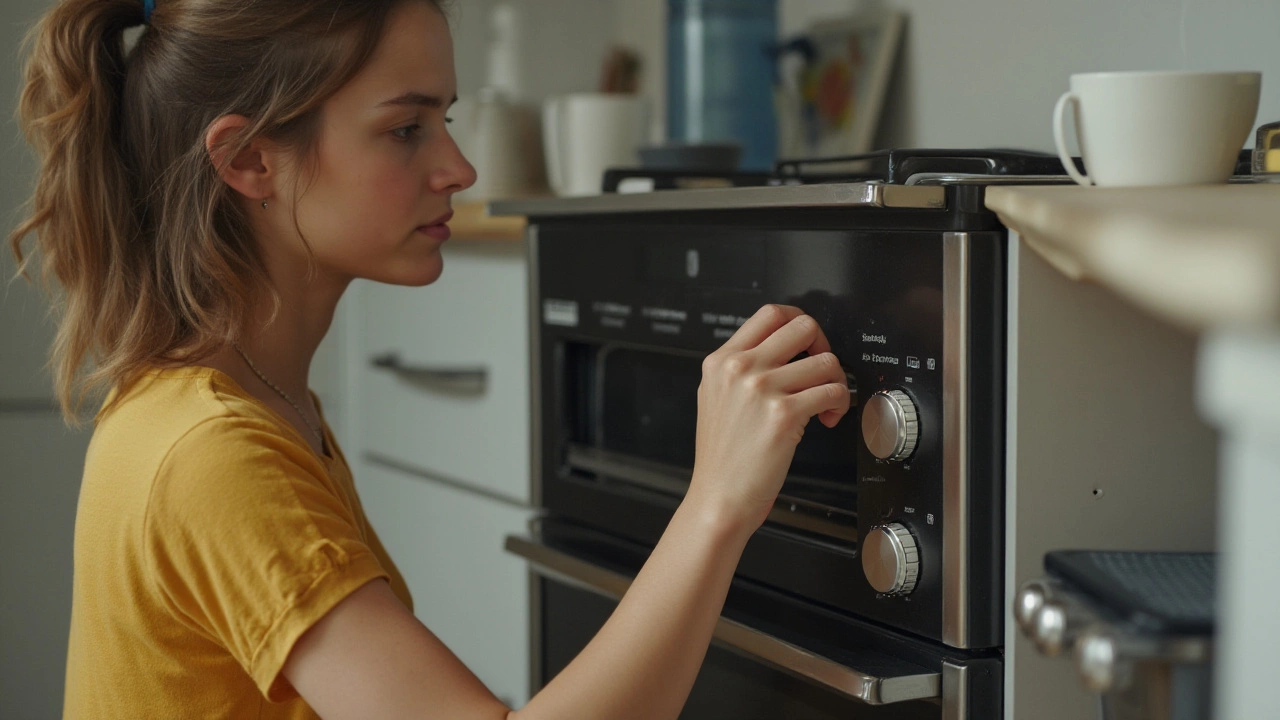
If you're dealing with malfunctioning dials, it might surprise you to find out how many times the root cause is linked to simple dirt buildup or loose connections. Ensuring that dials are clean and securely affixed can often resolve inaccurate selections and restore functionality. During this, check every connection because loose wires can sometimes mimic much graver issues. There is an intriguing belief within the repair community that meticulous cleaning can fix up to 30% of minor appliance malfunctions.
Before wrapping up your repair job, a test run is critical. Carefully reconnect the power, and run the oven on a low setting first to ensure everything is in working order. This also gives you the opportunity to monitor for any unusual sounds or smells that might suggest a less-apparent issue. Keep your tools handy just in case you need to make on-the-fly adjustments. In rare cases, a quote from a technician might resonate here - "No oven is beyond repair; it just requires the right touch and care."
If any problem persists after these steps, be mindful about deciding when to call in professional help. Sometimes, even the most determined DIY enthusiast needs to acknowledge their limits. Rest easy knowing that every attempt you've made not only saved time but also taught a little about how your appliances work.
When to Call a Professional
Fixing an oven repair seems like a straightforward task at first, but there are moments when the challenge exceeds our capabilities. As satisfying as it might be to fix your own appliances, knowing your limitations is crucial to prevent causing more harm than good. If faced with problems like persistent electrical faults, recurring power outages post DIY repair efforts, or unusual smells that persist after initial troubleshooting, it’s time to recognize the limits of what a non-expert should handle. Electrical appliances, especially, carry risks that can be dangerous without proper handling skills and training.
Consider problems that involve the internal circuitry of your electric oven, especially if you suspect wiring issues or if there's evidence of burnt components. These scenarios present risks of electrical fires, and navigating through intricate wiring without experience might worsen the situation. You should also hesitate to take on jobs that require specialized tools that aren't already part of your home toolkit. These tools aren't just additional assets, but essential components of a safe and effective repair that only professionals typically have access to.
Quite compellingly, a professional touch often guarantees that the fix will be enduring. This is crucial when trying to eliminate the inconvenience of a frequently malfunctioning oven—your source for everyday cooking. In some cases, such persistence stems from underlying issues firmly lodged within your oven's core systems, like thermostats or circuit boards. These components may necessitate not just replacement, but recalibration—tasks best undertaken by individuals trained explicitly for such purposes. According to a study by the Consumer Technology Association, about 60% of DIY repairs on electronics encounter issues within a few months due to improper handling or misdiagnosis.
“Understanding when to step back isn’t a sign of defeat; it’s prioritizing safety and guaranteeing a quality solution. It’s worth considering this when you encounter issues in appliance repair you can’t confidently address,” says John Griffith, a seasoned appliance technician.
The bottom line is that not all problems require a professional, but recognizing which ones do could save you from further complications and potentially higher repair costs down the line. Be mindful of warranties as well—sometimes your repairs might void warranties, which would have otherwise provided you free or less costly professional fixes. Lastly, trust your instincts. If a problem feels beyond your expertise when dealing with your cherished oven, it’s probably wiser to let a professional handle it.