Replacing an electric oven is a project many DIY enthusiasts consider over time. There's a certain satisfaction in updating your kitchen without calling in the professionals, but it requires attention to detail and a bit of elbow grease.
Safety should be your number one priority when dealing with electrical appliances. Before jumping into the actual process, you need to be aware of some crucial steps. This isn't just about swapping old for new; it's about understanding your home's capabilities and ensuring everything is up to code.
Let’s dive into the nitty-gritty and arm you with the knowledge and confidence to replace your electric oven, transforming your kitchen from outdated to outstanding.
- Understanding the Basics
- Gathering Necessary Tools
- Safety Precautions
- Removing the Old Oven
- Installing the New Oven
- Testing and Finishing Touches
Understanding the Basics
Embarking on the journey of replacing your electric oven begins with a solid understanding of the basics. Before diving into the physical removal and installation, it's crucial to comprehend the specifications and requirements of your new appliance. Electric ovens come in a variety of designs and sizes, each with its own set of requirements. Considering aspects such as amperage, voltage, and clearance space can save you a world of trouble later on. It’s surprising how many homeowners overlook these fundamental elements, leading to complications that could have been easily avoided.
The standard voltage for most residential kitchen appliances is 240 volts in many regions, and your circuit breaker should reflect this necessity. Ensuring your circuit can handle the new oven's power needs is essential. A mismatch could lead to tripped breakers or, worse, an electrical fire. Additionally, these appliances need ample space around them to allow for proper ventilation and functioning, which sometimes means minor adjustments to cabinetry.
One often forgotten aspect of pre-installation is your kitchen's layout compatibility with your selected appliance. When acquiring a new oven, take precise measurements of your existing setup. Your new unit must fit perfectly within the designated space, allowing room for opening and closing the door without a hitch. Hidden dimensions behind and beneath the oven are significant as they affect how the appliance connects to electrical outlets and gas lines if applicable.
The Australian government's guide on home appliance installations warns, "Overlooking proper electrical load management can significantly impact your household's safety and appliance longevity." This stress on due diligence is no mere formality. Poor planning can disrupt not just utility costs but also your daily routine. Key elements to identify include your current wiring's capacity and the availability of dedicated circuits.
On the technical side, ovens often feature their own form of wiring connections, which vary between hardwired systems and plug-in cords. It's wise to familiarize yourself with these systems before deciding on a new model. Online resources or components manuals provide insights into what to expect relative to connecting your appliance to your home’s electrical system.
As more homes become technologically integrated, consider whether a smart oven could benefit your cooking habits. Many modern alternatives offer remote control options, energy efficiency, and advanced safety features worth contemplating. As with any home improvement task, arming yourself with both specs and strategies prior to commencement ensures a smooth transition towards better culinary experiences.
Gathering Necessary Tools
Diving into the world of electric oven replacement starts with preparing yourself with the right tools. It’s much like embarking on an adventure; you wouldn’t head into the wild without necessary gear, and the same applies here. Each tool is your ally, playing a crucial role in helping you safely and effectively remove the old oven and install the new one. The good news? Most of the tools you'll need are likely already sitting in your garage or toolbox.
First and foremost, have a reliable multimeter on hand. This little gadget ensures you're working in a safe environment, allowing you to check that the power is genuinely off before touching any wiring. As Ted Smith, a renowned home safety expert, says,
“A multimeter is your lifeline in avoiding electrical hazards.”
Next on your checklist is a screwdriver set. Electric ovens are typically held in place with screws, and you'll need to remove these to take out the old unit. A variety of screw heads such as Phillips and flathead are common, so a set that has multiple sizes will ensure you're well-prepared. Add a tape measure to your toolkit too. It’s crucial for ensuring your new oven will slide neatly into place without a hitch. A mismatched fit can throw off your entire kitchen aesthetic, making precise measurements invaluable.
Don't forget wire cutters and strippers. These are essential for preparing and managing the electrical cables as you detach the old oven and connect the new one. It’s worth investing in quality here, as it saves headaches and ensures a cleaner, safer connection. Also, grab some pliers. These versatile tools can grip, twist, and turn whatever you need, making them an indispensable part of your arsenal.
Beyond the hand tools, ensure you have a sturdy flashlight or a portable work light. Considering most ovens are tucked into cabinets or between counters, it’s tricky to see what you're working on without proper lighting. LED options are compact and bright, perfect for illuminating those shadowy crevices. And for keeping your workspace neat? A box or container for any screws or small parts you remove along the way is highly recommended.
To round things off, consider having a helper. While not exactly a tool, a second pair of hands can make a significant difference, especially when lifting the oven or aligning the wires. Besides, an extra set of eyes can spot potential issues or safety risks you might overlook. So, ready your tools, and with everything in place, you’re just about ready to tackle the exciting task of replacing your kitchen’s heart.

Safety Precautions
Before embarking on your journey to replace an electric oven, wrapping your head around safety precautions is essential. Electricity is not forgiving, and even the most seasoned DIYers make it a rule to prioritize safety at all stages. A supervised approach not only protects the home but also shields oneself from potential hazards. First and foremost, always disconnect the power to the oven from the main circuit breaker. It’s a fundamental step, but missing it could transform a simple task into a dangerous one. Verifying the absence of electricity with a voltage tester before touching any wires ensures extra peace of mind.
The workspace itself should be clear and organized. Tripping over scattered tools or debris can not only cause injuries but could also accidentally nudge certain connections out of place. Keeping a clutter-free area allows for a smoother workflow and quicker troubleshooting if anything goes awry. Wearing protective gear such as gloves and safety goggles during this process is non-negotiable. These simple barriers can prevent burns or injuries from metal shards and unexpected shorts.
Equipping yourself with the right tools is part of the safety equation. Using the correct screwdriver or wire stripper optimizes the task at hand and minimizes errors. A high-quality insulated screwdriver set ensures no stray current can surprise you. If you’re not familiar with working on appliances, having a basic understanding of electrical terms and equipment through trusted guides or tutorials can be very beneficial. The Australian Safety Standards for home electrical repairs also provide a comprehensive reference to keep your efforts aligned with national guidelines.
According to the Electrical Safety Guide by WorkSafe, "Ensuring that your tools and protective equipment are suitable and well-maintained can prevent most avoidable accidents during domestic electrical work." This statement underscores the need to double-check everything you’re using and wearing in the field of DIY repairs.
Part of the safety measures includes understanding your own limits. Replacing an oven is within reach for many, but if at any point it feels overwhelming, consulting with or hiring a professional ensures the job gets done right without jeopardizing safety. It’s empowering to undertake these tasks, but the confidence to ask for help is equally crucial.
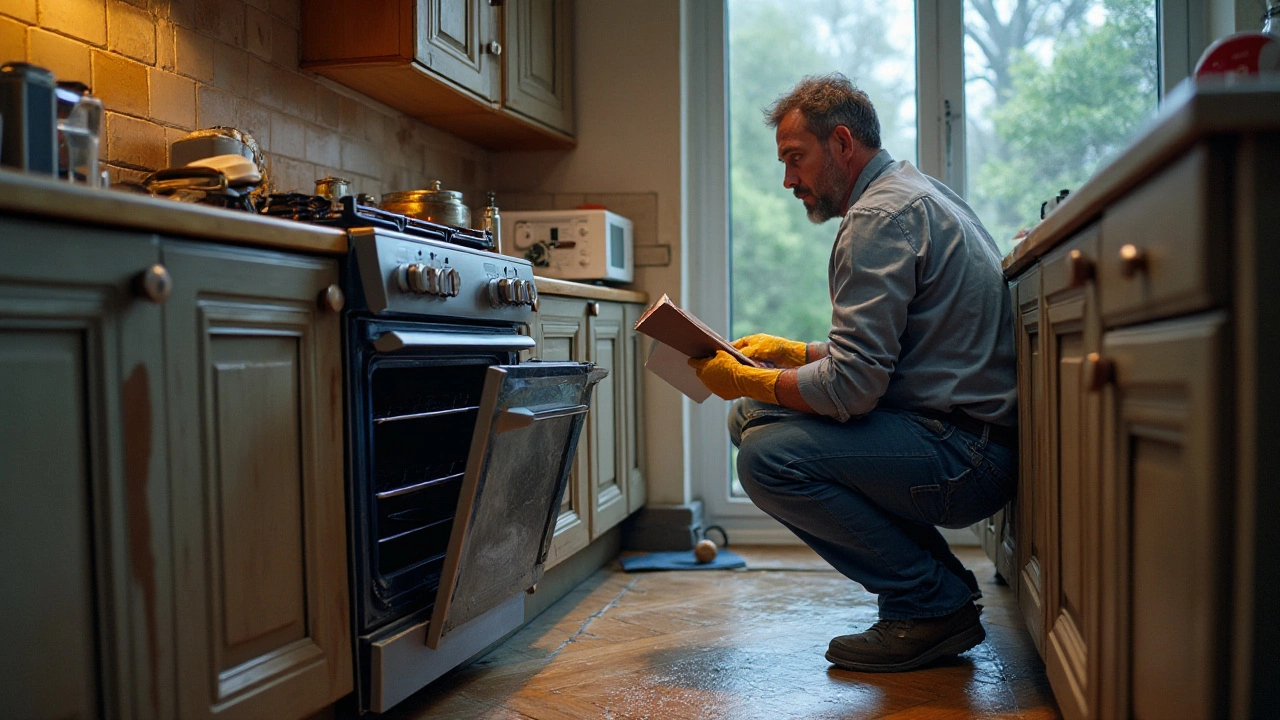
Removing the Old Oven
Getting rid of the old partner in your kitchen, your electric oven, might seem like a daunting prospect, but with a little know-how, it can be a straightforward task. First things first, ensure that safety is prioritized. Before touching a screwdriver, you should disconnect your oven from its power source. This step cannot be stressed enough since handling a live appliance poses a risk you don't want to take. Locate your main circuit breaker and switch off the power specifically dedicated to the oven. Moreover, if your oven is gas-electric, you will need to ensure the gas supply is isolated as well.
Once the power is safely cut, it's time to get to the nitty-gritty of removal. Old electric ovens are often quite heavy, so it’s wise to call on a friend (or two) to help you. Begin by opening the oven door and removing any detachable parts such as grills and trays—this will not only lighten the load but also prevent loose items from rattling out and causing a mess. Most built-in units are held in place by brackets or screws. A trusty Phillips head screwdriver or a power drill will be your best friend here. Pay attention when undoing these fixtures; keep the screws and brackets in a marked container so as not to lose them among the kitchen clutter.
Next, gently slide the oven out from its position. These models typically have slides or tracks that allow you to pull them forward. Go slow; you might discover that the previous owner used silicone or another adhesive to seal the edges. If that’s the case, a sharp utility knife will help cut through the bonding agent. Just be careful to preserve your kitchen cabinets' finish. As tempting as it might be, avoid yanking the oven. This approach safeguards you from potential electrical wires still connected and prevents damage to the countertop.
"Whenever you're removing an integrated appliance, slow and steady truly wins the race. Taking the time ensures all wires and pipes are safely disengaged," advises Derek Jensen, a well-known home renovation expert.
With the oven standing free of the enclosure, you’ll encounter the connection box at its back. Here resides the appliance’s electrical heart. Unscrew the box cover and evaluate how the wires are connected. You'll usually see white, black, and green wires. Carefully unscrew these wires from their terminals, ensuring you remember how they were installed; photographing the setup can serve you well, especially if you're slotted to do the installation yourself later. With respect and caution, make sure no wires are left exposed once detached.
If you're contemplating the disposal of the old oven, remember that many local councils in Australia offer pickup services for larger appliances. Researching your options here can save you a fair bit of hassle later. Alternatively, recycling centers may offer rebates for dropping off electric ovens, transforming your eco-conscious decision into a bit of pocket change. With the old oven gracefully freed from service, your kitchen is now ready to welcome a new addition. It's essential to review the installation space dimensions one more time to ensure a seamless fit for your incoming electric oven.
Installing the New Oven
Finally, it's time to fit that shiny new electric oven into its designated spot. Before you secure it into place, you want to double-check the measurements. Ensure the oven fits snugly within its cutout space, leaving enough room for any ventilation requirements specified by the manufacturer. This is crucial not only for optimal performance but also for safety. Adequate airflow allows the oven to cool down efficiently after use. According to the Australian Competition and Consumer Commission, it's vital to adhere to manufacturer guidelines to prevent any overheating and ensure your appliances run smoothly.
Next, carefully align the oven with the cabinetry openings. You want to handle this step gently to avoid scratching surfaces or damaging the unit. Here, having an extra set of hands can be beneficial. Consider asking a friend or family member to assist during this stage. If your new oven comes with securing screws or mounting brackets, use them to anchor the appliance firmly into place, reducing the risk of movement when in operation. The last thing you want is for an oven to shift while you're pulling out a hot tray of cookies!
Once your oven is settled, it’s the moment of truth: connecting the power. Always make sure your home's power is off before proceeding. Locate the junction box and make the necessary electrical connections. Follow the color-coded wires to match them accurately, which typically involves connecting live wires with live ones, neutral with neutral, and so on. In Australia, brown is live, blue is neutral, and green/yellow is earth. Double-checking is vital here. If in doubt at any moment, it might be wise to consult with a licensed electrician. Safety is priority.
After wiring, don't forget to readjust your oven's internal clock and calibrate the temperature, if necessary. Some modern models come equipped with digital interfaces that require setting up the clock and desired temperature settings. Take a moment to explore your oven's features. Read the manual that outlines these steps. Knowing your oven's capabilities ensures you get the most out of it.
"An oven's heating element is designed to reach specific temperatures crucial for baking," notes Erin Collins, a renowned home appliance expert. "Ensuring it's correctly calibrated can make or break your culinary experiences."
Finally, reconnect the power supply and switch on the main breaker. With the oven now energized, test it by setting it to a low heat setting to watch for any immediate concerns. Be it strange noises or the smell of electrical burning, do not ignore anomalies; they could indicate improper installation. Ideally, your oven should hum quietly, with no unusual odors present. A successful installation means you're ready to christen it with your favorite dish. Happy cooking!
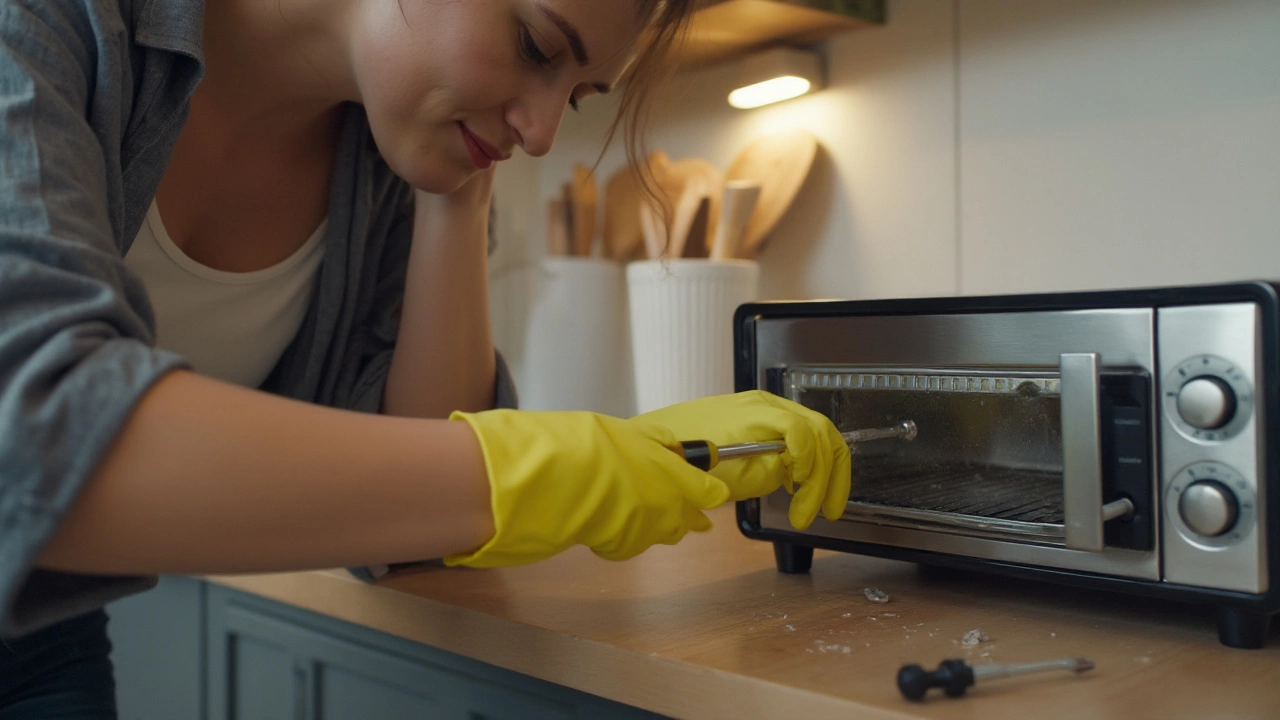
Testing and Finishing Touches
Having gone through all the hard work of removing the old appliance and securely installing your new electric oven, it's time for the exciting part: testing it out. This phase is not merely ceremonial but crucial to ensure that all components are functioning correctly and safely. Start by double-checking the electrical connections. Ensure they're not just secure, but also aligned with the manufacturer's specifications. This is a golden opportunity to rectify any potential mishaps before firing it up for the first roast or bake. Always refer to the oven's manual for specific details regarding its initial set-up. Even if you're confident, a quick glance might reveal important instructions you've overlooked. It's not unheard of that manuals contain peculiar procedures for the initial use that aren't quite intuitive.
Before proceeding with the electrical check, ensure that all knobs and buttons respond as expected when they're pressed or turned. Each function, from simple baking to complex roasting or broiling settings, should be tested while observing for discrepancies in operation. Once all controls have been verified manually, switch on the electricity supply to the kitchen. If there's no adverse reaction, you're almost at the finish line. Any sound of buzzing or tripping of circuit breakers is an immediate red flag, indicating that you need to unplug the appliance and check connections. Remember the old adage—safety first. If complications persist, consulting with or hiring a qualified electrician is a smart move, especially when it comes to maintaining the home's electric system integrity. Speaking of integrity, it's also wise to ensure your oven's door forms a perfect seal when shut. This simple aspect impacts not just cooking efficiency but also energy conservation.
The first power-on should focus on assessing the heating elements' responsiveness. Most manufacturers suggest conducting an empty burn-in at high temperatures for about 20 minutes, which is paramount in burning off any manufacturing residues. This short initial test serves dual purposes: ensuring functionality and eliminating the odd 'new oven smell'. Apart from the heating element, check if the lights turn on and off as intended, and that the timer functions are in operational order too. Oven replacement isn't a routine job, so make this moment count by being thorough during the testing phase. Keep a vigilant eye on the temperature consistency; often, variations hint at misalignments or defective components. Using an inexpensive oven thermometer can be handy for monitoring these temperature variations accurately.
Don't forget the finishing touches. These are the seemingly small details that can make a noteworthy difference. Wipe down the interior once fully cooled, clearing out any build-up from the burn-in session. Secure any loose fittings and confirm the oven sits level with surrounding counters. As you reassemble the kitchen, take a moment to gather any original packaging materials, noting down model numbers and warranties. These might seem tedious now, but they are invaluable when future replacements or repairs are needed. It's recommended to keep the area around the oven free from crowding items that could obstruct vents or cause overheating. Kitchen appliances are best utilized when their space suffices for optimal airflow.
"After any installation, take a step back. Observe and feel proud of a job well done," suggests John Muller, a veteran appliance specialist who emphasizes this as a core element of DIY satisfaction.
Finally, relish in the anticipation of the myriad culinary delights that await, with the oven now being a testament to your endeavor. This article is but a guiding hand; remember, your kitchen endeavors should remain a delightful adventure, not just an obligation to tick off the list.