Picture this: you've returned home after a long day, anticipating a hot shower, but instead, you are greeted with a blast of frigid water. This kind of scenario can be downright frustrating, especially when you're unsure about how to fix it. Don't fret! This article aims to shed some light on potential causes and solutions for a water heater that stubbornly dispenses only cold water.
Before you dive into tackling repairs, remember that understanding the root of the issue is crucial. Sometimes the fix is simpler than it may seem. Whether it's an issue with the thermostat, a faulty heating element, or a sediment build-up, identifying the problem is your first task.
With safety precautions and guided steps, this article will walk you through the process to get your water heater back to spitting out the hot water you deserve. We'll even talk about maintenance tips to keep things running smoothly into the future. Let's get started and transform cold showers into warm, relaxing moments once again.
- Understanding the Problem
- Safety First
- Troubleshooting Common Issues
- Testing the Thermostat and Heating Elements
- Maintenance Tips
- When to Call a Professional
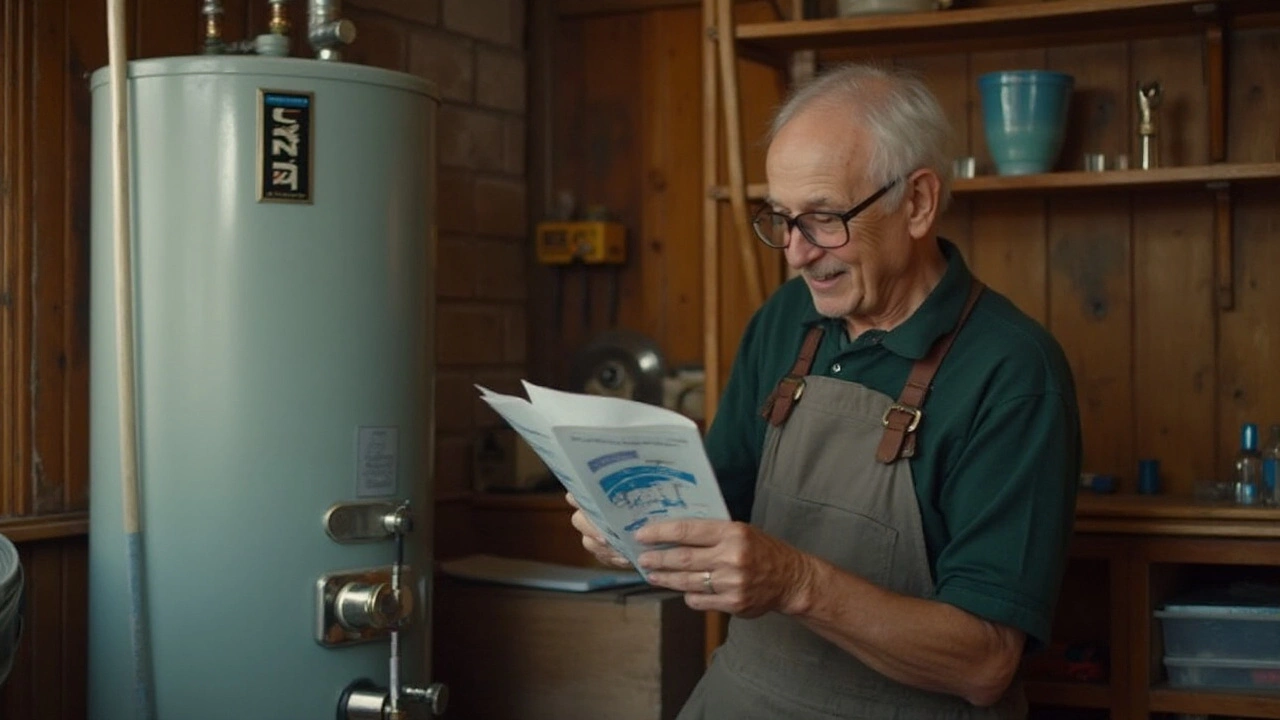
Understanding the Problem
In the art of diagnosing a water heater repair, recognizing the crux of the issue is the very first step. A water heater that insists on delivering cold water can be more than an inconvenience; it's a call to action. Many homes rely on electric water heaters, which utilize one or two heating elements controlled by thermostats. A malfunction in any of these components can result in no hot water output. Identifying which part is acting up often requires a blend of observation and testing.
You don't need to be a professional to begin diagnosing the problem. Start by checking the power supply. It seems basic, but oftentimes, the circuit breaker might have tripped, causing the unit to lose power. If the breaker is fine, the thermostat is another likely suspect. Bear in mind the thermostat controls the temperature of your water, so a flawed thermostat can mislead the heater into thinking it has reached the desired temperature.
The next potential culprit is a defective heating element. If your heater is ancient or hasn't seen regular maintenance, sediment build-up could also be blocking the delicate balance of heat production. Sediment accumulation can insulate the water from the heating element, meaning the water never gets heated.
According to the U.S. Department of Energy, sediment and corrosion are the leading causes of water heater failure, especially in regions with hard water.
Another critical element to consider is the dip tube. This little tube ensures cold water flows to the bottom of the tank for heating. If it’s cracked or broken, the cold water might mix with the hot water at the top, making it seem like the heater isn’t warming the water adequately.
Lastly, an often overlooked aspect is the tank's size relative to usage. If a household has expanded or if usage habits have changed considerably, your once ample water heater might now struggle to meet the demands, causing mixed results. Recognizing the symptoms is about more than just knowing what could be wrong; it also involves listening to your home's needs. Therefore, before jumping to conclusions about expensive replacements, dive into these potential problems with a critical yet reasonable eye.
Safety First
Before diving into the mechanics of water heater repair, it's crucial to consider the safety of yourself and those around you. Water heaters, regardless of their energy source, come with potential risks—be it electric shock or gas leaks, and ensuring these risks are managed is a priority. One of the fundamental steps in ensuring proper safety is turning off the power supply to your water heater repair work. For electric models, this could mean flipping the switch at your circuit breaker panel, whereas, for gas heaters, you'll need to turn the gas supply valve off. It's important to remember that water and electricity are a hazardous combination.
Use caution while handling wiring and connections, ensuring they are not live before any work begins. A commonly overlooked aspect is the need for adequate ventilation when working with gas heaters. Gas leaks can be incredibly dangerous and hard to detect without proper equipment. If you ever smell gas near your heater, vacate the area immediately and contact a professional for help. As plumber extraordinaire John Tynan once said,
“Safety isn't expensive, it's priceless.”This captures the essence of why due diligence in completing safety checks can never be overstated.
Wearing the Right Gear
Wearing protective gear is another essential element. Gloves, goggles, and proper attire can shield you from exposure to harmful substances and high temperatures. Skin and eye protection are particularly important when dealing with insulation fibers or any chemical buildup that might have accumulated over time inside your unit. Safety glasses, specifically, can shield you from debris and accidental splashes. Footwear should also be considered, as sturdy boots can provide protection against any fallen objects, from the heater or within your work environment.It's also advisable to have a fire extinguisher on hand when dealing with DIY water heater repair. While it might seem excessive, being prepared for any scenario is always beneficial. According to the National Fire Protection Association (NFPA), electrical faults contributed to an average of 35,000 home fires annually, highlighting the importance of precaution.
Lastly, a buddy system can add another layer of safety. Having someone around can be important, especially in case of an accident or emergency, providing assistance and possibly preventing a serious injury. There is truth in the old adage, two heads are better than one, particularly in potentially hazardous situations like these where mistakes can be costly.
Troubleshooting Common Issues
The tricky bit about water heaters is they can stop cooperating due to a host of reasons, leaving you stranded with nothing but icy torrents. But fear not, tackling these issues can be quite straightforward once you know what to look for. A common culprit for a cold water fix could simply be the energy source. For electric heaters, one should first check the circuit breaker as it may have tripped, cutting off power supply to the unit. Gas heaters might face problems if the pilot light has gone out or there's an issue with the gas supply itself. One interesting fact is that about 15% of Australian households have reported issues with their heaters due to incorrect settings, which can be easily rectified.
Another potential headache is the dreaded sediment build-up, which is especially common in areas with hard water. It often coats the bottom of the tank and insulates the water from the heating element, reducing efficiency and leading to lukewarm water. Regular flushing of the tank can help combat this, but if ignored, it may eventually cause the heater to produce cold water only. It's worthwhile noting that the Australian Water Association suggests that maintaining a clean tank not only extends the life of the heater but also improves its efficiency by about 5% annually.
Check the Thermostat
If the workshop isn't humming, it might be a thermostat issue that's keeping the heater from reaching the desired temperature. Incorrect settings can easily lead to cold water running through your taps. Make sure to check if the thermostat is not set too low and adjust it to the optimal temperature of about 60 degrees Celsius. Interestingly, most thermostats have a safety lock mechanism which is there to prevent accidental scalding but can be unknowingly activated.
Sometimes, a faulty thermostat may need to be replaced entirely. To confirm this, you could use a multimeter to check for continuity in the device. Ensure the power is off before conducting any checks, as safety should always be a top priority.
"Home maintenance isn't just about fixing what's broken; it's about creating a nurturing environment," says renowned handyman Bob Vila.Taking the time to conduct regular upkeep can indeed save you from unexpected cold shocks during your morning routine.
Electrical or Gas Supply Issues
If checking the thermostat doesn't solve the issue, you might be dealing with problems relating to the electrical or gas supply. For those with an electric heater, always inspect the power outlet and the breaker box; a tripped breaker might be a quick solve, but consistency issues could indicate a larger electrical concern. Gas heaters sometimes have problems with the gas valve not opening correctly or with debris blocking the burner assembly. Such cases usually require professional attention to ensure both your safety and the longevity of your heating apparatus.
An important thing to remember is to always adhere to the manufacturer's instructions for troubleshooting and maintenance. Each water heater can have its unique nuances, and familiarity with these can be a valuable asset. By being proactive and attentive, not only can you fix the immediate problem, but you can also preempt future ones that might leave you in a similarly chilly situation. Choosing reliability and caution often leads to more balanced home environment in the long run.
Testing the Thermostat and Heating Elements
When your water heater is running cold, one of the first components to suspect is the thermostat. It's essentially the brain of your water heater, regulating the temperature of the water inside the tank. A malfunctioning thermostat can lead to water that is either too cold or scalding hot. To test the thermostat, start by switching off the water heater completely to ensure safety. Locate the access panel where the thermostat hides. Grab a screwdriver, and carefully remove the panel to reveal the thermostat and heating elements.
The first step in testing the thermostat is using a multimeter, a handy tool for checking electrical currents. Set your multimeter to the lowest ohms of resistance and gently touch the probes to the screws on the thermostat. If your multimeter's reading is zero or very close to it, your thermostat is likely functioning properly. If the numbers are significantly higher, it's a telltale sign that the thermostat might be faulty and require replacement. Remember, handling electricity can be a daunting task, so if you aren't comfortable, calling a professional can be a wise choice.
Next comes the heating elements. These are critical for warming the water, and any issue with them needs addressing. In electric water heaters, you'll usually find two heating elements: one at the top and the other at the bottom of the tank. To test an element, disconnect the wires connected to it, and again, use your multimeter. Set it to measure resistance and place the probes on the terminals of the element. A healthy heating element often reads between 10 and 20 ohms. Any reading outside this range indicates the element might need replacing. Interestingly, heating elements can often accumulate a layer of sediment over time, which hampers their efficiency. Cleaning or replacing the elements can often resolve the issue.
"Routine maintenance on water heaters, including testing thermostats and heating elements, can prevent occurrences like cold showers," says John Smith, an expert from Hot Water Systems Australia.
Now, as per a 2022 survey by the Australian Institute of Refrigeration, Air Conditioning and Heating, nearly 15% of water heater malfunctions are due to faulty thermostats and heating elements. This statistic emphasizes the significance of regular testing and maintenance. While it may seem like a meticulous task, testing these components of your water heater may save you from unexpected cold spells on chilly mornings.
In essence, having a basic understanding of your water heater's components allows you to approach these tests with confidence. It reinforces the idea that with some simple steps, you're equipped to tackle many issues that may cause your water heater to misbehave. Remember, identifying the problem at its root is essential to ensure a steady stream of hot water in your household. So grab that multimeter, test away, and you might just find the culprit behind your cold showers.

Maintenance Tips
Maintaining your water heater is crucial for ensuring its longevity and efficiency. A well-maintained unit not only delivers consistent hot water but also consumes less energy, saving you money in the long run. One simple yet often overlooked maintenance step is flushing the tank annually. This process involves draining the heater to remove sediment that can accumulate over time, particularly in areas with hard water. Sediments can cause the heater to work harder, reducing its efficiency and lifespan. To flush the tank, first turn off the power or gas to the heater, then connect a garden hose to the drain valve and direct the other end to a suitable drainage location. Open the valve and let the water flow until clear. Close the valve, remove the hose, and refill the tank before turning the power back on. This annual ritual can significantly improve performance.
Keeping the external parts of your water heater clean is equally important. Dust and debris can accumulate in and around the unit, particularly around the burner assembly for gas heaters. Ensuring these areas are clean and free of obstructions helps the heater operate safely and efficiently. Regularly checking and, if necessary, cleaning the air intake screens can prevent issues before they arise. While performing these cleaning tasks, it's also a good opportunity to inspect the heater for any signs of rust or leaks, as catching such problems early can prevent major damage and costly repairs.
It's not just the physical cleaning that matters; checking the thermostat settings is another vital aspect of maintenance. Most water heaters come preset at 120 degrees Fahrenheit, a temperature that strikes a balance between energy efficiency and comfort. However, if you find that the water is too hot or not hot enough, adjusting the thermostat is a simple process. Remember to turn off the power before making any adjustments. For electric heaters, remove the access panel and use a screwdriver to adjust the thermostat setting. For gas heaters, the thermostat is typically on the front of the control panel. Adjust it as needed and test the water temperature afterward.
Another maintenance tip is to replace the anode rod every few years. This sacrificial rod attracts corrosive elements, protecting the tank from rusting. Over time, the anode rod will deteriorate and, if not replaced, can leave the tank vulnerable to corrosion. To check the anode rod, you'll need to remove it from the top of the heater and examine its condition. If more than six inches of the core steel wire is exposed, it's time to replace it. This simple task can extend your heater's life significantly.
"Proper maintenance of your water heater can lead to up to a 12% increase in efficiency," says the Department of Energy. Incorporating these maintenance habits into your routine ensures that you not only keep your water heater in peak condition but also contribute to a more sustainable use of energy resources.
| Maintenance Task | Frequency |
|---|---|
| Flush the Tank | Annually |
| Clean External Parts | Monthly |
| Check Thermostat Settings | Every Six Months |
| Replace Anode Rod | Every 3-5 Years |
Finally, while DIY maintenance is great, don't hesitate to call in a professional for an annual inspection. A trained technician can spot hidden issues, ensuring that your water heater remains in topshape. With these maintenance tips, ace the balance between performance, energy savings, and the durability of your water heater, transforming any once mundane cold shower into a luxury of hot, soothing bliss.
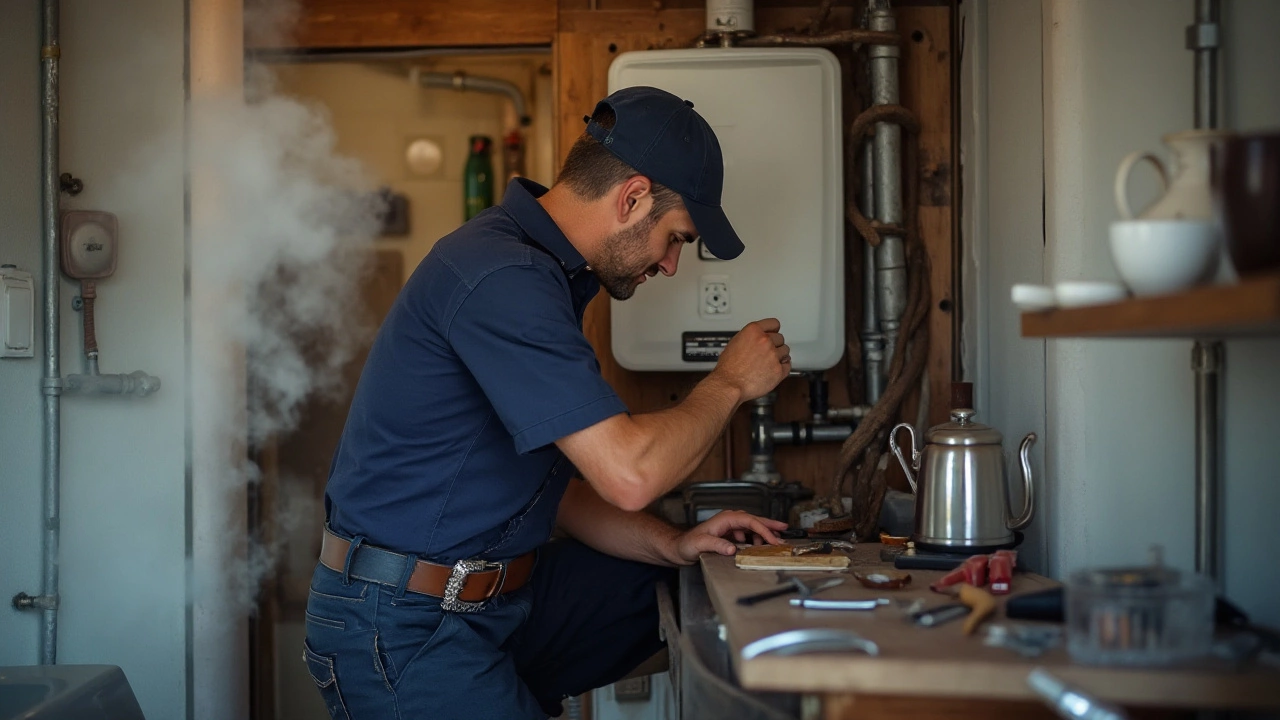
When to Call a Professional
There comes a time when even the most dedicated DIY enthusiasts must admit that a task is beyond their expertise. When dealing with a stubborn water heater that refuses to deliver the hot water you need, recognizing when to call in a professional can be crucial. Attempting to repair complex issues without proper knowledge can exacerbate the problem or result in safety hazards. A professional water heater technician not only has the experience but also the right tools to diagnose and resolve problems effectively and safely.
Complexities often arise with electrical wiring or gas connections in your water heater system. If you observe sparks or detect a gas smell when inspecting your heater, it’s imperative to leave the problem to those with the requisite certifications and training. Water heaters, especially gas ones, involve intricate systems that can pose risks of fire or explosion if not handled correctly. As the U.S. Department of Energy frequently advises, “Maintaining safety should never be an afterthought.” If you aren't thoroughly seasoned in managing electrical and gas appliances, it's best not to proceed on your own.
If you've tried adjusting the thermostat or resetting the system and the heater still neglects to produce hot water, this may indicate a more deep-seated electrical fault or a malfunctioning storage tank. Technicians can run specialized checks that you'd likely lack access to at home. With precision instruments, they can test electrical continuity and accurately assess if your heating elements are functioning adequately—tasks that, without professional tools, you might not perform safely. Many folks often surprise themselves by learning that their heater’s problems stem from an underlying component they wouldn't have considered.
A local water heater repairs expert in Perth says, “Sometimes homeowners take a crack at DIY repairs only to end up doubling their repair costs simply because they’ve overlooked underlying issues that our technicians find routinely.”
Additionally, if during your troubleshooting attempts you notice discolored water or strange noises like popping or high-pitched sounds, these can be signs of severe sediment build-up or corrosive damage inside your heater. When left unattended, sediment and corrosion can cause substantial, sometimes irreversible damage to your water heater. Professionals use specialized flushing techniques and solutions that clear deposits more effectively and safely than domestic alternatives. In such instances, swift intervention by a seasoned technician can salvage what might otherwise require costly replacements.
Keep in mind that professional inspections are not just about remedying existing issues but are also invaluable for ongoing maintenance. By scheduling regular assessments, you can dodge potential future breakdowns. Often, experts can spot and correct small issues early on when they're easier and cheaper to address. An added benefit to this proactive approach is the extension of your water heater's lifespan. Ultimately, if the fixes you try fail to solve the problem, don't hesitate to look for professional assistance. It's a prudent choice that ensures the longevity and safety of your water heater.