Extractor Fan Troubleshooter
What is the main problem with your fan?
Help us narrow it down...
Please answer the following:
There is nothing quite as frustrating as turning on your kitchen or bathroom extractor fan is a mechanical device designed to remove stale air, moisture, and odors from indoor spaces by creating negative pressure, only to hear a high-pitched screech or, worse, absolute silence. You just cooked a meal that smells like garlic and onions, or you’ve taken a steamy shower, and the air stays heavy and stagnant. Before you call an expensive technician or replace the unit entirely, there’s a good chance you can fix it yourself with some basic tools and a bit of patience.
I’ve spent years tinkering with household appliances here in Perth, where the humidity swings and dust levels can really test these machines. Most extractor fan issues aren’t catastrophic failures; they’re usually simple maintenance oversights or minor electrical glitches. This guide will walk you through diagnosing why your fan isn’t working and how to get it running smoothly again, saving you time and money.
Quick Summary / Key Takeaways
- Safety First: Always disconnect power at the circuit breaker before touching any part of the fan.
- Start Simple: Check for tripped switches, blown fuses, or disconnected wires before assuming the motor is dead.
- Cleanliness Matters: Grease and dust buildup are the number one cause of noise and reduced airflow in kitchen fans.
- Lubricate Bearings: If the fan hums but doesn’t spin, dried-out bearings might be the culprit.
- Know When to Quit: If the motor smells burnt or shows physical damage, replacement is safer than repair.
Diagnosing the Problem: Why Is Your Fan Not Working?
Before you start unscrewing panels, you need to figure out exactly what’s wrong. Is the fan completely dead? Is it making noise but not moving air? Or is it vibrating excessively? Identifying the symptom narrows down the fix significantly.
| Symptom | Likely Cause | Difficulty Level |
|---|---|---|
| Fan does not turn on | Power supply issue, tripped switch, or burnt motor | Easy to Moderate |
| Fan is noisy (screeching/grinding) | Dried bearings, loose blades, or foreign object | Moderate |
| Fan runs but poor airflow | Clogged filters, blocked ducting, or dirty impeller | Easy |
| Fan vibrates excessively | Unbalanced blades, loose mounting screws, or worn bearings | Moderate |
| Burning smell | Overheated motor windings or grease fire risk | High (Replace Unit) |
If your fan is completely silent when switched on, the first thing to check is the power source. It sounds obvious, but I’ve seen plenty of cases where the wall switch was accidentally bumped off, or the fuse in the consumer unit blew due to a surge elsewhere in the house. Flip the switch back on. If that doesn’t work, check your main electrical panel for a tripped breaker. Resetting it might solve the problem instantly.
Step 1: Safety and Disassembly
Working with electricity requires respect. Never skip this step. Go to your main electrical board and flip the switch controlling the extractor fan to the "Off" position. If you’re unsure which one it is, turn off the main breaker. Use a voltage tester on the fan’s wiring to confirm there is no live current. This protects you from shock and prevents accidental short circuits while you’re working.
Once the power is cut, you need to access the internal components. For most ceiling-mounted or range hood fans, this involves removing the front grille or filter cover. These are usually held in place by clips or simple screws. Gently pry them open if they’re clipped, or use a screwdriver for the screws. Keep all hardware in a small container so you don’t lose them. Underneath, you’ll see the impeller is the rotating component of the fan that moves air, typically consisting of blades attached to a central hub and the motor housing.
Step 2: Cleaning the Impeller and Housing
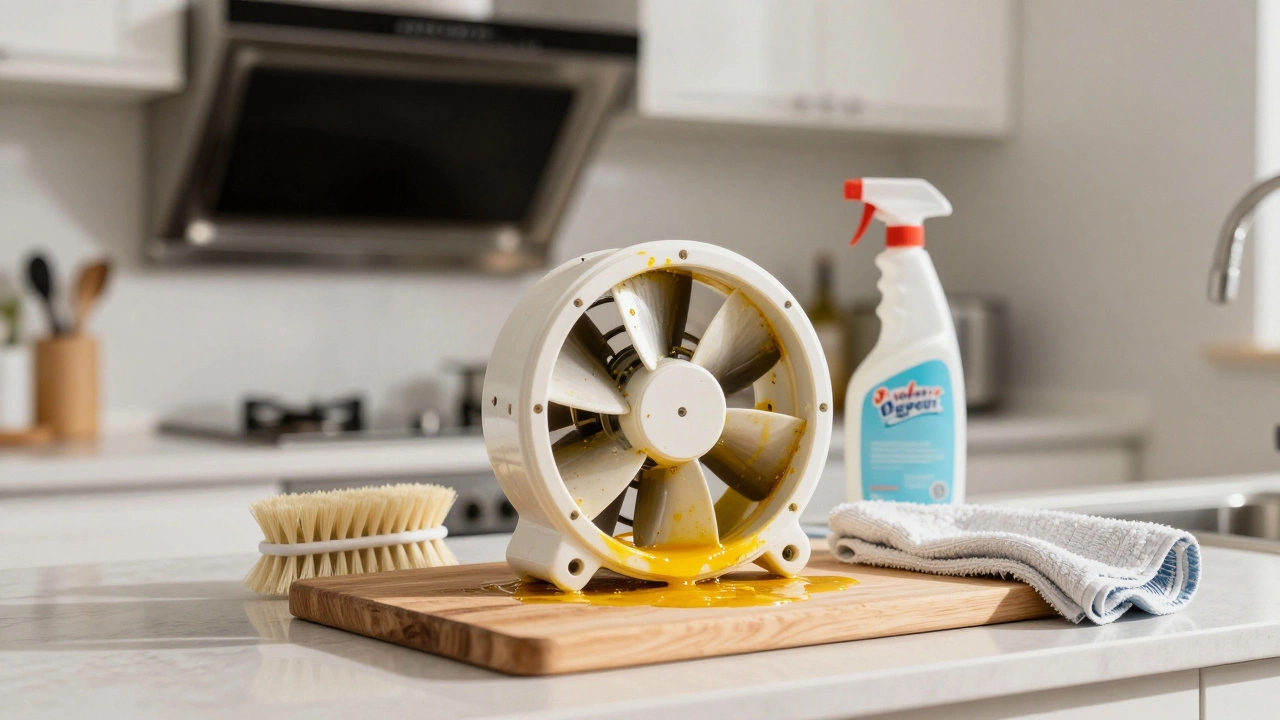
In kitchens, grease is the enemy. Over time, airborne oil particles coat the fan blades, adding weight and unbalancing the rotation. In bathrooms, dust and hair accumulate. This buildup forces the motor to work harder, leading to overheating and eventual failure. It also causes that annoying rattling noise.
- Remove the Impeller: Depending on your model, the impeller might slide off the motor shaft or be secured by a nut. Note the direction of the threads-some are reverse-threaded to prevent loosening during operation. Unscrew carefully.
- Soak and Scrub: Place the impeller in a sink filled with warm, soapy water. For heavy grease, add a degreaser. Let it soak for 15-20 minutes. Use a soft brush to scrub between the blades. Avoid harsh abrasives that could scratch the metal or plastic.
- Clean the Housing: Wipe down the inside of the fan housing with a damp cloth. Remove any debris from the motor vents. Ensure everything is completely dry before reassembly. Moisture inside the electrical components can cause shorts.
A clean fan runs quieter and more efficiently. If your fan was struggling due to weight imbalance from grease, this alone might restore its performance.
Step 3: Checking and Lubricating Bearings
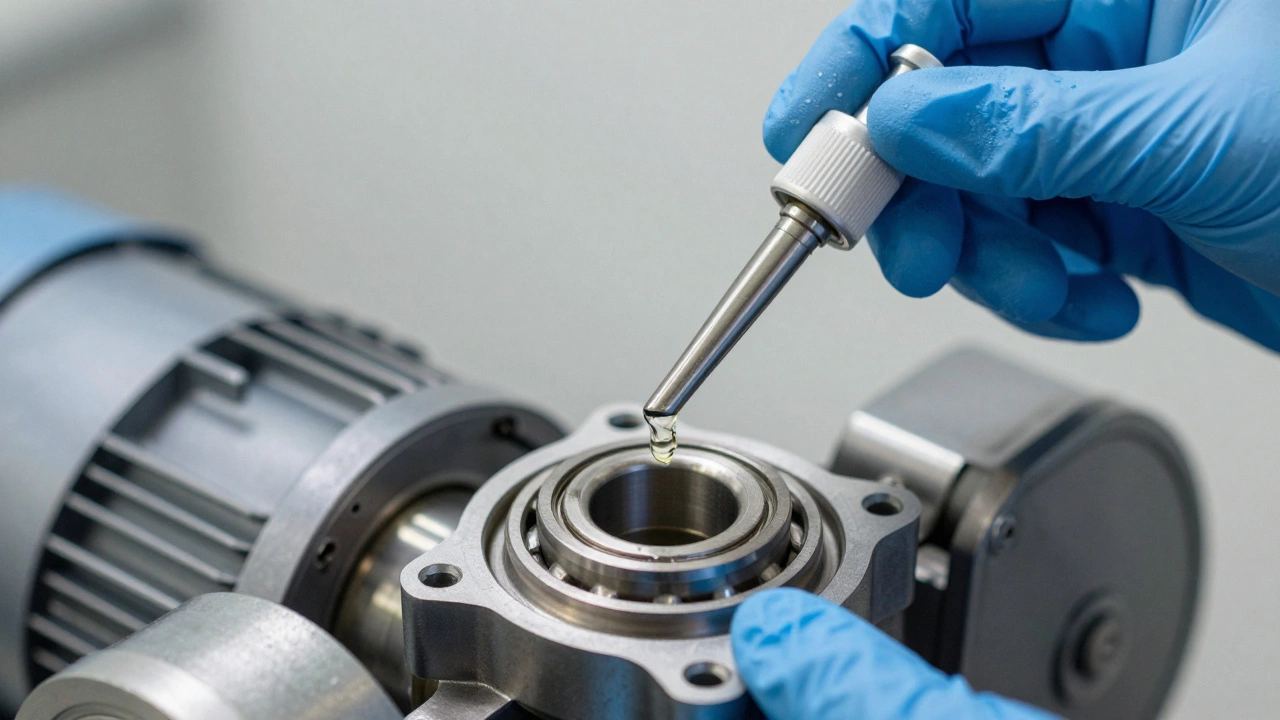
If cleaning didn’t solve the noise or spinning issue, the bearings might be dry. The bearings are mechanical components that reduce friction between moving parts, allowing the motor shaft to rotate smoothly support the motor shaft and allow it to spin freely. Over years of use, the lubricant dries out, causing friction, heat, and noise.
Locate the bearing ends on the motor shaft. They often have small caps or holes for oiling. Apply a few drops of lightweight machine oil or silicone spray. Do not use WD-40 as a long-term lubricant; it’s a solvent and cleaner, not a lubricant, and it will evaporate quickly, leaving the bearings dry again. Spin the shaft by hand to distribute the oil. If the shaft feels gritty or rough even after oiling, the bearings are likely worn out and need replacement. For sealed motors, this usually means replacing the entire motor unit.
Step 4: Inspecting Electrical Connections
If the fan still won’t turn on, the issue might be electrical. Look at the wires connecting the motor to the power supply. Check for loose connections, frayed insulation, or signs of burning. Tighten any loose terminals with a screwdriver. If you see blackened marks or melted plastic near the wires, the motor has likely overheated and damaged itself. In this case, repairing the wiring won’t help-the motor is toast.
You can also test the motor directly if you have a multimeter. Set the meter to measure resistance (ohms). Touch the probes to the motor’s input terminals. A reading of infinite resistance indicates an open circuit, meaning the motor coil is broken. A very low reading suggests a short circuit. Either way, the motor needs to be replaced.
Step 5: Reassembly and Testing
Once you’ve cleaned, lubricated, and checked the electricals, it’s time to put everything back together. Reattach the impeller, ensuring it’s seated correctly and spins freely without rubbing against the housing. Secure it with the nut or clip. Replace the front grille or filter cover. Restore power at the circuit breaker.
Turn on the fan. Listen for smooth operation. Does it start immediately? Is the airflow strong? If it still makes noise or fails to start, double-check your work. Sometimes a blade is slightly bent, causing imbalance. Bend it gently back into shape or replace the impeller if it’s cracked.
When to Call a Professional or Replace the Unit
DIY fixes work for most minor issues, but some problems require professional intervention. If you’re uncomfortable working with electricity, hire a licensed electrician. In Australia, electrical work must comply with strict safety standards. Attempting complex rewiring without certification can void your home insurance and pose serious risks.
Also, consider the age of your fan. If it’s over 10 years old and the motor fails, buying a new, energy-efficient model might be more cost-effective than sourcing parts for an obsolete unit. Modern fans are quieter, more powerful, and often include features like motion sensors or variable speeds.
How often should I clean my extractor fan?
For kitchen fans, clean the filters every month and the impeller every 3-6 months depending on usage. Bathroom fans should be cleaned every 6-12 months. Regular cleaning prevents grease buildup and extends the life of the motor.
Can I use WD-40 on my extractor fan bearings?
No, WD-40 is not a suitable long-term lubricant. It cleans and displaces moisture but evaporates quickly. Use white lithium grease or light machine oil for lasting lubrication of bearings.
Why is my extractor fan vibrating?
Vibration is usually caused by an unbalanced impeller due to uneven grease buildup, loose mounting screws, or worn bearings. Clean the blades thoroughly and ensure all screws are tight. If vibration persists, the bearings may need replacement.
Is it safe to repair an extractor fan myself?
Yes, if you follow safety precautions like disconnecting power and using insulated tools. However, if you lack experience with electrical systems or feel unsure, consult a professional. Electrical faults can lead to fires or shocks.
What causes an extractor fan to stop working suddenly?
Sudden failure is often due to a tripped circuit breaker, a blown fuse, a loose wire connection, or a burnt-out motor. Check the power supply first, then inspect internal connections and the motor condition.