Bathroom Extractor Fan Calculator
Bathroom Extractor Fan Calculator
Calculate the minimum airflow needed for your bathroom and get recommendations for the right extractor fan.
Recommended Fan
Minimum Airflow Required: 0 m³/h
Recommended Fan Type: N/A
Estimated Cost: N/A
Comparison of Recommended Models
| Model | Airflow (m³/h) | Noise (dB) | Price (AUD) |
|---|
Quick Takeaways
- You can replace most bathroom extractor fans in under two hours with basic tools.
- Turn off power at the circuit breaker before you start.
- Measure airflow (m³/h) and noise (dB) to pick a matching replacement.
- Keep the original vent pipe if it’s in good condition.
- Call an electrician if wiring looks damaged or you’re unsure about the connections.
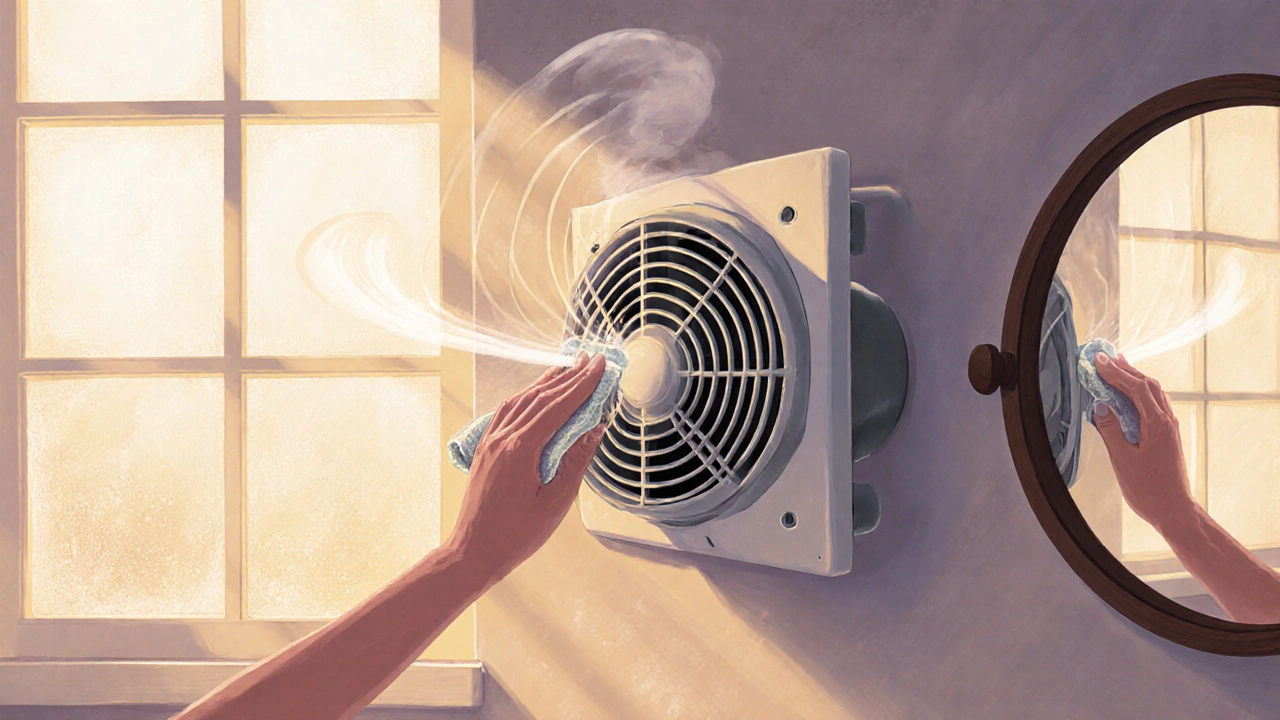
What a Bathroom Extractor Fan Does
Bathroom extractor fan is a compact motor that pulls humid air out of a bathroom and pushes it through a vent to the outside. It helps prevent mould, keeps mirrors clear and reduces the load on your heating system.
Tools and Materials You’ll Need
Gather these items before you start. Having everything on hand saves time and cuts frustration.
- Screwdriver (Phillips and flat‑head)
- Power drill with appropriate bits
- Adjustable wrench
- New extractor fan that matches the size and airflow of the old unit
- Electrical tape and wire connectors
- Silicone sealant (optional, for a watertight finish)
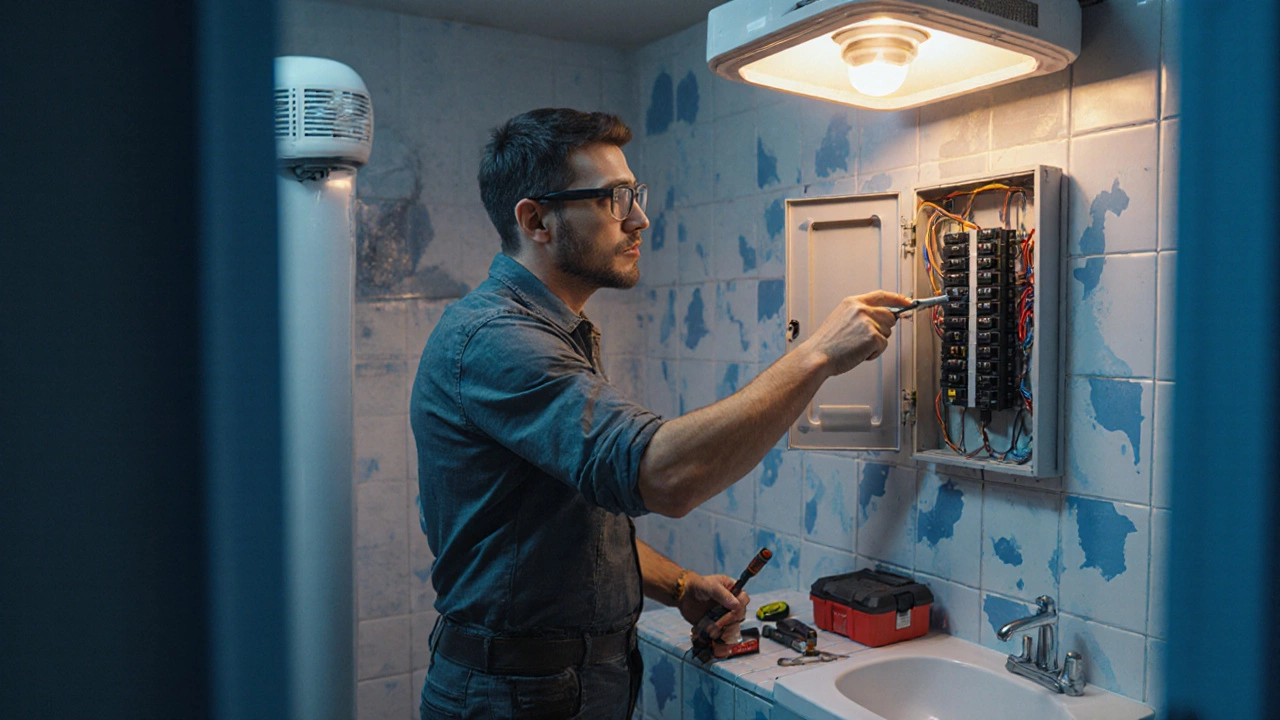
Safety First: Shut Off Power and Check the Wiring
Even if the fan seems low‑voltage, it is usually wired to a standard 230V circuit in Australia. Locate your home circuit breaker and flip the switch controlling the bathroom lights or fan. Verify the power is off with a non‑contact voltage tester.
Next, inspect the electrical wiring. Look for frayed insulation, loose connections, or signs of overheating. If anything looks questionable, pause the DIY and call a licensed electrician.
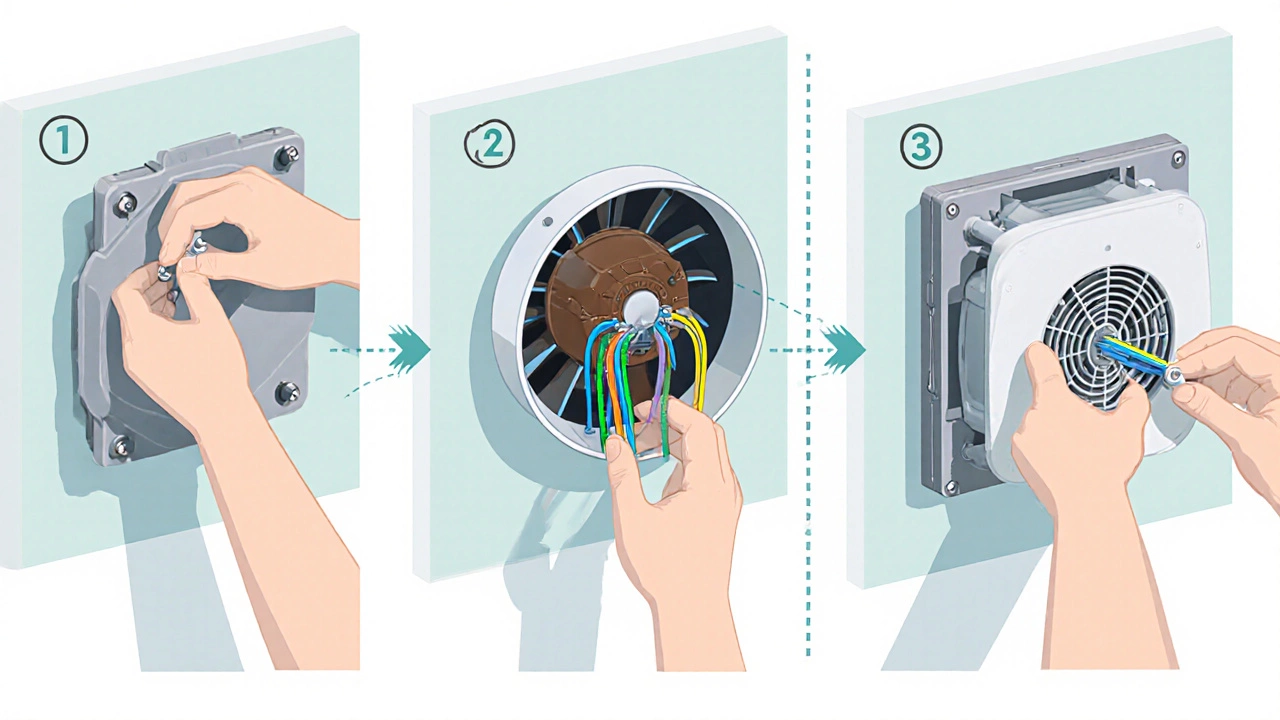
Step‑by‑Step Replacement Process
Follow these steps methodically. The procedure works for most ceiling‑mounted fans; wall‑mounted units have a similar flow but may require different mounting brackets.
- Remove the old fan cover. Unscrew the grille using the screwdriver. Most covers are held with 4-6 small screws.
- Detach the fan housing. The fan body is usually secured with screws to a mounting plate attached to the ceiling joist. Unscrew these and gently pull the unit away, exposing the wiring.
- Disconnect the wiring. Note which wire is live (usually brown), neutral (blue), and earth (green/yellow). Use the wire connectors to separate them, then cap each end with electrical tape.
- Take out the old mounting plate. If the plate is stuck, drill out the screws carefully. Keep the plate if you plan to reuse it.
- Fit the new fan. Align the new fan’s mounting brackets with the existing holes. If the new model has a different bracket pattern, you may need to drill new pilot holes.
- Secure the fan using the supplied screws. Tighten evenly to avoid vibration.
- Connect the new wiring. Match colour‑coded wires from the fan to the house wiring. Twist together, apply a wire connector, and wrap with tape. Ensure the earth wire is firmly attached to the metal housing.
- Some modern fans have a built‑in switch; if yours does, connect it according to the manufacturer’s wiring diagram.
- Seal the gap. Apply a thin bead of silicone sealant around the fan’s edge where it meets the ceiling. This prevents drafts and moisture ingress.
- Let the sealant cure for at least 30minutes before powering up.
- Re‑attach the cover. Snap or screw the grille back on. Double‑check that it sits flush and isn’t loose.
- Restore power. Switch the circuit breaker back on and test the fan. You should hear a steady hum and see airflow through the vent.
If the fan runs but feels noisy, revisit the mounting screws-tightening them can reduce vibration.
Choosing the Right Replacement Fan
Not every fan is a drop‑in swap. Look at these three specs before you buy:
| Model | Airflow (m³/h) | Noise (dB) | Typical Price (AUD) |
|---|---|---|---|
| Standard 100mm | 100 | 30 | 80 |
| Quiet 120mm | 150 | 25 | 130 |
| High‑Performance 150mm | 250 | 38 | 210 |
Pick a fan whose airflow rating meets or exceeds the size of your bathroom (rough rule: 1m³/min per 10m² of floor area). If you share the bathroom with a shower, lean toward the higher airflow models.
When to Call a Professional
DIY works for most straightforward swaps, but you should contact a licensed electrician or ventilation specialist if you encounter any of the following:
- Corroded or burnt wiring inside the ceiling.
- The existing vent pipe is cracked, rusted, or badly sealed. \n
- You need to relocate the fan to a different spot for better coverage.
- Local building codes in Perth require a certified installer for certain fan capacities.
Common Pitfalls and How to Avoid Them
Even experienced DIYers slip up. Here are the top mistakes and quick fixes:
- Forgetting to turn off the breaker. Always double‑check with a tester before touching wires.
- Using the wrong size vent pipe. Measure the existing pipe’s diameter; mismatched sizes cause air leaks.
- Over‑tightening screws. This can warp the fan housing and increase noise.
- Neglecting the earth connection. An un‑earthed fan is a shock hazard.
Maintenance Tips to Extend Fan Life
After you’ve installed the new unit, keep it running efficiently with these simple habits:
- Wipe the grille monthly with a damp cloth to prevent dust buildup.
- Check the motor housing for excess moisture every six months; replace the sealant if you see cracks.
- Run the fan for at least 10 minutes after every shower to clear humidity.
- Listen for unusual rattles; early detection often means a loose screw that can be tightened before the bearing wears out.
Frequently Asked Questions
Do I need a permit to replace a bathroom extractor fan in Perth?
Most standard fan swaps don’t require a building permit, but if you’re changing the fan size or altering the vent routing, the local council may ask for approval. Always check with the City of Perth before starting major changes.
Can I use a ceiling fan as a replacement for a bathroom extractor?
No. Ceiling fans move air within a room, while extractor fans move air out of the building. Using a ceiling fan won’t prevent moisture buildup and can lead to mould.
What airflow rating is enough for a family bathroom?
A family bathroom of about 8m² typically needs 150m³/h of airflow. If you have a separate shower enclosure, bump it up to 200m³/h to keep steam at bay.
Is it safe to replace the fan yourself if the wiring is hidden behind plaster?
Only if you can expose the wiring without damaging structural plaster or compromising fire safety. If you have to cut into the ceiling, it’s best to let an electrician handle the job.
How often should I replace a bathroom extractor fan?
Most fans last 8‑12 years. If you notice reduced airflow, increased noise, or rust, replace it sooner to avoid mould problems.