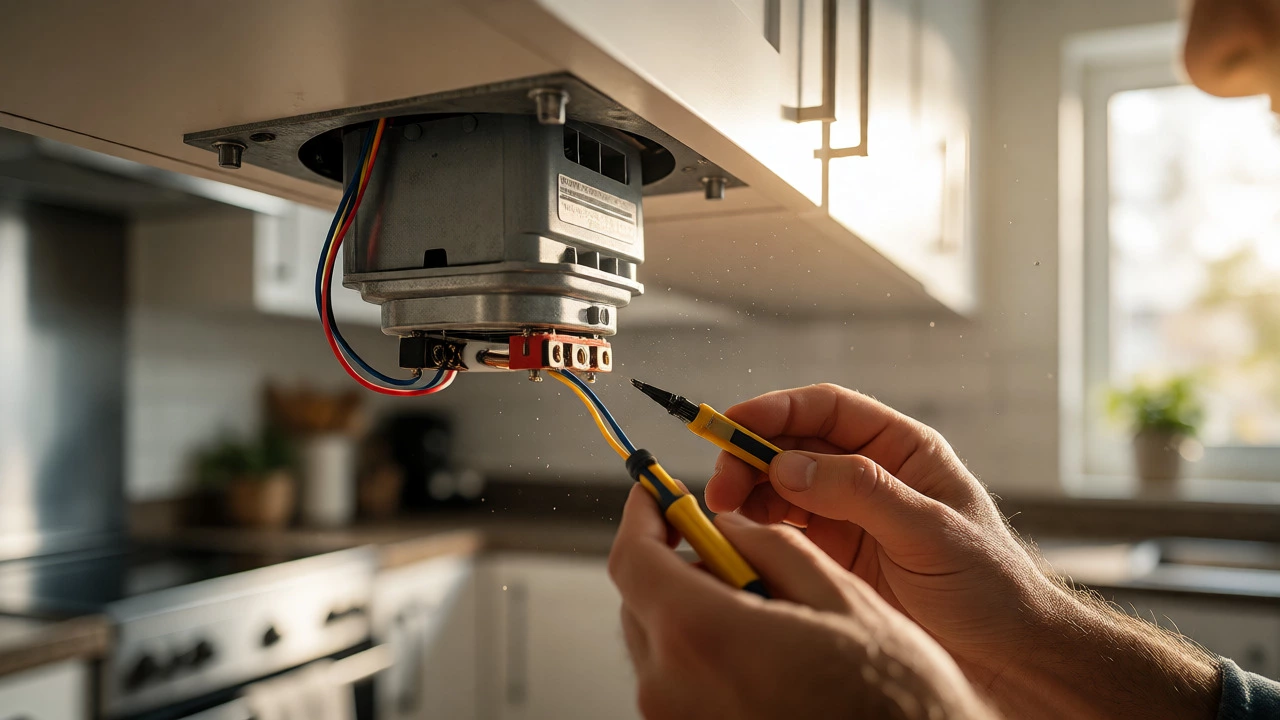
Extractor Fan Motor Replacement Checklist
Use this interactive tool to track your progress through the 9 essential steps of replacing your extractor fan motor. Click each step to view details and mark it as complete.
Safety First: Go to your switchboard and turn off the circuit breaker controlling the kitchen lights/fans. Verify with a voltage tester at the fan terminals. Never trust the wall switch alone.
Job Done!
You have successfully completed all steps for your extractor fan motor replacement. Enjoy your fresh kitchen air!
Remember to clean the housing every 3-6 months to extend the life of your new motor.
You turn on the switch, and instead of the reassuring hum that sucks away cooking smells, you get silence. Or worse, a grinding noise that sounds like your kitchen is trying to digest itself. Before you call a technician or rip out the whole unit, take a breath. In most cases, the problem isn't the entire extractor fan system but just one component: the electric motor. Replacing it is often a straightforward weekend job that can save you hundreds in labor costs.
This guide walks you through exactly how to identify if your motor is dead, how to buy the right replacement part, and how to swap it out safely. We’ll keep it practical-no jargon, just steps that work for standard domestic units found in most Australian homes.
Key Takeaways
- Safety First: Always isolate power at the circuit breaker before touching any wires.
- Diagnosis: If the blades spin freely by hand but don’t move when powered, the motor is likely faulty.
- Part Matching: Match voltage, amperage, RPM, and mounting dimensions exactly; generic replacements often fail.
- Timeframe: Expect 1-2 hours for a typical under-cabinet or wall-mounted unit.
- Cost Savings: A DIY replacement typically costs $50-$150 in parts versus $200+ for professional service.
Is It Really the Motor? Diagnosing the Problem
Not every silent fan needs a new motor. Sometimes, it’s just dirty blades jamming the mechanism, or a failed capacitor (the small silver cylinder attached to the motor). Here’s how to tell the difference without guessing.
First, check for mechanical blockages. Unplug the unit or cut power. Try spinning the fan blade assembly by hand. If it feels gritty, stiff, or hits something, clean the housing first. Grease buildup from frying can lock up even healthy motors. If the blades spin smoothly and quietly but the fan doesn’t start when you flip the switch, the electrical side is suspect.
Next, listen closely. A humming sound with no rotation usually points to a seized bearing or a bad capacitor. A complete lack of sound suggests an open circuit-meaning the motor windings are burned out or the thermal fuse has tripped. If you have a multimeter, test the motor terminals for continuity. No continuity means the motor is dead and needs replacing. If you don’t own a multimeter, visual inspection helps: look for burnt marks or melted plastic near the motor casing.
Gathering Tools and Safety Gear
You don’t need a workshop full of tools. Most extractor fans use standard screws and simple wiring connectors. However, skipping safety gear is a rookie mistake that leads to shocks or cuts.
| Tool/Item | Why You Need It | Pro Tip |
|---|---|---|
| Voltage Tester | To confirm power is off | Never trust the switch alone; test the wires directly. |
| Screwdrivers (Phillips & Flathead) | Removing covers and motor mounts | Magnetic tips help prevent dropping screws into the ducting. |
| Wire Strippers/Cutters | Preparing new wire ends | Cut old wires cleanly to ensure good contact. |
| Electrical Tape/Wire Nuts | Insulating connections | Use ceramic wire nuts if high heat is present. |
| Step Ladder | Accessing ceiling/wall units | Ensure stability; don’t overreach while holding wires. |
Also, grab a camera or phone. Before disconnecting anything, snap photos of the wiring configuration. This is your lifeline if you forget which wire goes where during reassembly.
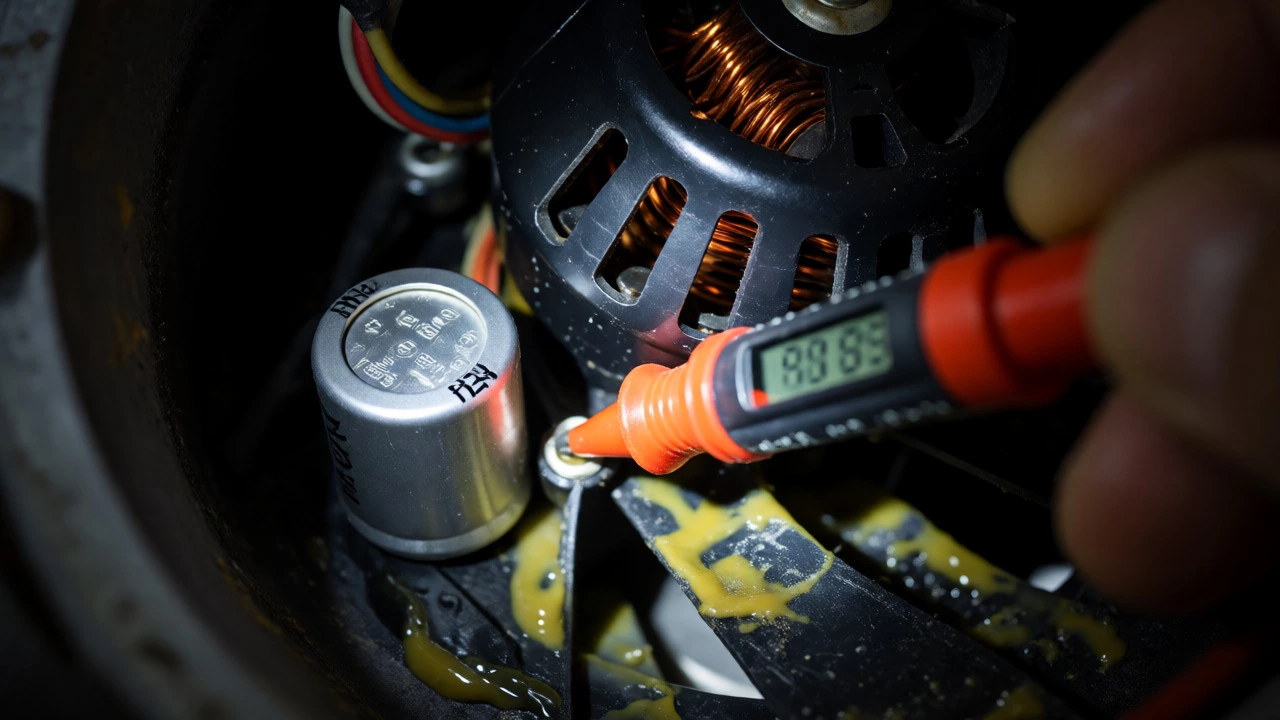
Finding the Right Replacement Motor
This is where most DIYers stumble. You cannot just walk into a hardware store and grab "an extractor fan motor." These components vary wildly in size, speed, and electrical specs. Buying the wrong one leads to poor performance or immediate failure.
Start by removing the cover and locating the label on the existing motor. It will list critical data: Voltage (usually 240V AC in Australia), Power (in Watts), Speed (RPM), and Current (Amps). Write these down. Next, measure the physical dimensions. Check the diameter of the shaft, the length of the motor body, and the spacing of the mounting holes. Some motors mount via a central screw, others via two brackets.
When shopping online or locally, match these specs as closely as possible. If you can’t find an exact brand match, look for a compatible aftermarket part. Many suppliers sell universal kits that include adapters. However, avoid "universal" motors unless they explicitly state compatibility with your fan type (e.g., centrifugal vs. axial).
Centrifugal vs. Axial Motors
Most modern rangehoods use centrifugal (blower) motors because they push air through long ducts more efficiently. Older window fans often use axial motors. Don’t mix them up. A centrifugal motor spins a squirrel-cage wheel, while an axial motor pushes air straight through. Using the wrong type will result in weak suction or excessive noise.
Step-by-Step Replacement Process
Once you have the correct motor and tools ready, follow this sequence. Work methodically to avoid losing small parts.
- Isolate Power: Go to your switchboard and turn off the circuit breaker controlling the kitchen lights/fans. Verify with a voltage tester at the fan terminals.
- Remove the Cover: Unscrew the grease filters and the main housing cover. Set them aside in a safe place.
- Disconnect Wiring: Note the wire colors (Live, Neutral, Earth). Loosen terminal screws or squeeze connector tabs. Pull wires free gently. Do not yank.
- Release the Motor: Remove the mounting screws or clips holding the motor to the chassis. Support the motor weight as you remove the last screw-it can be heavier than expected.
- Detach the Impeller/Fan Blade: Depending on the model, the blade may be held by a central nut or a friction fit. Use pliers if necessary, but protect the shaft threads with tape.
- Install New Motor: Attach the impeller to the new motor shaft first. Ensure it sits flush. Then, mount the motor assembly back into the housing using the original brackets.
- Reconnect Wires: Connect Live to Live, Neutral to Neutral, and Earth to Earth. Tighten terminals securely. Loose connections cause arcing and overheating.
- Test Before Closing Up: Turn the breaker back on. Briefly switch the fan on. Listen for smooth operation. If it runs well, turn it off again.
- Reassemble: Put the cover back, secure the filters, and restore power permanently.

Troubleshooting Common Post-Replacement Issues
If the new motor doesn’t work, don’t panic. It’s rarely the new part. Usually, it’s a connection issue or a mismatched spec.
The fan hums but doesn’t spin: The impeller might be too tight on the shaft. Loosen the retaining nut slightly so the blade can float freely. Alternatively, check if you accidentally wired the start winding incorrectly (common in dual-speed motors).
No power at all: Double-check the breaker. Then, verify your wire connections. Did you mix up Live and Neutral? While many motors run either way, some with built-in electronics require correct polarity. Also, ensure the earth wire is connected; loose earths can trip safety switches immediately.
Excessive vibration: The fan blade is unbalanced. Clean it thoroughly. Check if the rubber grommets between the motor and chassis are intact. Missing dampeners transfer vibration to the cabinet, creating a loud drone.
When to Call a Professional
DIY is great, but know your limits. Call a licensed electrician or appliance tech if:
- The wiring inside the ceiling cavity is damaged or inaccessible.
- You smell burning plastic after testing the new motor.
- The unit is hardwired into a complex lighting circuit with multiple switches.
- You’re uncomfortable working with live circuits despite isolating the power.
In Perth, humidity can corrode terminals faster than in drier climates. If you see green corrosion on copper wires, clean them with sandpaper or replace the pigtail leads. Corrosion increases resistance, causing motors to overheat and fail prematurely.
Can I replace just the bearings instead of the whole motor?
Technically yes, but it’s rarely worth it for domestic units. Sealed ball bearings are difficult to press out and reinstall without specialized tools. By the time you source the right bearings and lubricant, you’ve spent nearly as much as a new motor. Plus, the windings may already be compromised by heat. Replacing the entire motor is more reliable and cost-effective for most homeowners.
How long does an extractor fan motor last?
With regular cleaning, a quality motor should last 8-10 years. Heavy usage (like commercial-style cooking) or poor ventilation can reduce this to 3-5 years. Grease buildup is the primary killer, as it insulates the motor, preventing heat dissipation. Cleaning the fan blades and housing every 3-6 months extends lifespan significantly.
Do I need to replace the capacitor too?
If your old motor had a separate external capacitor, yes. Capacitors degrade over time and lose their ability to provide the initial torque needed to start the motor. Since you have the unit open, swapping a $10-$20 capacitor is cheap insurance. If the new motor comes with an integrated capacitor (common in newer sealed units), you don’t need to worry about this step.
What if the new motor is louder than the old one?
Check the RPM rating. If you replaced a low-RPM motor with a higher-RPM one, it will naturally be louder. Also, ensure the motor is properly seated in its rubber mounts. Vibration against metal chassis creates noise. If the noise is a high-pitched whine, the bearings might be defective, or the shaft alignment is off due to improper installation.
Can I use a generic motor from eBay?
You can, but proceed with caution. Generic motors often lack precise mounting brackets and may have different shaft lengths. Measure everything twice before ordering. Look for sellers who provide detailed dimension diagrams. If the price seems too good to be true, the build quality likely reflects that. For critical kitchen ventilation, sticking to OEM (Original Equipment Manufacturer) or reputable aftermarket brands is safer.