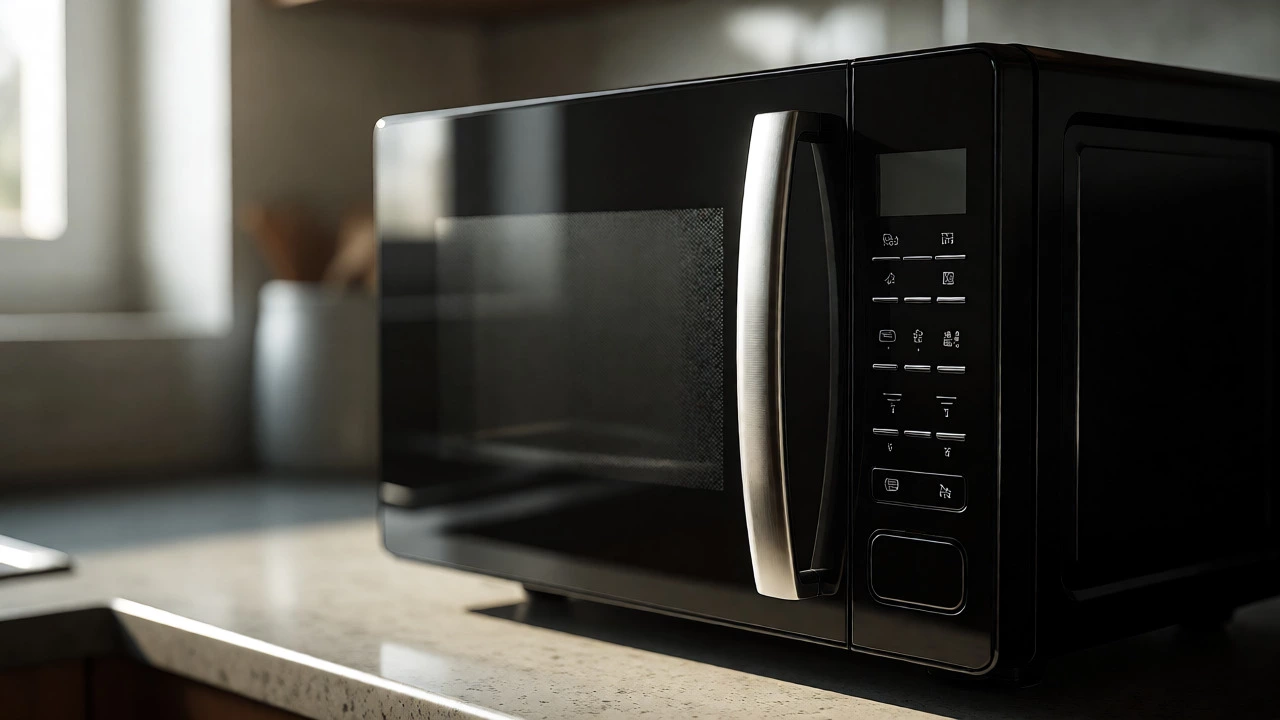
Microwave Fuse Diagnostic Tool
Step 1: What are the symptoms?
Select the option that best describes your microwave's current behavior.
Step 2: Safety First
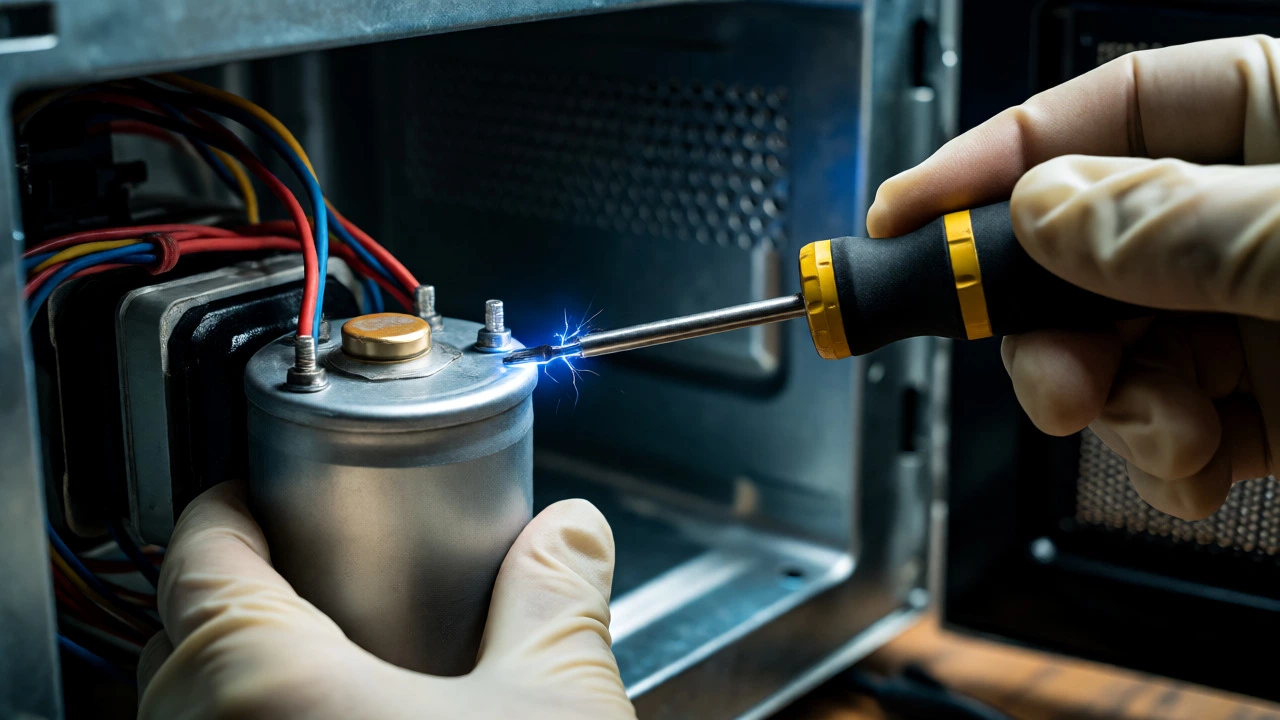
Before opening the cabinet, you must discharge the high-voltage capacitor. It can hold a lethal charge even when unplugged.
Step 3: Continuity Test
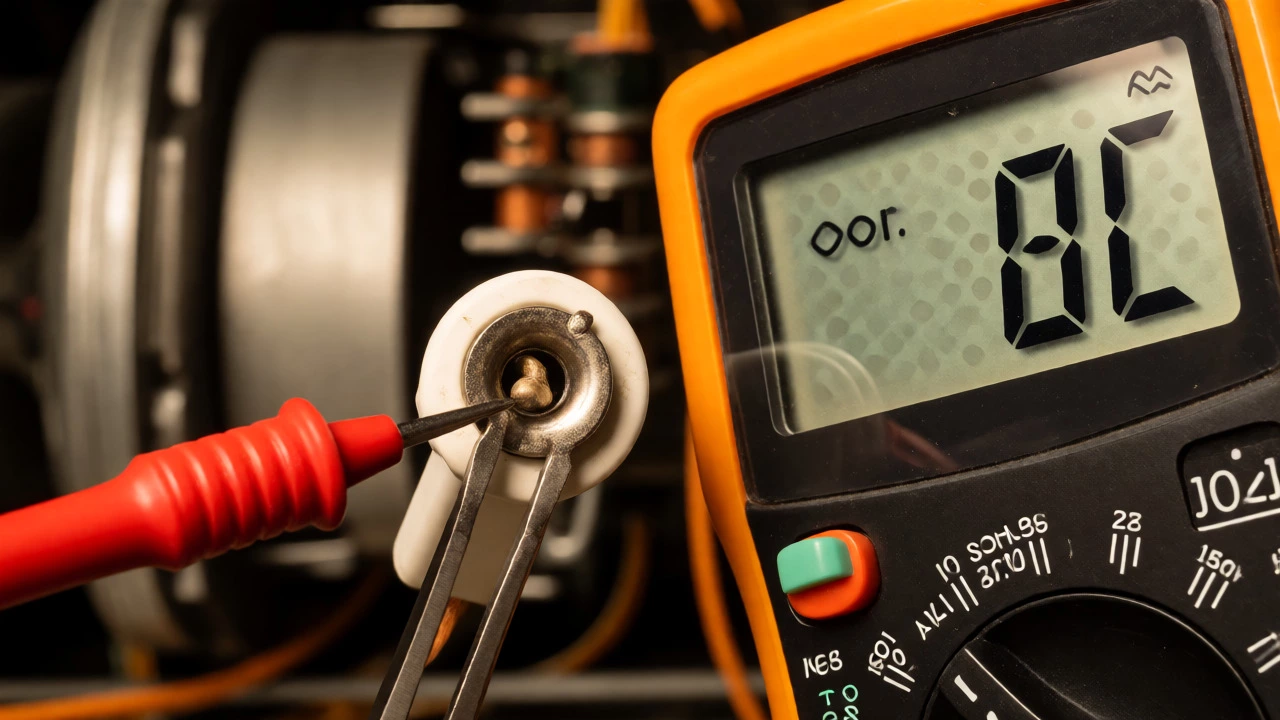
Locate the line fuse (usually behind a cover on the back). Set your multimeter to Ohms (Ω) or Continuity mode. Touch probes to both ends of the fuse.
You press the start button on your microwave and get absolutely nothing. No hum, no spinning plate, no light. It’s dead silent. Before you panic about buying a new unit or calling in a pro for an expensive service call, there is one component that causes this specific "dead" symptom more than any other: the fuse.
Figuring out if it is actually the fuse requires a bit of detective work and a crucial safety step. You aren't just looking at a broken wire; you are dealing with high-voltage components that can bite back even when unplugged. This guide walks you through exactly how to confirm a blown fuse, how to safely access it, and what to do next.
The Key Symptoms of a Blown Fuse
Not every malfunction points to the fuse. In fact, most electrical issues in microwaves present differently. To know if you’re chasing the right problem, you need to distinguish between a total power failure and partial failures.
A blown main fuse typically results in a completely dead appliance. The display won’t light up, the interior bulb stays dark, and the cooling fan doesn’t spin. If your microwave lights up but doesn’t heat, the fuse is likely fine (that’s usually the magnetron or diode). If the turntable works but the heating stops, again, look elsewhere.
Here is a quick diagnostic check:
- Total Silence: Display blank, no lights, no fan noise. Likely a blown fuse or door switch failure.
- Lights On, No Heat: Fuse is good. Suspect the high-voltage capacitor, diode, or magnetron.
- Sparking or Burning Smell: Could be a short circuit that blew the fuse as a safety measure.
- Intermittent Power: Often a loose connection or failing door interlock switch, not necessarily a blown fuse.
If your unit matches the "Total Silence" description, you have a strong candidate for a blown fuse. But before you grab a screwdriver, let’s talk about why fuses blow in the first place. They are sacrificial devices designed to break the circuit when current exceeds safe limits. If your fuse blew, something caused a surge-perhaps a shorted capacitor, a jammed motor, or a faulty door switch creating an arc.
Safety First: Discharging the Capacitor
This is the part where most DIYers skip steps and get shocked. Microwaves contain a high-voltage capacitor that stores enough energy to deliver a lethal shock, even after the unit has been unplugged for days. Think of it like a tiny, angry lightning bolt trapped inside a metal cylinder.
You cannot safely inspect the internal fuse without discharging this capacitor. Here is the proper procedure:
- Unplug the microwave: Ensure it is completely disconnected from the wall outlet.
- Remove the outer casing: Usually held by screws on the back and sides. Keep track of them.
- Locate the capacitor: It is typically a large silver or black cylindrical object near the transformer.
- Discharge it: Use an insulated-handled screwdriver. Touch the metal shaft across both terminals of the capacitor simultaneously. You might hear a loud "pop" or see a small spark. That is normal. Repeat this a few times to ensure it is fully drained.
Never touch the internal components with bare hands until you have confirmed the capacitor is discharged. If you are unsure about your comfort level with high voltage, stop here and call a professional. Safety isn't negotiable.
Locating and Testing the Fuse
Microwaves generally have two types of fuses: the line fuse (main fuse) and the diode fuse (HV fuse). The line fuse protects the entire unit and is usually accessible behind a small plastic cover on the back panel, often labeled "Fuse." The HV fuse is tucked away near the high-voltage assembly and is harder to reach.
Since your microwave is completely dead, focus on the line fuse first. It is the easiest to access and the most common culprit for total power loss.
To test the fuse, you need a multimeter. Visual inspection alone is unreliable because some ceramic fuses look intact externally even when the internal filament is broken.
How to Test Continuity
Set your multimeter to the continuity setting (usually denoted by a sound wave symbol or Ohms Ω).
- Remove the fuse from its holder.
- Touch one probe to each end cap of the fuse.
- Listen for a beep or watch the resistance reading.
If the meter beeps or shows near-zero resistance (close to 0Ω), the fuse is good. If it stays silent or reads infinite resistance (often displayed as "OL" or "1"), the fuse is blown. There is no middle ground here-it’s either conducting or it’s not.
| Fuse Condition | Continuity Beep | Resistance Reading | Action Required |
|---|---|---|---|
| Good | Yes (Beep) | 0Ω - 1Ω | Reinstall and investigate other causes if still dead. |
| Blown | No (Silence) | Infinite (OL) | Replace with identical rating. |
| Intermittent | Inconsistent | Fluctuating | Replace immediately; indicates internal damage. |
Choosing the Right Replacement Fuse
You cannot just grab any glass tube from the junk drawer. Microwave fuses are specialized. They must match three critical specifications:
- Amperage Rating: Usually between 15A and 20A for the main fuse. Check the label on the old fuse or the user manual.
- Voltage Rating: Typically 250V AC. Using a lower voltage fuse can cause it to arc and fail prematurely.
- Physical Size: Common sizes are 6x30mm or 8.5x30mm. Measure the old one if the markings are burnt off.
Pay attention to whether the fuse is "slow-blow" or "fast-blow." Most microwaves use slow-blow (time-delay) fuses to handle the initial inrush current when the compressor or magnetron kicks on. Using a fast-blow fuse instead will likely result in it blowing again immediately upon startup.
Pro tip: Take the old fuse to a hardware store or order online using the exact model number of your microwave. Generic "glass fuses" are risky. Look for brands like Littelfuse or Bussmann, which are standard in appliance manufacturing.
Why Did It Blow? Finding the Root Cause
Replacing the fuse is only half the job. If you don’t fix the underlying issue, the new fuse will blow within minutes or seconds. Fuses don’t blow randomly; they react to excess current.
Common culprits include:
- Shorted Diode: The high-voltage diode converts AC to DC for the magnetron. If it shorts, it draws massive current, blowing the fuse.
- Faulty Magnetron: The heart of the microwave. If its internal windings short, it pulls too much power.
- Door Interlock Switches: These switches tell the control board when the door is closed. If they stick or arc, they can create a short circuit path.
- Control Board Failure: Rare, but a stuck relay on the PCB can keep circuits energized incorrectly.
If the new fuse blows instantly upon plugging in, suspect a hard short in the high-voltage circuit (diode/capacitor/magnetron). If it blows after running for a few minutes, it might be an overheating component or a failing door switch.
When to Call a Professional
While replacing a fuse is a beginner-friendly task, diagnosing why it blew can escalate quickly. If you replace the fuse and it blows again immediately, stop. Do not keep replacing fuses hoping it was a fluke.
At this point, you are dealing with high-voltage diagnostics. Testing the diode and capacitor requires specific knowledge and tools. A bad magnetron replacement involves handling sharp fins and heavy components. For many homeowners, the cost of parts plus the risk of electric shock makes hiring a technician the smarter financial choice.
However, if the fuse was simply old and brittle, or if a power surge from a storm knocked it out, a simple replacement solves the problem for under $10. Always test the new fuse installation thoroughly before closing up the case.
Can I bypass a blown microwave fuse?
No, never bypass a fuse with wire or foil. The fuse exists to prevent fire and protect expensive components. Bypassing it removes the safety mechanism, risking severe damage to the magnetron or control board if a short persists.
How long does a microwave fuse last?
Under normal conditions, a fuse can last the lifetime of the appliance, often 10+ years. However, frequent power surges, aging capacitors, or heavy usage patterns can degrade the internal filament over time, leading to eventual failure.
Is it dangerous to open a microwave?
Yes, primarily due to the high-voltage capacitor which retains charge even when unplugged. Always discharge the capacitor before touching internal components. Additionally, sharp metal edges inside the casing can cut skin, so wear gloves.
What does a blown fuse look like?
Glass fuses may show a blackened interior or a visible break in the thin wire filament. Ceramic fuses often look completely normal externally despite being blown internally, which is why testing with a multimeter is essential for accurate diagnosis.
Where is the fuse located on a microwave?
The main line fuse is usually found behind a small plastic access panel on the back exterior of the microwave, often labeled "FUSE." Some models require removing the outer cabinet to access it. The high-voltage fuse is located inside the chassis near the transformer and capacitor.