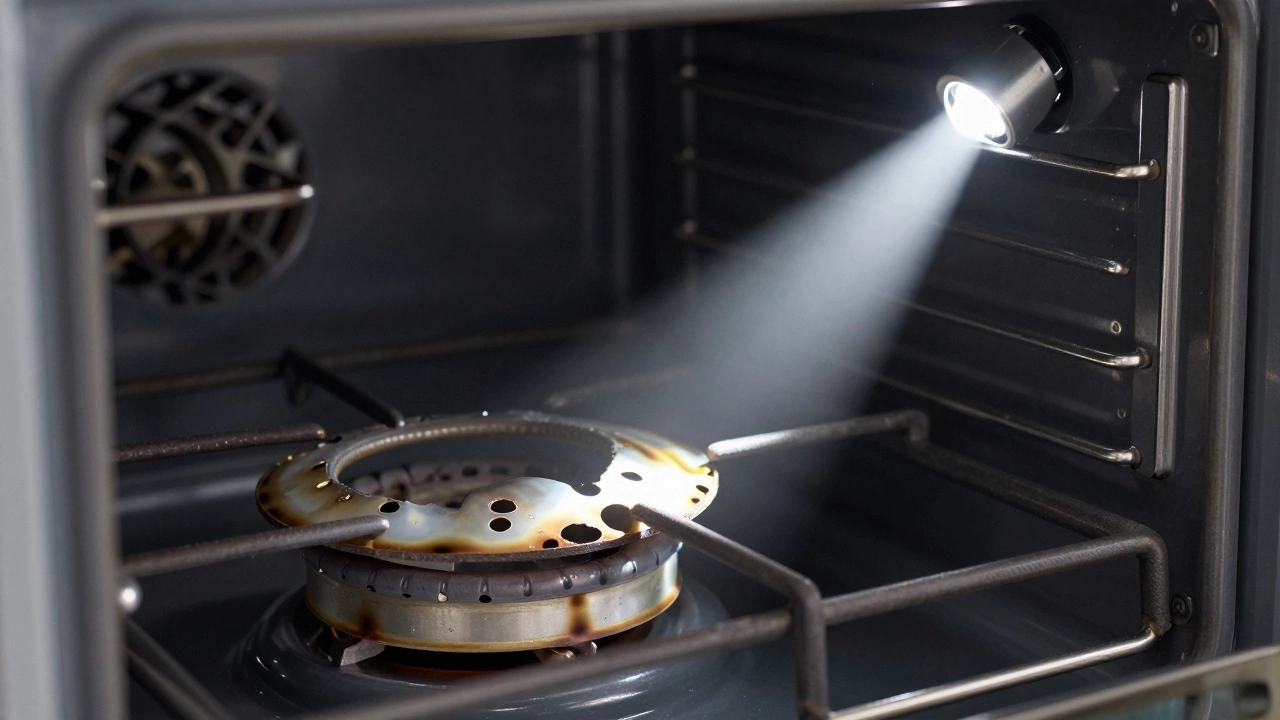
Oven Element Diagnostic Tool
Step 1: Visual Inspection
Look closely at the U-shaped tube at the bottom of your oven. Do you see any physical damage?
Step 2: The Glow Test
Set the oven to Bake at 350°F (175°C). After 10 minutes, observe the element.
Step 3: Resistance Check
If the element glowed but the oven isn't hot, check resistance with a multimeter (Ohms/Ω setting).
Nothing ruins dinner plans faster than an oven that refuses to get hot. You preheat the kitchen for what feels like an hour, but when you put your hands near the rack, it’s still room temperature. Before you call a technician or order a new appliance, take a closer look at the bake element, which is the coiled metal tube at the bottom of your oven responsible for generating heat during baking and roasting. In many cases, the problem isn’t the control board or the thermostat-it’s simply a burnt-out element.
Diagnosing this issue yourself can save you time and money. It doesn’t require advanced electrical knowledge, just a keen eye and a willingness to follow safety protocols. This guide walks you through the visual signs, simple tests, and replacement logic so you can determine exactly whether your oven element is the culprit.
The Visual Inspection: What a Dead Element Looks Like
The easiest way to spot a failing heating element is a metal coil designed to glow red-hot when electricity passes through it is often just looking at it. While not every failure is visible, many are obvious once you know what to look for. Pull out the oven racks and shine a flashlight into the cavity. Focus on the U-shaped tube at the bottom (for conventional ovens) or the top (for broilers).
- Burn holes: If you see small pinholes or melted spots in the metal tube, the element has failed internally. Electricity can no longer flow continuously through the circuit, meaning it won’t generate heat.
- Blistering or bubbling: The enamel coating on the element may bubble up if it has overheated due to a manufacturing defect or contact with food residue. This indicates structural weakness.
- Discoloration: Some darkening is normal over years of use, but uneven blackening or white powdery residue suggests corrosion or arcing, which compromises conductivity.
If you see any of these physical defects, the element is dead. No amount of recalibrating the thermostat will fix a broken coil. However, some elements fail without showing external damage, which brings us to the next step: checking if it actually turns on.
The "Glow Test": Does It Heat Up?
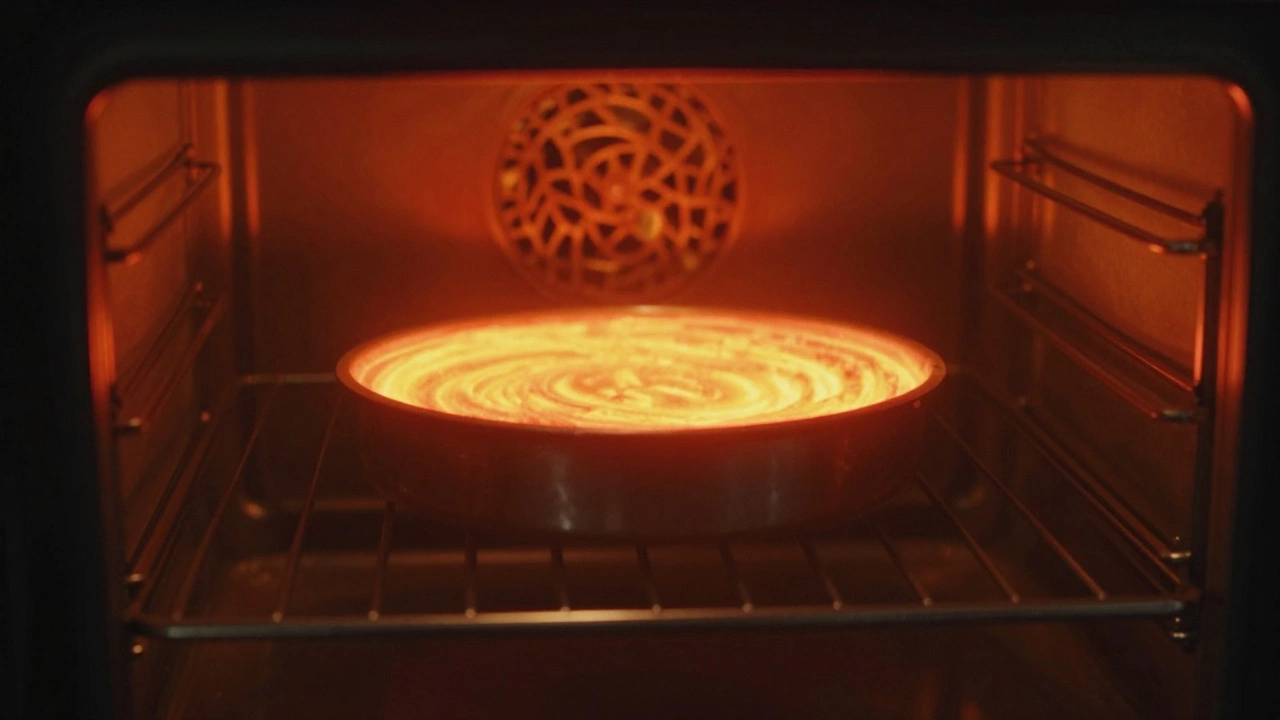
Not all failures are visible. An element might look pristine but still be open-circuited inside. To check this, perform a simple operational test. Set your oven to "Bake" at 350°F (175°C). Wait about ten minutes. During this time, stand back and observe the element.
In a functioning oven, the bake element should glow a dull orange or bright red within the first few minutes. It cycles on and off to maintain temperature, so it’s normal for it to turn off after reaching the set point. But if it never glows at all, or if only one side of the U-tube glows while the other stays cold, the element is likely broken. A partial glow indicates a break in the wire somewhere along the coil, preventing full power delivery.
| Symptom | What It Means | Action Required |
|---|---|---|
| No glow during preheat | Open circuit or no power reaching element | Test continuity or replace element |
| Partial glow (one side only) | Internal break in the coil | Replace element immediately |
| Burn holes or blisters | Physical failure of the metal tube | Replace element |
| Oven takes forever to heat | Weak element or incorrect wattage | Check voltage and resistance |
If the element glows normally but the oven still doesn’t reach temperature, the problem might lie elsewhere-such as a faulty thermostat, a stuck relay on the control board, or poor insulation. But if the element remains cold when it should be hot, you have a strong candidate for replacement.
Testing Continuity with a Multimeter
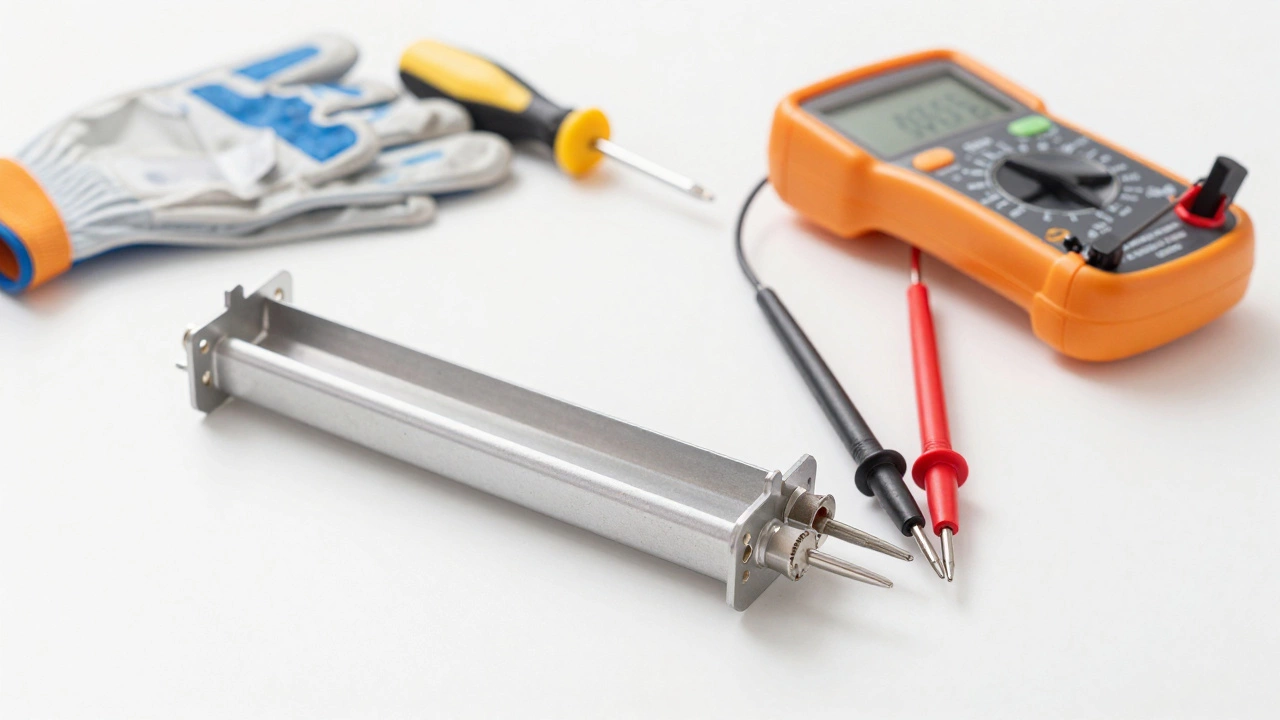
For a definitive diagnosis, you need to measure the electrical resistance of the element. This requires a multimeter is a handheld device used to measure voltage, current, and electrical resistance. Most homeowners don’t own one, but they’re inexpensive and worth having for basic appliance troubleshooting. If you don’t have access to a multimeter, skip to the visual and glow tests above; if those suggest failure, replacement is usually the safest bet.
- Disconnect power: Turn off the circuit breaker that supplies power to your oven. Never work on live wiring. Verify the power is off by trying to turn the oven on-it should do nothing.
- Access the terminals: Remove the screws holding the element in place. Gently pull the element forward to expose the two metal prongs where wires connect. Disconnect the wires from the terminals.
- Set the multimeter: Switch your multimeter to the ohms (Ω) setting. Touch one probe to each terminal of the element.
- Read the value: A healthy bake element typically reads between 10 and 30 ohms. If the display shows "OL" (open loop) or infinity, the internal circuit is broken. If it reads zero, there’s a short circuit.
A reading outside the 10-30 ohm range confirms the element needs replacement. Note that broil elements often have lower resistance (around 15-20 ohms) because they draw more power for intense, direct heat. Always refer to your oven’s manual for specific specifications.
Common Misdiagnoses: When It’s Not the Element
Before buying a new part, rule out other common causes of heating problems. Swapping parts unnecessarily wastes money and time. Here are three frequent culprits that mimic a bad element:
- Faulty thermostat: If the oven heats up but shuts off too early, or runs constantly without cycling, the thermostat may be misreading the internal temperature. This isn’t an element issue-it’s a sensor problem.
- Broken door switch: Many ovens won’t activate the heating elements unless the door is fully closed. If the microswitch under the latch is worn out, the oven thinks the door is open and disables heating for safety. Check if the interior light turns on when you close the door-if it doesn’t, the switch might be faulty.
- Control board relay failure: The electronic control board sends power to the element via relays. If a relay sticks open, no electricity reaches the element, even if the element itself is fine. Listen for a faint click when you set the oven to bake. No click? The board might be the issue.
If you’ve confirmed the element looks good, glows properly, and has correct resistance, but the oven still won’t heat, stop digging into the element and start investigating the control system.
Replacing the Element: A Step-by-Step Guide
If your tests confirm the element is broken, replacing it is straightforward. Most models use standard mounting brackets and screw connections. Here’s how to do it safely:
- Buy the right part: Locate the model number plate inside the oven frame or on the back of the unit. Search online for "[Model Number] bake element." Cross-reference the shape, size, and wattage (usually 2000-2500 watts) to ensure compatibility.
- Remove the old element: With power disconnected, unscrew the mounting bolts at the back of the oven cavity. Carefully pull the element forward, noting how the wires were attached. Take a photo before disconnecting anything to help with reassembly.
- Install the new element: Slide the new element into place. Reattach the wires to the corresponding terminals. Tighten the screws securely but avoid overtightening, which can strip the threads.
- Restore power and test: Turn the circuit breaker back on. Set the oven to bake at 350°F. Watch for the element to glow within five minutes. If it does, you’ve fixed the problem.
Replacement elements cost between $20 and $60 depending on the brand and type. Labor adds another $100-$150 if you hire a pro. Doing it yourself saves significant cash and gives you peace of mind knowing exactly what was replaced.
Preventing Future Failures
Oven elements last an average of 5-10 years, but you can extend their life with simple habits. First, keep the oven clean. Grease and food splatter that land on the element can carbonize and insulate it, causing overheating and premature burnout. Wipe spills immediately after cooling.
Second, avoid placing aluminum foil directly on the oven floor. Foil reflects heat back onto the element, raising its surface temperature beyond design limits. Use oven-safe pans instead. Third, don’t slam the oven door. Repeated impact can loosen the element’s mounting screws, leading to poor contact and arcing.
Finally, consider upgrading to a self-cleaning oven if yours lacks one. High-temperature cleaning cycles burn off residue that would otherwise accumulate on the element. Just remember to remove large debris manually before running the cycle to prevent smoke and fire hazards.
Can I use my oven if the element is cracked?
No. A cracked element poses a fire risk and may shock you if touched. Replace it immediately.
Why does my oven element glow but the oven stays cold?
This usually points to a faulty thermostat, broken door switch, or control board issue rather than the element itself. The element works, but the oven isn’t regulating heat correctly.
How much does it cost to replace an oven element?
Parts cost $20-$60. DIY installation is free. Professional service ranges from $100-$150 including labor.
Is it safe to test an oven element with a multimeter while it’s plugged in?
Absolutely not. Always disconnect power at the circuit breaker before testing or handling any internal components.
Can a dirty oven cause the element to fail?
Yes. Accumulated grease and food residue can insulate the element, causing it to overheat and burn out prematurely. Regular cleaning extends element life.