Refrigerator Diagnostic Tool
What is the main issue?
Describe the temperature situation:
What specifically is happening with water/ice?
What kind of noise is it?
Check your door seals:
Diagnosis Found
Your kitchen goes silent. You open the door expecting a chill, but instead, you’re hit with warm air and the smell of spoiled milk. It’s a nightmare scenario for any homeowner. But before you panic or call for an expensive replacement, ask yourself: is this actually a broken compressor, or just one of those incredibly common, easy-to-fix issues?
The short answer to what is the most common repair on a refrigerator? It’s rarely the big, scary components like the compressor or the sealed system. In my years fixing appliances here in Perth, I’ve seen that the vast majority of "broken" fridges are suffering from simple blockages, failed sensors, or worn-out seals. The most frequent culprit isn’t even a mechanical failure-it’s usually something as mundane as a clogged drain line or a faulty start relay.
The #1 Culprit: Why Your Fridge Isn't Cooling Properly
If your fridge feels warm, your first instinct might be to blame the refrigerant gas. But here’s the truth: modern refrigerators are sealed systems. Unless there was a loud bang followed by silence, your gas hasn’t leaked out. Instead, the issue is almost always airflow.
The most common reason for temperature fluctuations is a blocked air vent or a failing evaporator fan motor. Inside the freezer compartment, there’s a small fan that pushes cold air into the fridge section. If that fan stops spinning, the freezer might stay cold, but the fresh food section will turn into a salad warmer within hours.
You can test this yourself. Open the freezer door and listen. Do you hear a humming sound? If it’s silent, but the light works, the fan motor has likely died. These motors are cheap to replace and don’t require special tools. Another possibility is that the fan blades are hitting ice buildup. This leads us to the next major category of repairs: the defrost system.
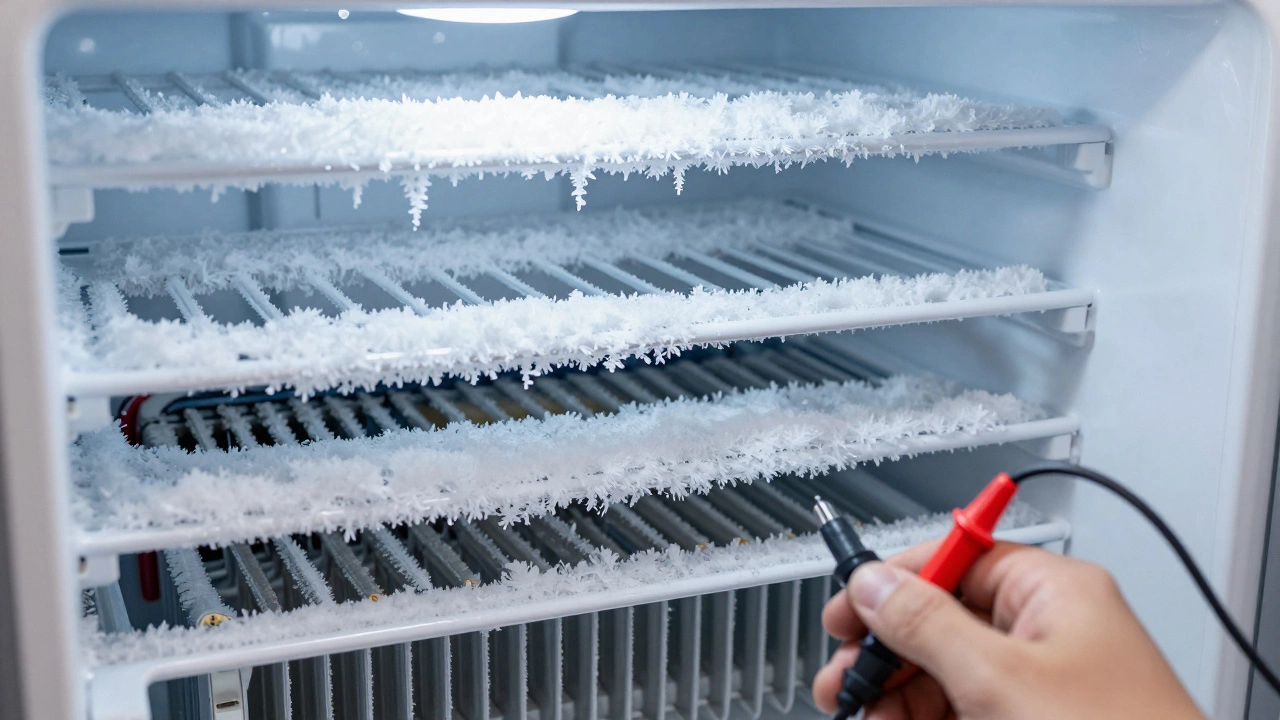
The Defrost System: The Silent Killer of Fridges
Most modern fridges are "frost-free," which sounds great until you realize they rely on a complex heating cycle to melt frost every few hours. This system consists of three parts: a defrost timer (or control board), a defrost heater, and a defrost thermostat (bi-metal switch).
When this system fails, ice builds up on the evaporator coils inside the back wall of the freezer. At first, you won’t notice anything. Then, the ice gets thick enough to block airflow. Suddenly, your fridge warms up. You might see frost creeping into the freezer shelves, or hear a gurgling noise as the compressor struggles against the blockage.
The most common part to fail here is the Defrost Heater, which is a tubular heating element that melts frost off the evaporator coils during the defrost cycle. It’s exposed to constant heat and moisture, making it prone to burning out over time. Replacing it involves pulling out the back panel of the freezer, disconnecting two wires, and swapping the old heater for a new one. It’s a job that takes about 30 minutes for someone handy.
If the heater is fine, check the defrost thermostat. This little sensor tells the heater when to turn off once the ice has melted. If it stays closed, the heater runs forever, potentially melting plastic components. If it opens too early, the ice never melts. Both scenarios lead to a non-cooling fridge.
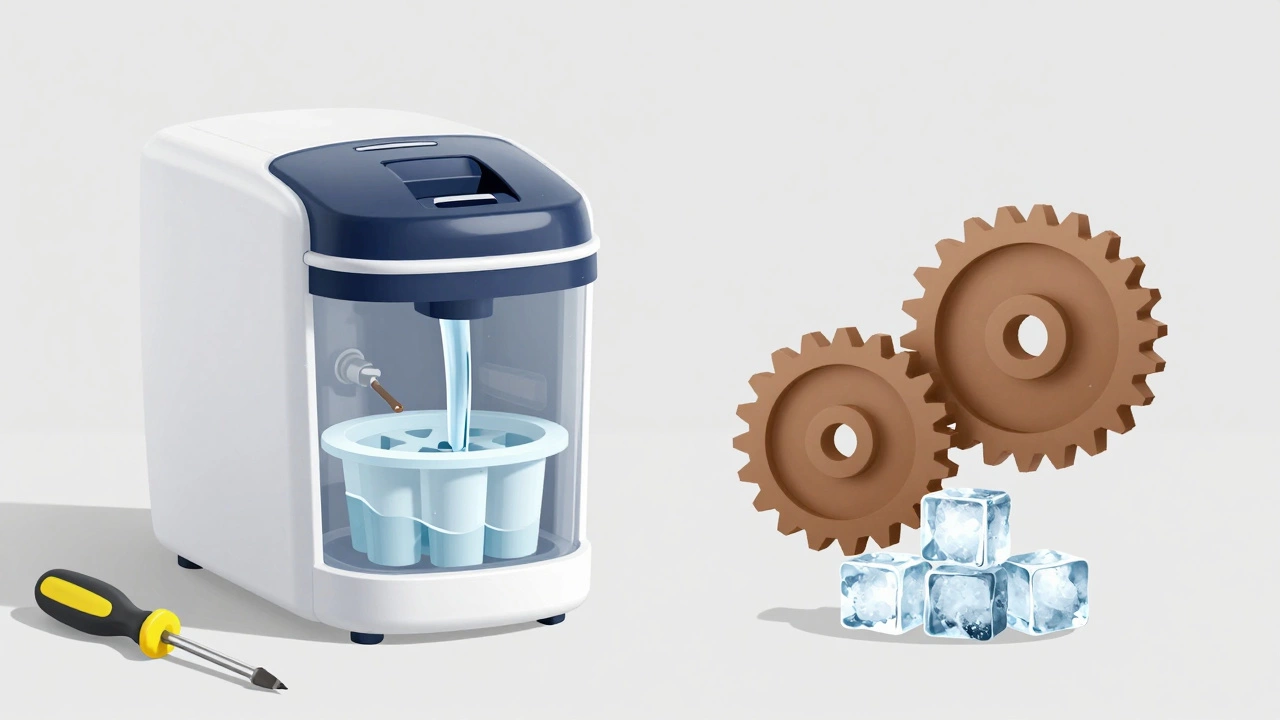
Ice Maker Issues: When Water Becomes Ice (Or Doesn't)
After cooling problems, ice maker failures are the second most common repair request. People love their ice cubes, but the mechanism behind them is surprisingly fragile. There are two main types of failures here: no water entering the mold, or the ice not ejecting properly.
If the ice maker isn’t filling, check the water supply line first. Is the valve under the sink turned on? Is the line kinked behind the fridge? If water flows freely to the dispenser but not the ice maker, the issue is likely the water inlet valve solenoid. This valve has separate ports for the dispenser and the ice maker. Sometimes one side works while the other clogs with sediment or mineral deposits.
However, if the ice maker fills but doesn’t drop the cubes, look at the harvest motor. This motor spins the auger to push ice out. Over time, the gears inside this plastic motor strip away. You’ll often hear a clicking sound coming from the freezer when the ice maker tries to activate. This is a classic symptom of a stripped gear. Replacing the entire ice maker assembly is usually more cost-effective than trying to fix the motor alone.
| Symptom | Most Likely Cause | Difficulty Level |
|---|---|---|
| Fridge warm, Freezer cold | Evaporator Fan Motor failure | Medium |
| Both compartments warm | Clogged Defrost Drain or Failed Compressor | High/Medium |
| Water pooling in bottom drawer | Clogged Defrost Drain Tube | Easy |
| Loud buzzing or humming | Failed Start Relay or Condenser Fan | Easy |
| Ice cubes stuck together | Stripped Harvest Motor Gears | Medium |
The Dirty Secret: Clogged Defrost Drains
This is the repair that costs $0 if you catch it early, but can cause thousands of dollars in damage if ignored. Every fridge has a drain hole at the back of the freezer compartment. During the defrost cycle, melted ice flows down this tube and into a pan underneath the fridge, where it evaporates.
In Perth, our dust and humidity play havoc with these drains. Food particles, dust, and bacteria create a sludge that blocks the tube. When the drain clogs, the water backs up. It spills over the sides of the drain pan, pools in the bottom of the fridge, and eventually leaks onto your kitchen floor. You might think you have a leaky pipe, but it’s just your fridge crying for help.
Fixing this is straightforward. Locate the drain hole (usually behind the vegetable crisper or at the back wall of the freezer). Use a turkey baster filled with warm water to flush it out. For stubborn clogs, a flexible drain snake or a pipe cleaner works wonders. Pouring a little vinegar down the drain afterward helps kill the bacteria causing the slime. Do this twice a year, and you’ll avoid most water-related fridge disasters.
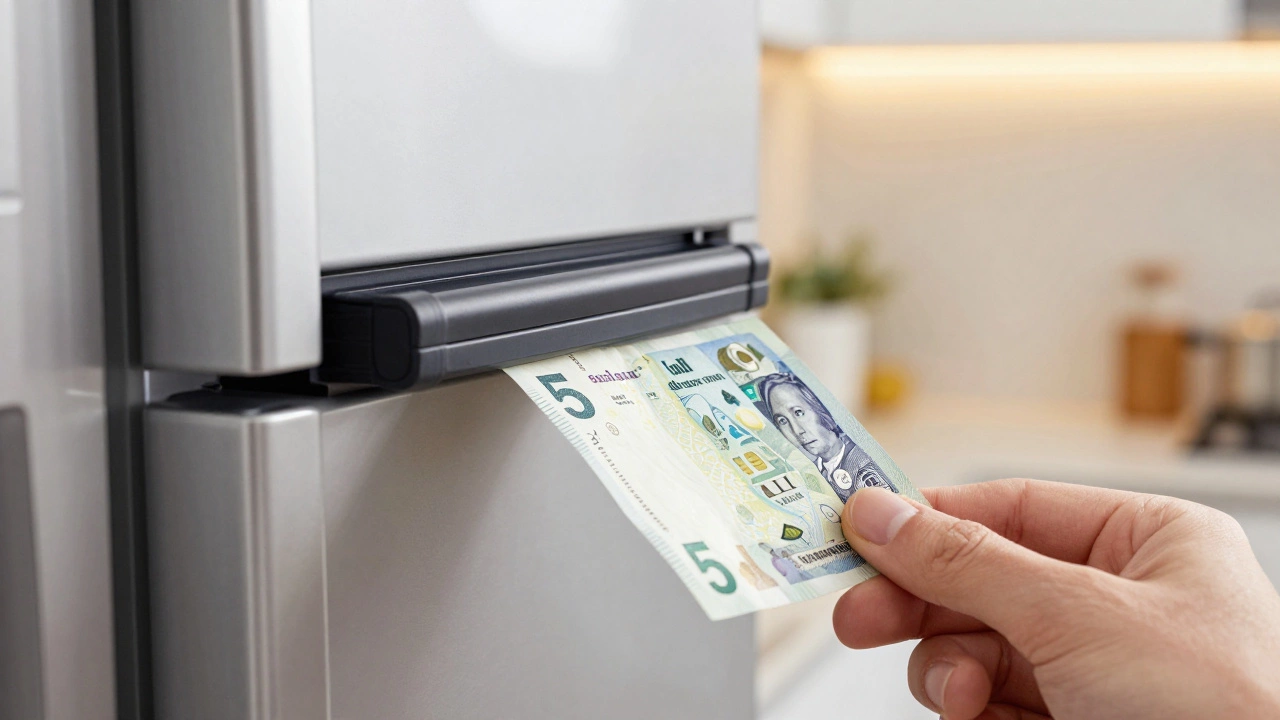
Door Seals: The Energy Vampires
If your electricity bill spikes without explanation, check your fridge doors. The rubber gaskets around the edges are designed to create an airtight seal. Over time, they dry out, crack, or get misaligned. Even a tiny gap forces the compressor to run constantly to maintain temperature.
Perform the dollar bill test. Close the fridge door on a dollar bill so half of it sticks out. Try to pull it out. If it slides out easily, your seal is weak. If you feel resistance, the seal is good. Weak seals aren’t just an energy waste; they cause excess frost buildup because warm, moist air is entering the cabinet. Replacing gaskets is one of the easiest DIY repairs. They snap into place or screw on, depending on the model.
When to Call a Pro vs. DIY
Not every fridge problem is a quick fix. While fans, heaters, and seals are safe for homeowners to replace, some issues require professional expertise. Here’s how to tell the difference:
- DIY Safe: Cleaning condenser coils, replacing door seals, unclogging drains, swapping out accessible fans or heaters, resetting ice makers.
- Call a Pro: Compressor failures, refrigerant leaks, complex control board diagnostics, and any issue involving high-voltage capacitors.
If your fridge is older than 10 years and the compressor has failed, it’s often not worth repairing. The cost of labor and parts can exceed the value of the appliance. However, if it’s a mid-life unit with a simple electrical fault, a repair can extend its life by another decade.
Maintenance Tips to Avoid Repairs
Prevention is cheaper than cure. To keep your fridge running smoothly, follow these simple habits:
- Clean the Coils: Vacuum the condenser coils (located at the back or bottom front) every six months. Dust acts as insulation, forcing the compressor to work harder and overheat.
- Check Temperatures: Keep the fridge at 3-5°C and the freezer at -18°C. Use an independent thermometer to verify accuracy.
- Don’t Overstuff: Air needs to circulate. Blocking vents with large containers disrupts airflow and causes uneven cooling.
- Inspect Seals Regularly: Wipe gaskets with warm soapy water to remove sticky residues that prevent tight sealing.
By understanding these common failure points, you can save hundreds of dollars on service calls. Most fridge repairs are less about advanced engineering and more about basic maintenance and simple part replacements. Next time your fridge acts up, take a deep breath, grab a multimeter, and check the basics first. You might be surprised at how often the solution is right in front of you.
Is it worth repairing an old refrigerator?
It depends on the age and the specific repair. If the fridge is under 10 years old and the issue is a minor component like a fan or seal, repair is usually worth it. However, if the compressor or sealed system fails on a unit older than 10-12 years, buying a new, energy-efficient model is often more cost-effective in the long run due to lower electricity bills.
Why is my fridge making a loud buzzing noise?
A loud buzzing noise often indicates a failing start relay on the compressor or a dirty condenser coil. The relay helps the compressor start up; if it’s faulty, the compressor may struggle to engage, creating a buzz. Alternatively, if the coils are covered in dust, the compressor has to work much harder, generating more vibration and noise. Clean the coils first, then inspect the relay.
How do I know if my defrost heater is bad?
Signs of a bad defrost heater include frost buildup on the evaporator coils (visible through the back panel of the freezer), a warm fridge section despite a cold freezer, and water pooling in the bottom of the fridge. You can test the heater with a multimeter for continuity. If it reads infinite resistance, the heater has burned out and needs replacement.
Can I unclog a refrigerator drain myself?
Yes, unclogging the drain is one of the easiest DIY fixes. Locate the drain hole in the freezer, remove any visible debris, and use a turkey baster with warm water to flush the tube. For tough clogs, use a flexible pipe cleaner. Avoid using harsh chemicals that could damage the plastic tubing or contaminate your food.
Why does my ice maker click but not produce ice?
Clicking without ice production usually means the harvest motor is trying to spin but the gears are stripped, or the water inlet valve isn’t opening to fill the mold. Check if water is flowing to the dispenser. If it is, the issue is likely the ice maker module itself. If no water flows anywhere, check the water line and inlet valve.