Electric Hob Element Replacement Checker
Check Your Hob Element
Enter your hob model number or select from common models to determine if your element is replaceable and find the right replacement part.
Ever turned on your electric hob and noticed one of the rings won’t heat up? Or maybe it’s sparking, smelling like burning plastic, or taking forever to boil water? Before you call a technician or start shopping for a new cooktop, ask yourself: can you replace an element on an electric hob? The answer is yes - and it’s often cheaper and faster than you think.
Why Electric Hob Elements Fail
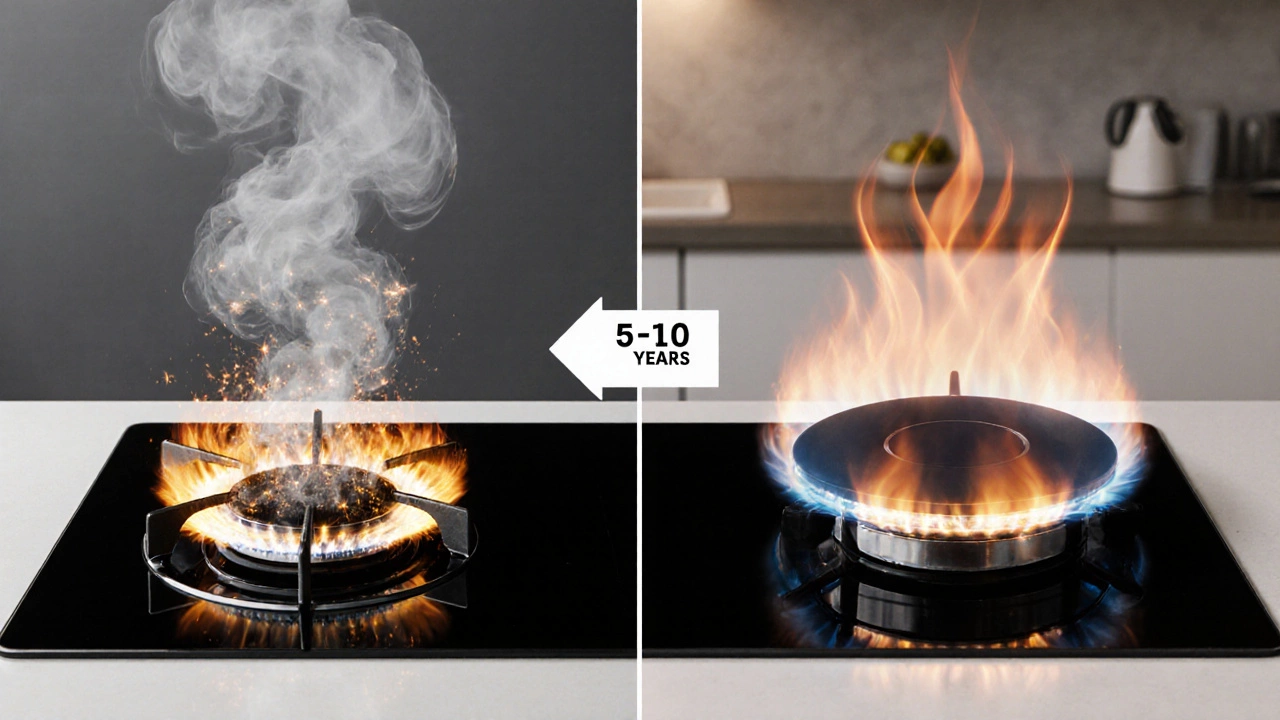
Electric hob elements, also called heating coils or radiant elements, don’t last forever. They’re designed to handle high temperatures, repeated heating cycles, and spills, but over time they wear out. Most elements last between 5 and 10 years, depending on usage. Signs of failure include:- A ring that doesn’t turn on at all
- Partial heating - the center works but the outer ring doesn’t
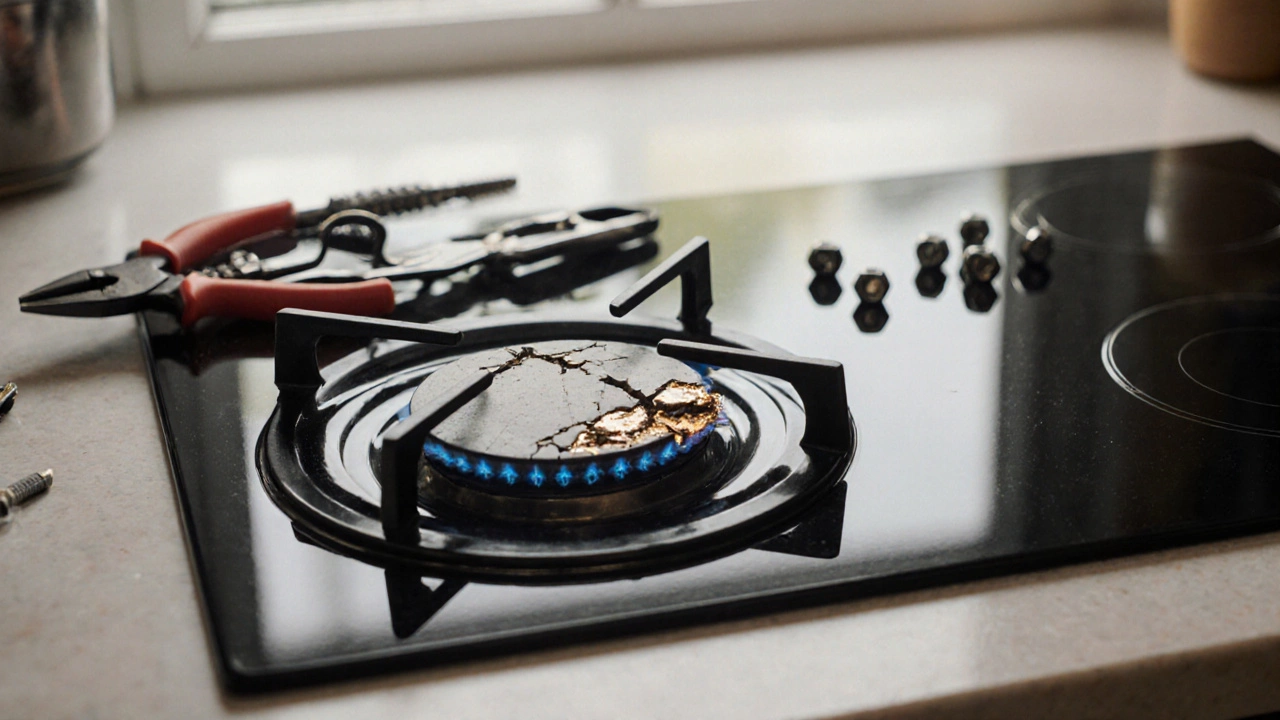
- Visible damage like cracks, blisters, or melted spots
- Intermittent power - the element turns on and off randomly
- Burning smell or visible sparks when turned on
These aren’t just inconveniences. A failing element can overheat nearby components, damage the control board, or even pose a fire risk. Replacing it early can save you from bigger, costlier repairs down the line.
How to Identify Your Element Type
Not all electric hob elements are the same. The first step before replacement is figuring out what you’re dealing with. There are three common types:- Radiant elements - the classic coiled metal ring you see under glass. These are the most common in standard electric hobs.
- Halogen elements - use a halogen bulb inside a glass tube. They heat faster and are often found in mid-range models.
- Induction zones - these aren’t elements in the traditional sense. They use magnetic fields to heat the pan directly. You cannot replace an induction zone like a regular element. If it fails, you usually need to replace the whole control unit or cooktop.
If you’re unsure, check the model number on the underside of the hob or inside the drawer. Look up the manual online - most manufacturers list replacement part numbers. Or take a clear photo of the damaged element and search for it on appliance parts sites like RepairClinic, AppliancePartsPros, or eBay. Match the shape, number of terminals, and wattage (usually printed on the element itself).
Tools You’ll Need
Replacing an electric hob element doesn’t require fancy gear. Here’s what you’ll need:- Replacement element (exact match to your model)
- Phillips screwdriver
- Flathead screwdriver or plastic pry tool
- Needle-nose pliers
- Electrical tape or heat-resistant wire nuts
- Work gloves and safety glasses
Don’t skip the gloves and glasses. Even when unplugged, there’s a small risk of residual charge or sharp metal edges. And never use regular tape - you need something rated for high heat. Electrical tape can melt. Heat-resistant wire nuts or ceramic terminal connectors are safer.
Step-by-Step Replacement Guide
Step 1: Turn off the power
Never skip this. Go to your circuit breaker and shut off the power to the hob. Don’t just unplug it - most hobs are hardwired. If you’re not sure which breaker controls it, turn off the main power. Treat every wire as live until you’ve confirmed otherwise with a non-contact voltage tester.
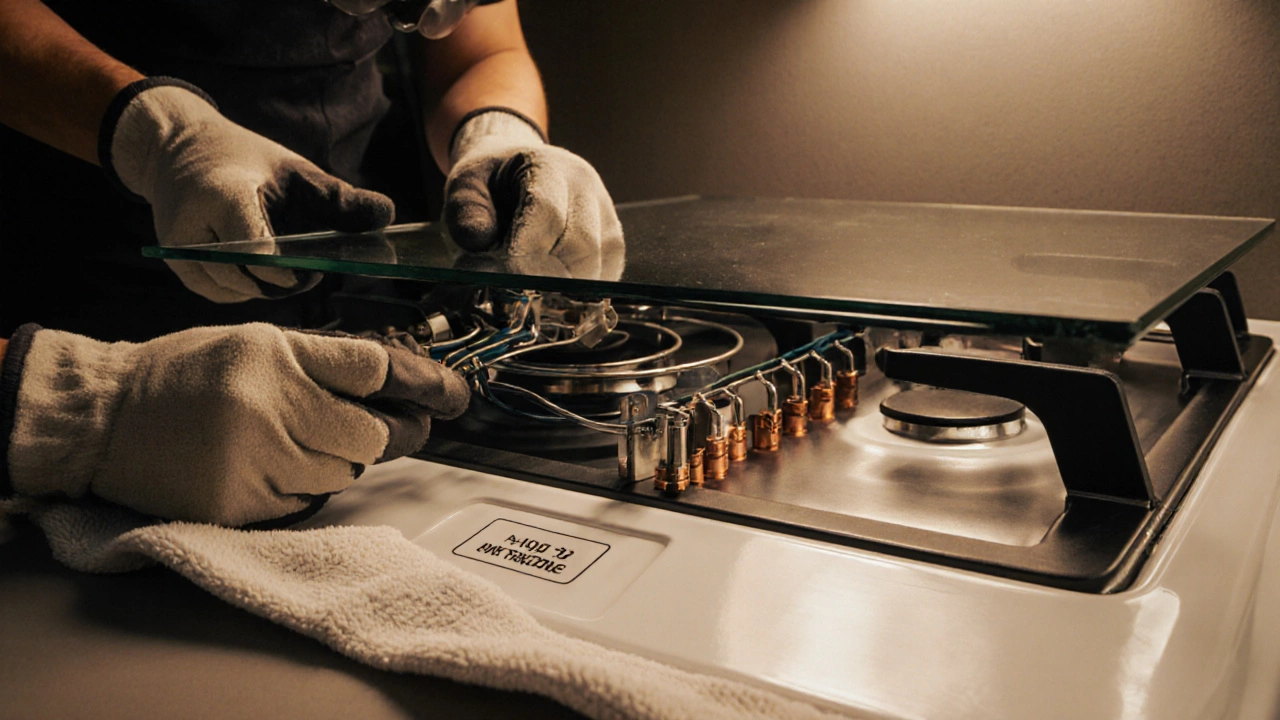
Step 2: Remove the glass top
Most modern hobs have a glass ceramic surface that lifts off. Look for small screws around the edge, often hidden under trim or rubber seals. Use a flathead screwdriver to gently pry up the trim. Unscrew all visible fasteners. Some models have clips - gently wiggle the top to release them. Lift the glass top straight up and set it on a soft towel. Don’t set it face-down.
Step 3: Disconnect the old element
Once the top is off, you’ll see the element mounted underneath. It’s usually held in place by two or three metal clips. Use a screwdriver to loosen them. Then, carefully unplug the wire connectors. Take a photo before you disconnect anything - it helps you remember which wire goes where. Some elements have a single plug; others have two separate terminals.
Step 4: Remove and compare
Slide the old element out. Compare it to your new one. Check the shape, size, number of terminals, and wattage. If they don’t match exactly, don’t install it. Using the wrong element can overload the circuit or cause uneven heating.
Step 5: Install the new element
Slide the new element into place. Reattach the mounting clips. Plug in the wires exactly as they were before. If the connectors look corroded, clean them with a wire brush or replace them with new heat-resistant ones. Wrap any exposed wire with heat-resistant tape or secure with wire nuts.
Step 6: Reassemble and test
Put the glass top back on. Secure all screws and trim. Restore power at the breaker. Turn on the hob and test the new element. Let it run for 5-10 minutes. If it heats evenly and doesn’t smell, you’re done. If it doesn’t work, turn off the power and double-check your wiring.
When Not to DIY
Some repairs are safe to do yourself. Others aren’t. Here’s when to call a professional:
- Your hob uses induction technology - no user-replaceable elements exist
- The control panel is cracked, flickering, or showing error codes
- You smell burning insulation or see melted plastic around the wiring
- The glass top is cracked or shattered - replacing it requires special tools and seals
- You’re uncomfortable working with electricity or can’t find the right part
If your hob is over 10 years old and multiple elements are failing, it might be more cost-effective to replace the whole unit. New models are more energy-efficient and safer.
Cost Comparison: DIY vs Professional
A replacement element costs between $20 and $70, depending on the brand and type. Labor from a technician? Usually $100-$200, plus the part. That’s a $120-$270 bill for something you can fix in under an hour.
But here’s the catch: if you mess up the wiring, you could fry the control board - which costs $250-$400 to replace. That’s why matching the part exactly and following the steps carefully matters. If you’re unsure, buy the part first, then watch a video of someone replacing it on your exact model before you start.
Preventing Future Failures
Once your hob’s fixed, keep it running longer:
- Don’t drag heavy pots across the surface - it can crack the glass or misalign the element
- Clean spills immediately. Sugar and salt can seep under the element and cause hot spots
- Use flat-bottomed pans. Warped pans don’t make good contact, forcing the element to work harder
- Turn off the element before removing the pot - letting it cool gradually reduces thermal stress
- Check the element annually for discoloration or warping
These small habits can add years to your hob’s life. And if you notice a ring heating slower than the others? Don’t wait for it to die. Replace it early - it’s cheaper than replacing the whole cooktop.
Can you replace just one element on an electric hob?
Yes, you can replace just one element. Most electric hobs have individual elements that operate independently. You don’t need to replace the whole cooktop unless multiple elements are failing or the control board is damaged. Just make sure the replacement matches the original in size, wattage, and connector type.
Is it safe to replace a hob element myself?
It’s safe if you follow proper safety steps: turn off the power at the breaker, use the correct replacement part, and avoid touching live wires. If you’re unsure about wiring or can’t find the model number, it’s better to hire a certified technician. Electricity can be dangerous, and mistakes can cause fires or damage other components.
How do I know if my hob has an induction element?
Induction zones don’t glow or get hot on their own. They only heat when you place a magnetic pan (like cast iron or stainless steel) on them. If your hob has flat, smooth zones that don’t have visible coils or rings, they’re likely induction. You cannot replace an induction element - if it fails, the entire control unit usually needs replacement.
What happens if I use the wrong replacement element?
Using the wrong element can cause serious problems. A higher-wattage element can overload the circuit and blow a fuse or damage the control board. A lower-wattage one won’t heat properly, forcing the system to work harder. Mismatched connectors can cause arcing, melting, or fire. Always match the part number or consult a parts diagram before buying.
How long does a replacement hob element last?
A properly installed replacement element should last 5-10 years, just like the original. Lifespan depends on usage, cleaning habits, and whether you use the right cookware. Avoid overheating empty pans, clean spills quickly, and don’t slam pots onto the surface - these habits extend the element’s life.
Next Steps If It Still Doesn’t Work
If you replaced the element and it still doesn’t heat, the issue isn’t the element. It’s likely the control board, thermostat, or wiring harness. These are harder to diagnose without tools. Use a multimeter to test for continuity in the wiring - if there’s no power reaching the element, the problem is upstream. If you don’t have a multimeter or don’t know how to use one, call a technician. Trying to guess the problem can lead to more damage.
Remember: replacing an element is a simple fix - but only if done right. Take your time, match the part, and respect the electricity. Your hob will thank you with years of reliable cooking.