Extractor fans play an essential role in maintaining indoor air quality by whisking away moisture, odors, and other impurities from the air. If you've ever battled with a steamy bathroom mirror or a lingering kitchen scent, you know just how valuable these devices are. But like any hardworking appliance, extractor fans require regular maintenance to function efficiently.
Neglecting an extractor fan can lead to a buildup of dust and grime, which not only hampers its performance but can also shorten its lifespan. With a bit of elbow grease and know-how, you can keep your fan running smoothly, ensuring it continues to serve you well for years to come. In this guide, we’ll walk through the essentials of servicing an extractor fan, from the tools you’ll need to step-by-step cleaning methods. Whether you’re tackling a minor repair or looking to prolong the life of your fan, this article is packed with practical tips to help you succeed.
- Understanding Extractor Fans
- Tools and Materials Needed
- Step-by-Step Servicing
- Common Problems and Solutions
- Maintenance Tips
Understanding Extractor Fans
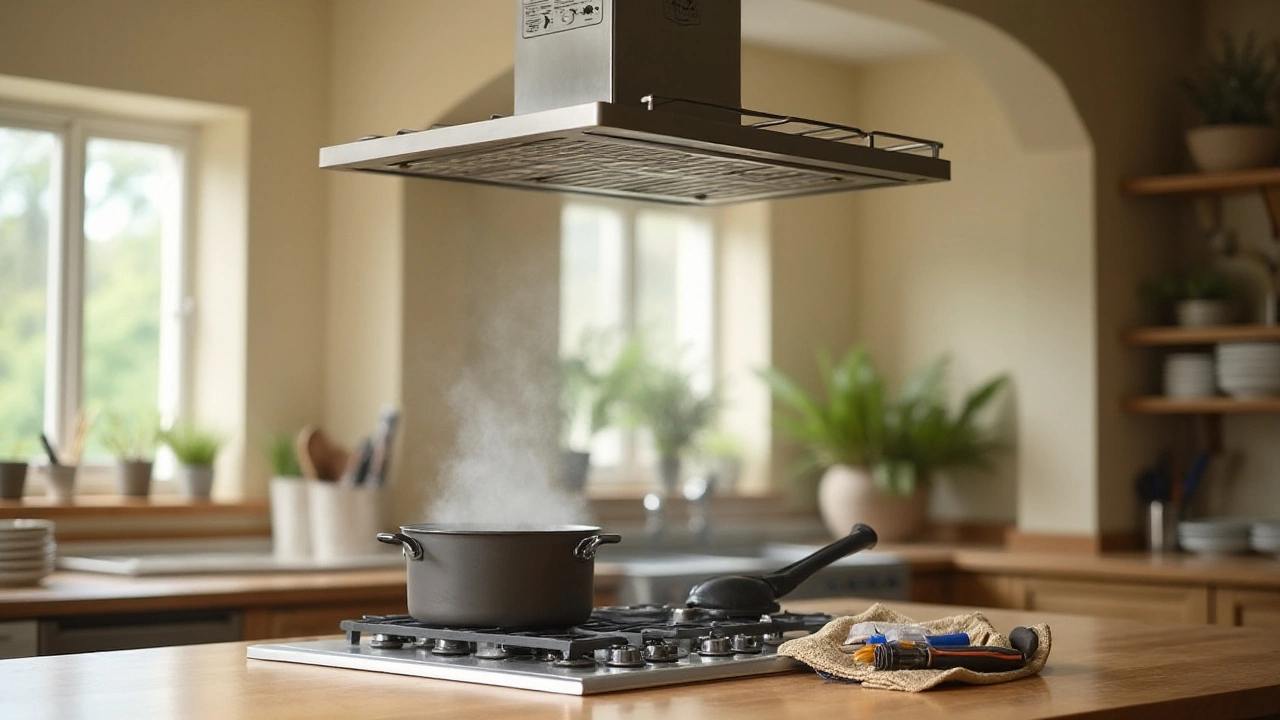
Extractor fans are a crucial component of home ventilation systems, designed specifically to improve air quality by eliminating excess moisture, unpleasant odors, and airborne contaminants. Typically found in kitchens and bathrooms, these fans operate by drawing out impure air and expelling it outside, thereby maintaining a healthy and comfortable indoor environment. The functionality of an extractor fan is not just about comfort; it's also a critical factor in home maintenance. High humidity levels, particularly in areas such as bathrooms, can result in mold growth, which poses health risks and can lead to significant structural damage if left unchecked. Understanding how extractor fans operate and their role is vital for ensuring they are used effectively.
At the core, an extractor fan consists of several key components: a motor, fan blades, and a housing unit. The motor powers the fan blades, which create airflow by drawing air in and moving it out through a duct system to the outside. Depending on the type and placement, fans can be wall-mounted, ceiling-mounted, or installed as part of a window unit. Each installation serves different purposes and offers varied benefits. For example, kitchen extractor fans often come with special features such as grease filters to capture particles from cooking fumes, enhancing their utility. Evaluating the specific needs of your home in terms of layout and use will help determine the best type of fan and placement strategy.
According to the Home Ventilation Institute, ensuring proper ventilation is not just about mechanical systems doing their job; it's also about promoting natural airflow through a space. This balance between mechanical and passive ventilation can significantly impact the effectiveness of indoor air quality management. As extractor fans pull air out, they create a ventilation vortex that allows fresh air to seep in naturally through other openings in the home, enhancing circulation and ensuring freshness. Installation choices should, therefore, consider factors such as proximity to natural air sources and the fan's capacity to handle the space it's intended to serve.
"Effective ventilation strategies are essential for maintaining healthy indoor environments," asserts Dr. Lisa Thompson, a researcher in indoor air quality studies. "Extractor fans are indispensable tools in this pursuit, combating moisture and pollutants that otherwise compromise structural integrity and human health."
Choosing the correct extractor fan involves considering various features, such as size, airflow capacity (measured in CFM—cubic feet per minute), noise levels, and energy efficiency. A high-performing fan should effectively exchange air without being overly loud or consuming excessive energy. Today's market offers a range of models with advanced features like automated sensors that adjust operation based on humidity levels, adding smart functionality to support your home's environmental control systems. Many modern extractor fans are now also equipped with energy-efficient motors and quieter operation modes, making them suitable for households that prioritize sustainability and comfort.
Tools and Materials Needed
When it comes to servicing an extractor fan, having the right tools and materials at your disposal is half the battle won. It might be tempting to dive right in with whatever you can find in the garage, but precision and appropriate equipment can save you a lot of time and effort. Depending on the model and the type of fan you are dealing with, your toolkit might vary slightly, but there are some essentials that apply across the board. For starters, a sturdy ladder is a must if you're dealing with ceiling-mounted fans, ensuring you can reach the unit safely and comfortably. Safety goggles and gloves should also be part of your kit to protect against dust or sharp fan blades.
Another crucial component of this toolkit is a set of screwdrivers, typically a Philips and a flathead to handle different types of screws that keep your fan assembly intact. It's surprising how a loose or stripped screw can become a significant hindrance, so having the right tool at hand can be a game changer. You'll also require a can of compressed air or a soft brush to clear out the dust that tends to accumulate on the fan blades and motor over time. This build-up is a common cause of decreased fan efficiency and increased noise levels. To tackle any stubborn grime, a mild detergent or a specific fan cleaner can be utilized, ensuring not to damage the delicate components.
Recently, smart home enthusiasts are increasingly turning to specialized fan maintenance kits available in the market, which come with all these essential tools in one package.
According to a survey by the Home Improvement Research Institute, "over 65% of DIY enthusiasts found investing in a dedicated maintenance kit improved the ease and outcome of their home projects."It's worth considering if you anticipate regular maintenance tasks, as it simplifies the process considerably. Last but not least, be prepared with a vacuum cleaner, preferably one with a nozzle attachment to effectively suck up the loosened dust and debris without spreading it back into your living space.
Having all these tools and materials ready before you start can drastically reduce the time spent on maintenance and lead to a more efficient cleanup process. It’s the little things like these that go a long way in making sure your extractor fan remains in top shape and continues to perform optimally. After all, a well-maintained fan not only clears the air but also lightens the atmosphere, leaving your home feeling fresh and inviting.

Step-by-Step Servicing
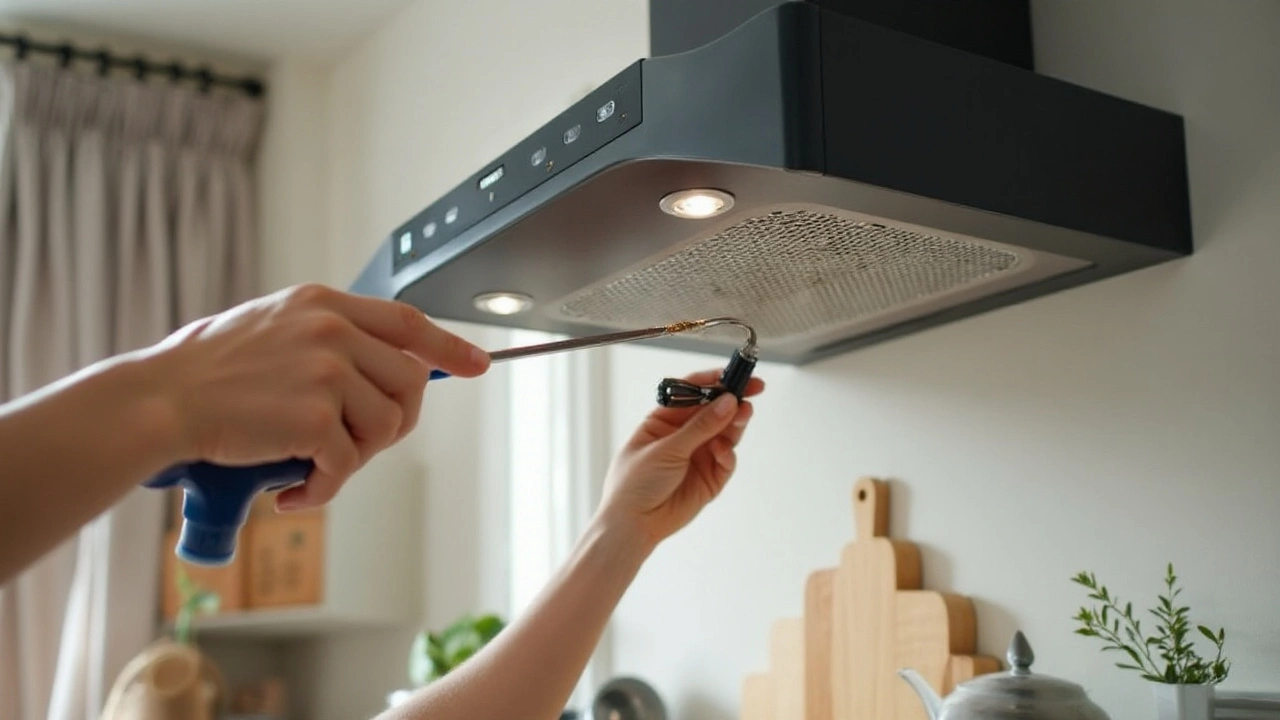
Servicing an extractor fan isn't just about giving it a quick dusting. It involves a thorough approach that ensures every part of the fan is functioning as it should. Start by turning off the power to the fan at the circuit breaker. This isn't just a precaution—it's a necessity to prevent any electrical accidents during the cleaning process. Safety should always come first, and although it might seem inconvenient to trek to the breaker, it's a small price to pay for peace of mind.
Once the power is off, remove the fan cover. This is usually straightforward, as most covers are secured with clips or a couple of screws. For some models, you might need a screwdriver or a bit of gentle persuasion with your hands. Inspect the cover for any signs of damage or wear. If it's accumulated too much grime over time, a good wash with warm soapy water can lift off the stubborn dirt, ensuring improved airflow once it's back in its place. Let it dry completely before you reattach it to avoid any moisture buildup.
Now, focus on the fan blades. These are the heart of your extractor fan, tirelessly working to keep your air fresh. Carefully clean them using a cloth dampened with soapy water. Make sure you remove all dust and grease, as these can impair the fan's performance and even lead to mechanical issues if left unchecked. Pay special attention to the nooks and crannies, where dirt loves to hide. It might take a little extra effort, but knowing you've done a thorough job is immensely satisfying.
Sometimes, you might encounter stubborn dirt or grime that just won’t budge. In such cases, a gentle cleaning agent or a dedicated degreaser can be your best friends. Make sure to rinse everything thoroughly to prevent any chemical residue from affecting the fan's efficiency. Let all components dry out completely, as dampness can be detrimental, encouraging mold growth in places you definitely want to keep dry.
"Regular maintenance of extractor fans extends their life and saves you potential repair costs," notes home improvement expert Graham Cluley, highlighting the long-term benefits of routine care.
When everything is spick and span, reassemble your fan, taking care to ensure all components are securely fastened. It's crucial to double-check the alignments and fittings because even a small misalignment can cause rattling noises or impact the fan's ventilation prowess. Turn the power back on, and give it a test run. You should notice an immediate improvement in its suction power and sound—quieter and more effective, the way it should be.
Common Problems and Solutions
Extractor fans are unsung heroes in our homes, tirelessly whirring away to ensure we’re not left with a foggy bathroom or a smoky kitchen. However, like any mechanical device, they can face their fair share of troubles. Understanding what might go wrong is half the battle won. Let's dive into some of the recurring issues you might encounter and how to tackle them effectively.
One of the most typical problems with an extractor fan is a noticeable decrease in performance. You might notice that your fan isn’t clearing the air as efficiently as it used to. This is often due to a buildup of dust and debris. Over time, grime can accumulate on the fan blades and motor, obstructing airflow. A sound solution here is to routinely clean the fan's components. Always ensure you disconnect the power supply before attempting any cleaning. Gently remove dust using a soft brush or a vacuum cleaner. If parts like the blades are detachable, wash them with a mild detergent and allow them to dry fully before reassembly.
"Prevention is better than cure; regular maintenance of home appliances can significantly increase their lifespan," advises John Pither, a veteran home maintenance author.
Another common issue is excessive noise, which can be quite unsettling, especially during the quiet hours of the night. Noise in extractor fans typically results from loose or worn-out components. Check if the fan is properly secured to its mountings. Tighten any screws or fastenings that may have come loose. Lubricating the fan bearings with the appropriate lubricant can also reduce noise and ensure smoother operation. Don’t forget to check the ventilation duct for any clogs, as blockages can cause the fan to strain and make unusual noises.
If your fan refuses to start or stops unexpectedly, it might be suffering from electrical faults. The issue could stem from a faulty switch, wiring, or even the motor itself. Begin your inspection at the switch, ensuring it hasn't worn out or malfunctioned. It's advisable to consult a professional electrician when dealing with wiring issues, as they require specialized knowledge and tools. Trying to fix complex electrical issues on your own isn't just dangerous; it might also void any remaining warranty on the fan. Always ensure your safety by turning off the power before carrying out any electrical check-ups.
A less common, yet significant issue is the presence of moisture or condensation within the fan. Not only can this reduce the efficiency of your fan, but it might also pose a risk of electrical hazard. Moisture problems generally arise when there is inadequate ventilation or when the fan isn’t powerful enough for the room size. Ensuring the fan is adequately rated for the space and that it has a clear and unobstructed path to the external vent is vital. Sometimes, increasing the capacity of your ventilation system or installing humidity sensors can help curb these issues effectively.
Understanding these common problems and their solutions helps ensure that your extractor fan remains in optimal condition. Regular maintenance not only improves performance but can also extend the lifespan of your fan, adding comfort to your living spaces. By staying informed and vigilant, you can avoid many of the hassles associated with malfunctioning home appliances.
Maintenance Tips
Regular maintenance is key to ensuring your extractor fan continues to operate at its best. One of the first steps in maintenance is making sure to clean the fan at least every three to six months. Dust and grime quickly build up on the fan blades, which not only reduces efficiency but can also be a breeding ground for bacteria and mold. When cleaning, it’s best to begin by turning off the power to avoid any accidental injuries. Gently remove the fan cover, which often involves unscrewing several screws or unhooking clips. Once removed, soak the cover in a solution of warm water and mild detergent to lift away any dirt and grease accumulated over time.
If your extractor fan also includes a filter, this will require attention as well. The filters play a crucial role in capturing airborne particles before they can enter your home. Many modern fans come with washable filters, which you can gently rinse in warm water and then allow to air dry completely before reinstalling. If your filter is the replaceable type, check with the manufacturer’s guidelines for how often it needs to be replaced; generally, every six months is a good rule of thumb. Make sure to always use filters that meet the specifications for your particular model to maintain proper functioning.
Beyond cleaning, listening closely to your fan can provide early warnings of any potential issues. A humming fan with a slight buzz is usually running smoothly, but if you start hearing strange noises like rattling or grinding, it could indicate that there’s something amiss inside. It might be an unbalanced fan blade caused by uneven build-up of dirt, or it could be a sign of a more significant mechanical issue. Regular checks and prompt attention to these noises can prevent bigger problems down the line. As Robert Haines from the Home Improvement Society says,
“Regular attention to the little details of your home systems can save you a lot in unexpected repair costs.”
Your extractor fan is particularly susceptible to moisture, especially if it’s located in the bathroom or kitchen. Moisture can damage electrical components over time, so ensuring that the vent system is properly sealed and free from leaks is important. Check the caulking around vent connections and look for moisture marks or drips along the ductwork. Address any signs of leaks immediately to prevent water from entering the electrical components of the fan system.
To further ensure efficient operation, make sure the duct venting to the outside is clear of obstructions. Blocked airways can significantly reduce the performance of your ventilation system, forcing it to work harder and leading to increased wear and tear. A quick peek from time to time can ensure that leaves, bird nests, or other debris aren’t causing blockages. Lastly, check whether the fan’s motor is properly lubricated. This might sound technical, but a few drops of oil a year can significantly enhance the longevity of the motor. For motors with sealed bearings, this step isn’t necessary but check your fan's manual to be sure.