Oven Problem Diagnosis Tool
Oven Problem Diagnosis Tool
Select your oven symptoms to get personalized troubleshooting guidance.
Key Takeaways
- Always disconnect power or shut off gas before inspecting any component.
- Most oven issues boil down to a faulty heating element, thermostat, or control board.
- A digital multimeter can quickly confirm continuity for electrical parts.
- Gas ovens require checking the igniter and gas valve for safe operation.
- If tests point to a complex electronic fault, call a licensed technician.
When your Oven is a kitchen appliance that converts electricity or gas into heat for cooking stops heating, makes strange noises, or shows error codes, you need a clear oven troubleshooting plan. This guide walks you through the most common symptoms, safety steps, and diagnostic tests so you can decide whether a simple DIY fix will do or it’s time to call a professional.
Understanding Oven Symptoms
Before you grab tools, note exactly what’s wrong. Typical clues include:
- Cold spots or uneven baking - often a bad Heating Element the metal coil that emits heat in electric ovens.
- Oven never reaches set temperature - could be a faulty Thermostat a temperature‑regulating device that tells the oven when to turn heating on/off or a broken temperature sensor.
- Random shutdowns or error codes - often trace back to a Control Board the electronic brain that manages oven functions.
- Clicking sounds in a gas oven - might signal an igniter that won’t spark.
Writing down the symptom, when it occurs, and any displayed codes will streamline the diagnosis later.
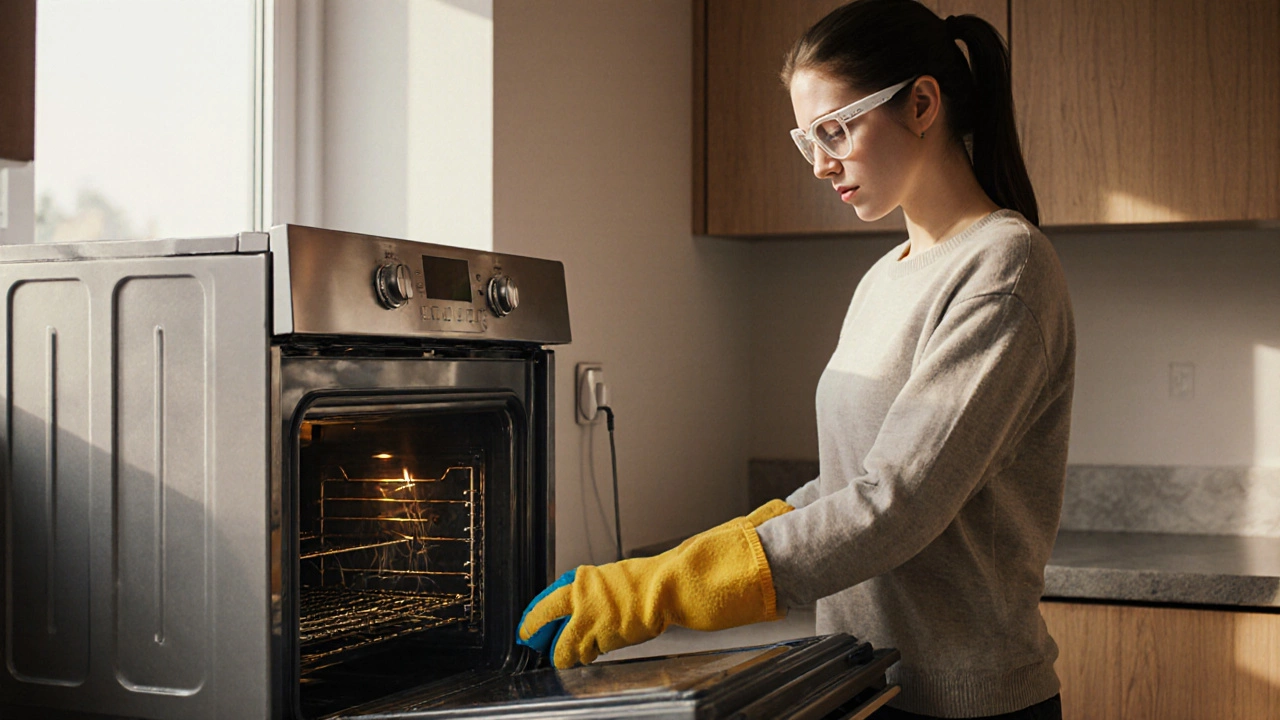
Safety First: Power and Gas Precautions
Never start a diagnostic test while the oven is still connected to power or gas. For electric ovens, unplug the appliance from the wall or shut off the circuit breaker. For gas ovens, turn the gas valve to the “off” position and wait a minute to clear any residual gas. Wear insulated gloves and safety glasses throughout the process.
Step 1: Visual Inspection
Open the oven door and look for obvious problems:
- Check the door gasket for cracks; a leaky seal can cause heat loss.
- Inspect the interior for burnt food or melted plastic, which can short electrical components.
- For gas ovens, ensure the burner ports are clean and not clogged with debris.
If you spot any physical damage, replace the part before moving on.
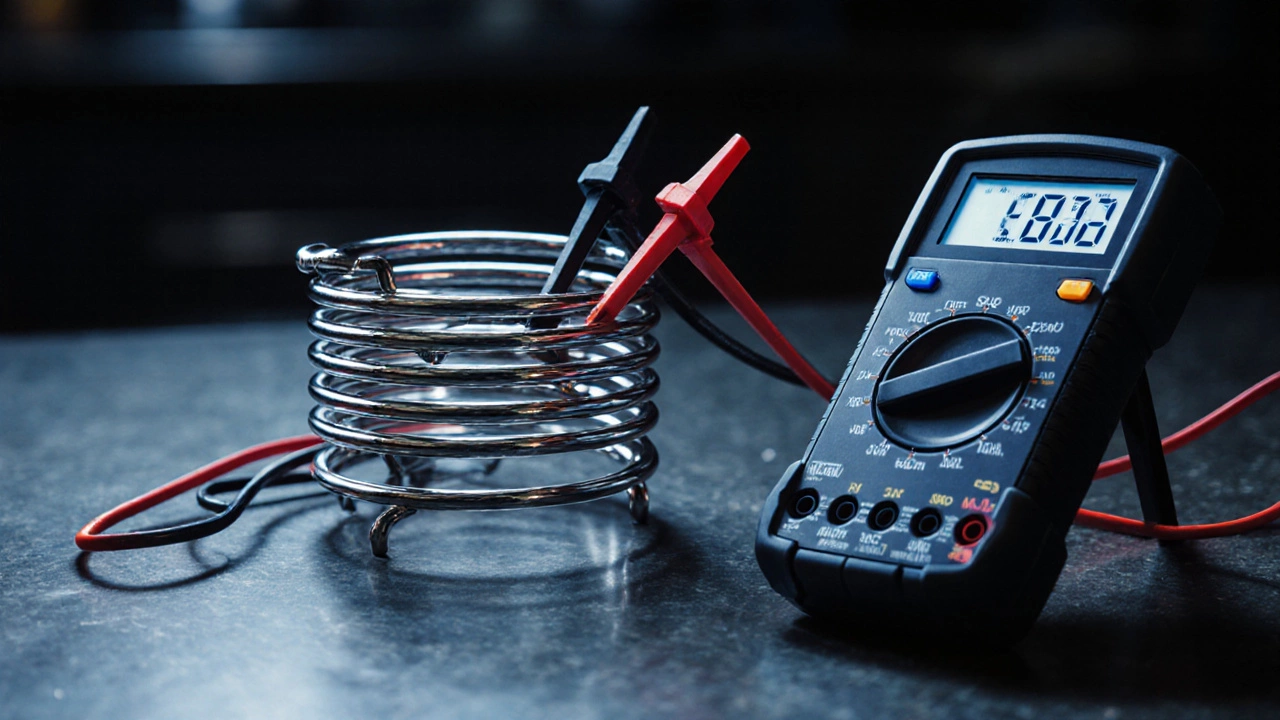
Step 2: Test the Heating Elements
Most electric ovens have two elements: a bake element at the bottom and a broil element at the top. To test them:
- Remove the element by loosening the mounting screws and disconnecting the wiring harness.
- Set your Multimeter an electronic instrument that measures voltage, current, and resistance to the ohms (Ω) setting.
- Place the probes on the element’s terminals. A healthy element usually reads between 30Ω and 70Ω, depending on wattage.
- If the meter shows infinite resistance (open circuit) or zero (short), the element is bad and needs replacement.
Re‑install the element, reconnect power, and run a short bake cycle to confirm heating.
Step 3: Check the Thermostat and Temperature Sensor
The thermostat and sensor work together to maintain the set temperature. Here’s how to verify them:
- Locate the thermostat (often a round metal disc) behind the oven cavity and the temperature sensor (a thin metal probe) attached to the oven wall. \n
- Using the multimeter, measure continuity on the thermostat. When the thermostat is set to “off,” it should show an open circuit; at “on,” it should conduct.
- For the sensor, set the multimeter to resistance and note the reading at room temperature (typically around 1kΩ). Heat the sensor gently with a hair dryer; the resistance should drop steadily. Erratic readings indicate a faulty sensor.
Replace any component that fails these simple checks.
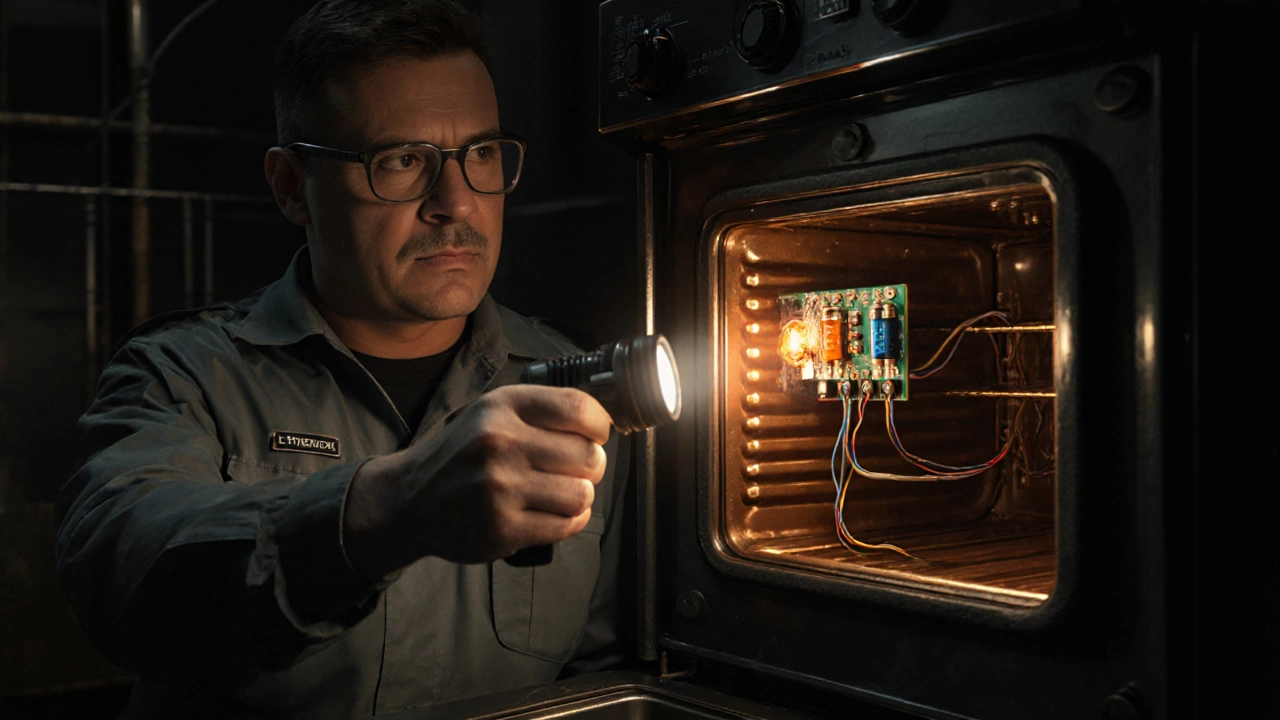
Step 4: Examine the Control Board and Fuse
The control board powers the oven’s functions. Before assuming a costly board failure, look for a blown fuse:
- Open the rear panel and locate the main fuse (often a glass cartridge). Use the multimeter’s continuity setting; a good fuse will beep.
- If the fuse is intact, visually inspect the board for burnt spots, swollen capacitors, or loose connectors.
- Any sign of damage means the board likely needs replacement - a job best left to a licensed technician.
Step 5: Gas Oven Specific - Igniter and Gas Valve
Gas ovens rely on an igniter to light the gas. Test it as follows:
- Remove the igniter assembly (usually a glow bar near the burner).
- Set the multimeter to the ohms scale and probe the igniter terminals. A typical igniter reads 70‑200Ω. Higher values suggest the igniter cannot get hot enough to spark.
- While you have the oven open, verify the gas valve’s electrical coil for continuity (around 30‑50Ω). A broken coil prevents gas flow.
If either component fails, replace them before attempting to light the oven again.
Using a Multimeter - Quick Guide
If you’re new to a multimeter, here’s a fast cheat sheet:
- Turn the dial to the lowest resistance (Ω) range for continuity tests.
- Touch the black probe to the metal chassis (ground) and the red probe to the component terminal.
- A beep means a good connection; no beep means open circuit.
- Never test resistance on a live circuit - always unplug first.
Practice on a known good resistor (like a 1kΩ bulb) to get comfortable before working on oven parts.
When to Call a Professional
Even with a solid diagnosis, some repairs require licensed expertise:
- Control board replacement - involves high‑voltage work.
- Gas valve or igniter swaps - must meet local gas safety regulations.
- Repeated error codes after component replacement - could indicate wiring issues hidden inside the oven walls.
Hiring a qualified technician ensures the repair meets Australian standards and protects your warranty.
Quick Troubleshooting Checklist
| Symptom | Possible Cause | Test / Action |
|---|---|---|
| Oven stays cold | Burned out heating element | Measure resistance with multimeter; replace if open circuit |
| Temperature fluctuates | Faulty thermostat or sensor | Check continuity and resistance changes with temperature |
| Error code flashes | Control board or fuse issue | Inspect fuse continuity; look for burnt components on board |
| No spark in gas oven | Igniter failed or gas valve not opening | Test igniter resistance; check valve coil continuity |
| Door won’t close properly | Worn door gasket | Visually inspect gasket; replace if cracked |
Frequently Asked Questions
Why does my oven make a humming noise but never heats?
A humming sound often means the fan or the heating element is receiving power, but the element itself may be burnt out. Check the element’s resistance with a multimeter; if it reads infinite, replace it.
Can I replace an oven thermostat myself?
Yes, if you’re comfortable working with electricity. Disconnect power, remove the old thermostat, note the wiring connections, and install the new part. Test for continuity before re‑assembly.
What safety gear should I wear when diagnosing an oven?
Insulated gloves, safety glasses, and a dust mask (if cleaning burners) are recommended. Always ensure the oven is fully unplugged or the gas valve is off.
My oven shows error code ‘F8’; what does it mean?
Code ‘F8’ typically signals a temperature sensor failure. Verify sensor resistance; replace if readings are out of the 600‑800Ω range at room temperature.
Should I attempt to repair a gas leak myself?
Never. Gas leaks are hazardous. If you smell gas or suspect a leak, shut off the gas supply and call a licensed gas‑fitters immediately.